> ## Documentation Index
> Fetch the complete documentation index at: https://docs.nomadsarc.app/llms.txt
> Use this file to discover all available pages before exploring further.
# 💳 Supported Payment Icons
How to display multiple **Supported Payment Icons** and **Trust Badges** on the Checkout using the **Notifications -> Content** option.
## Guide
Create a new [customization](https://admin.shopify.com/apps/dynamic-checkout-customizer/customizations).
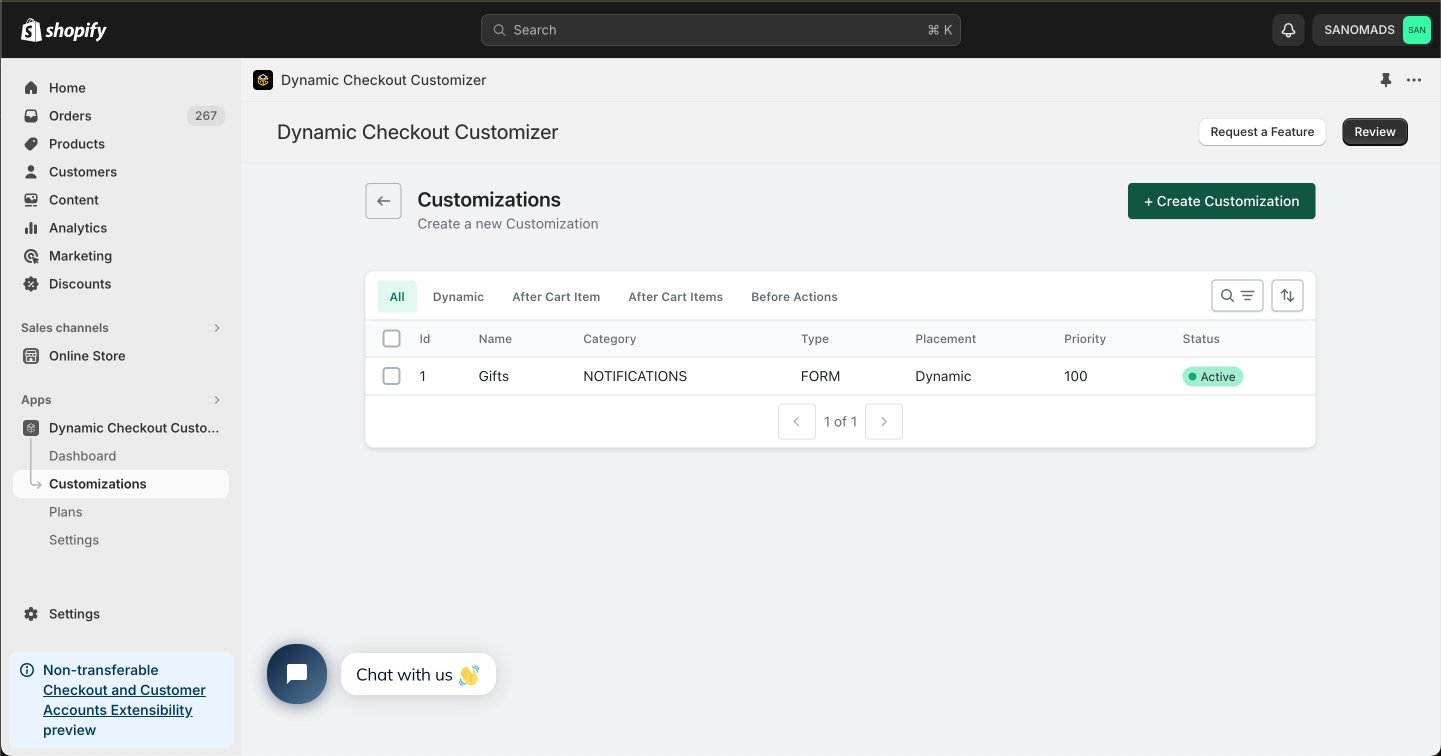 Choose **Notifications** as the customization category.
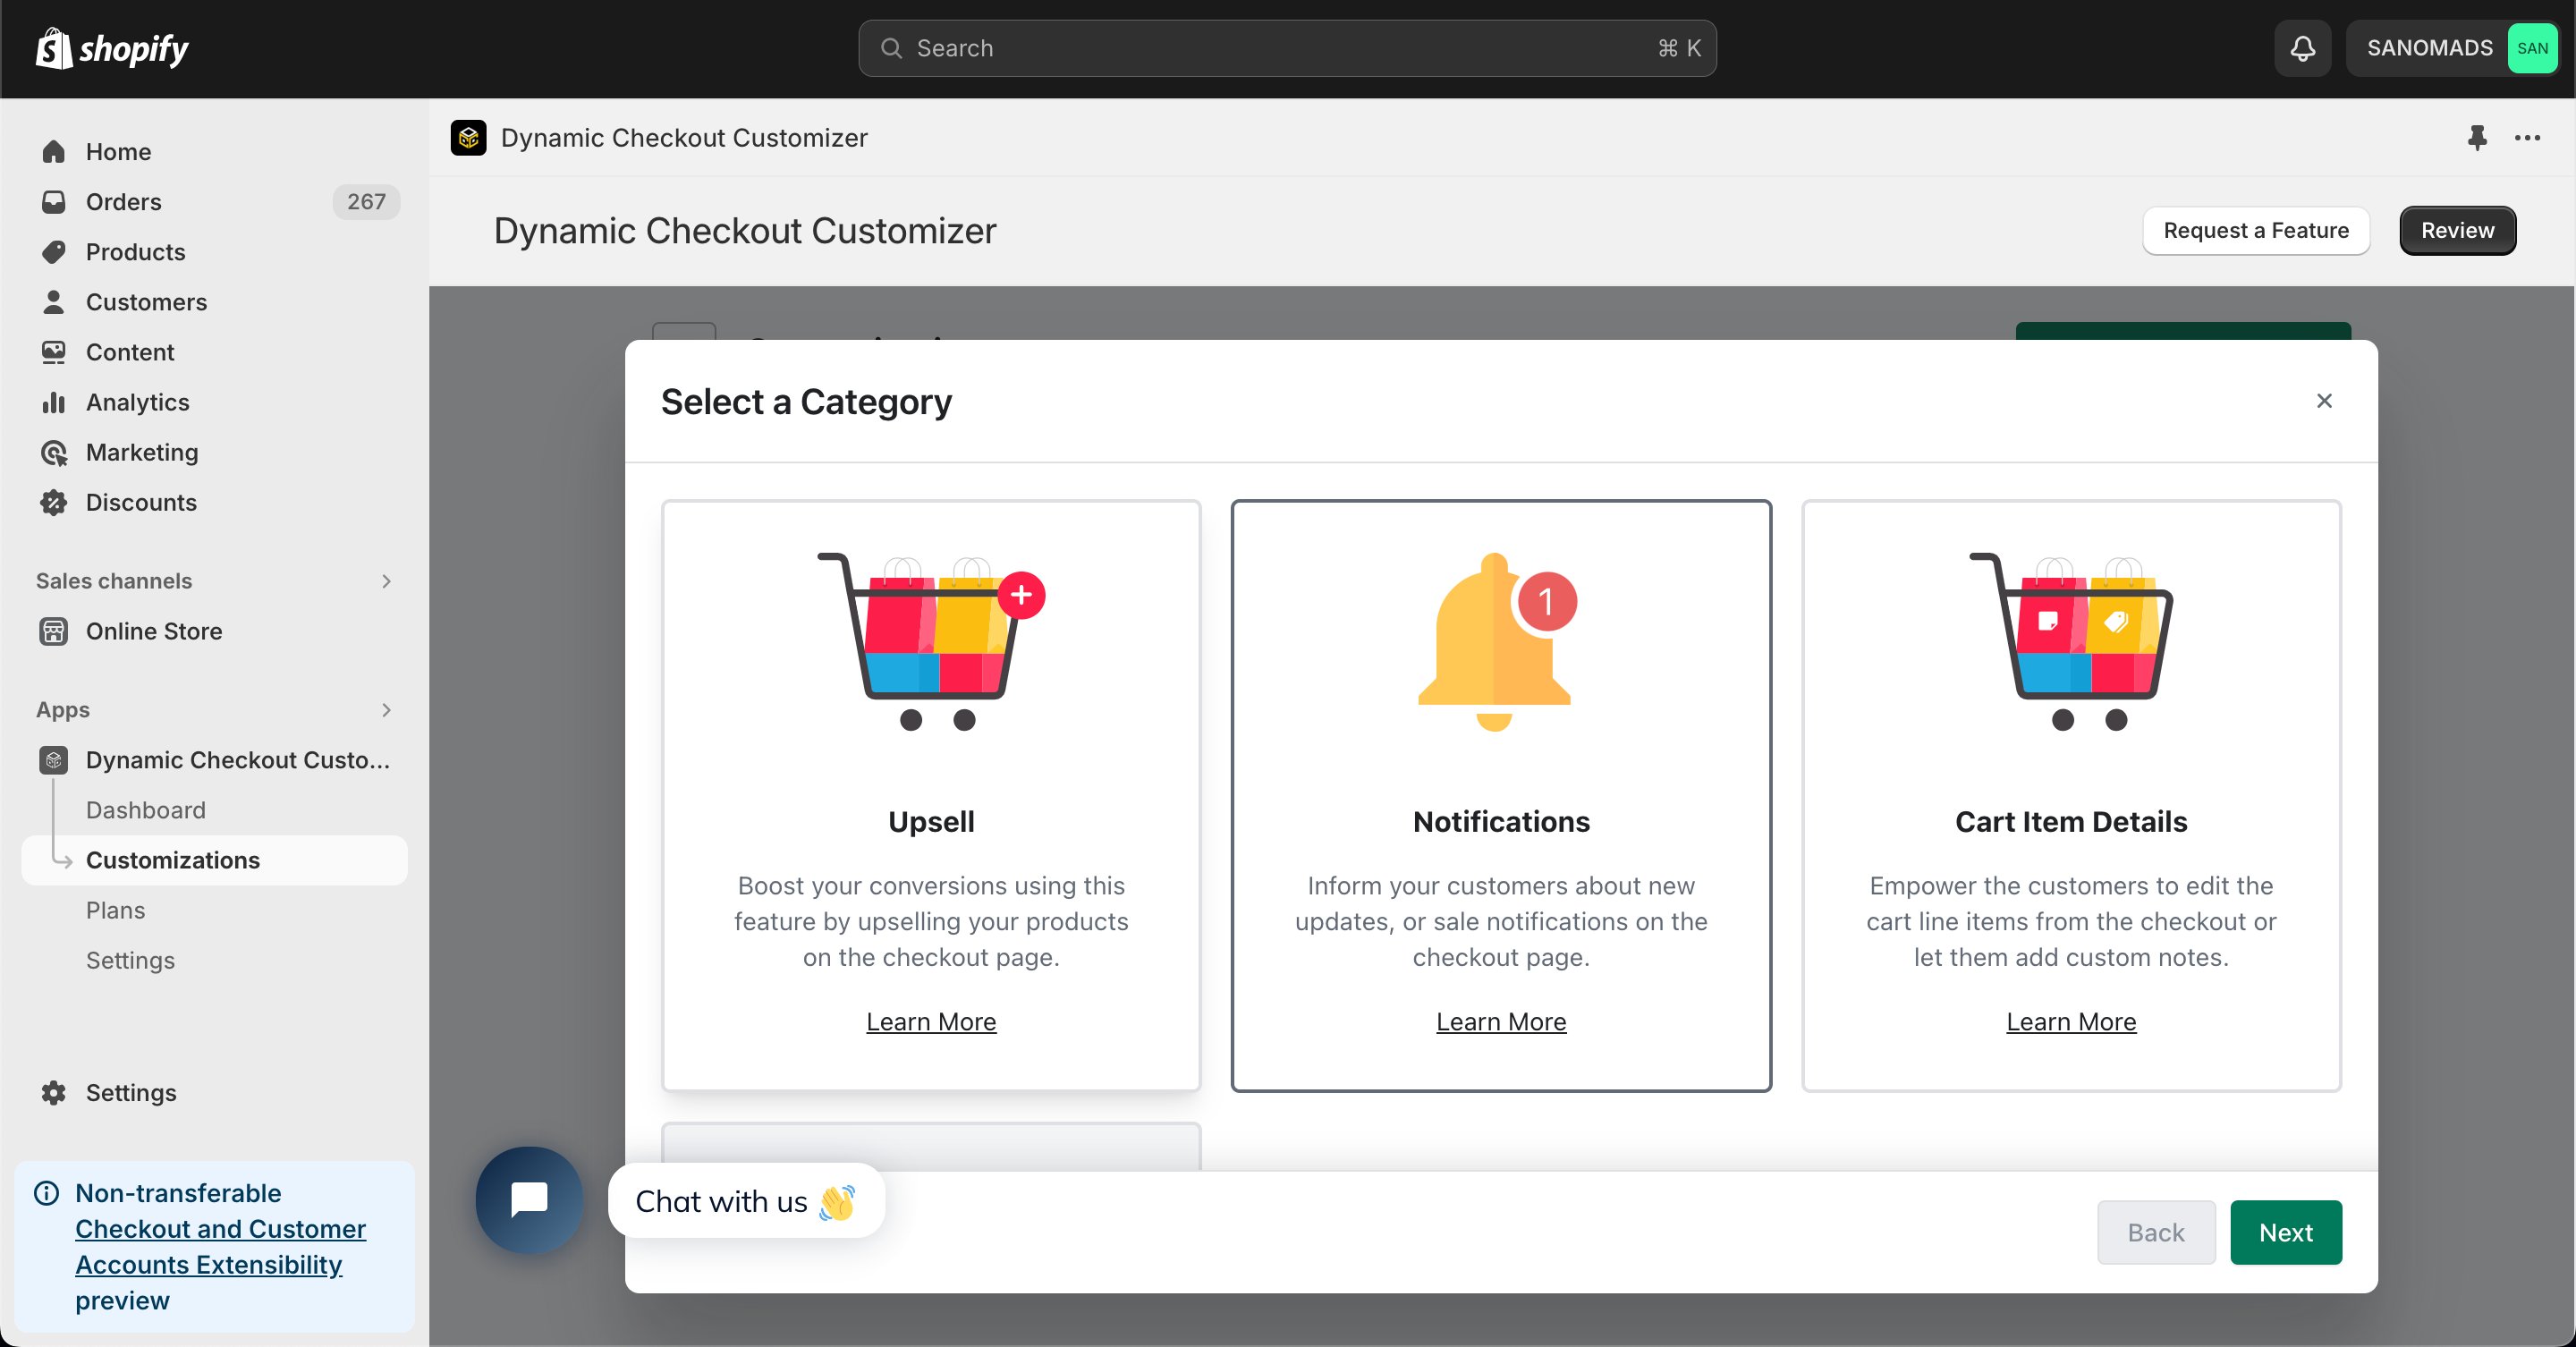 Select **Content** from the available notification types to display custom images during checkout.
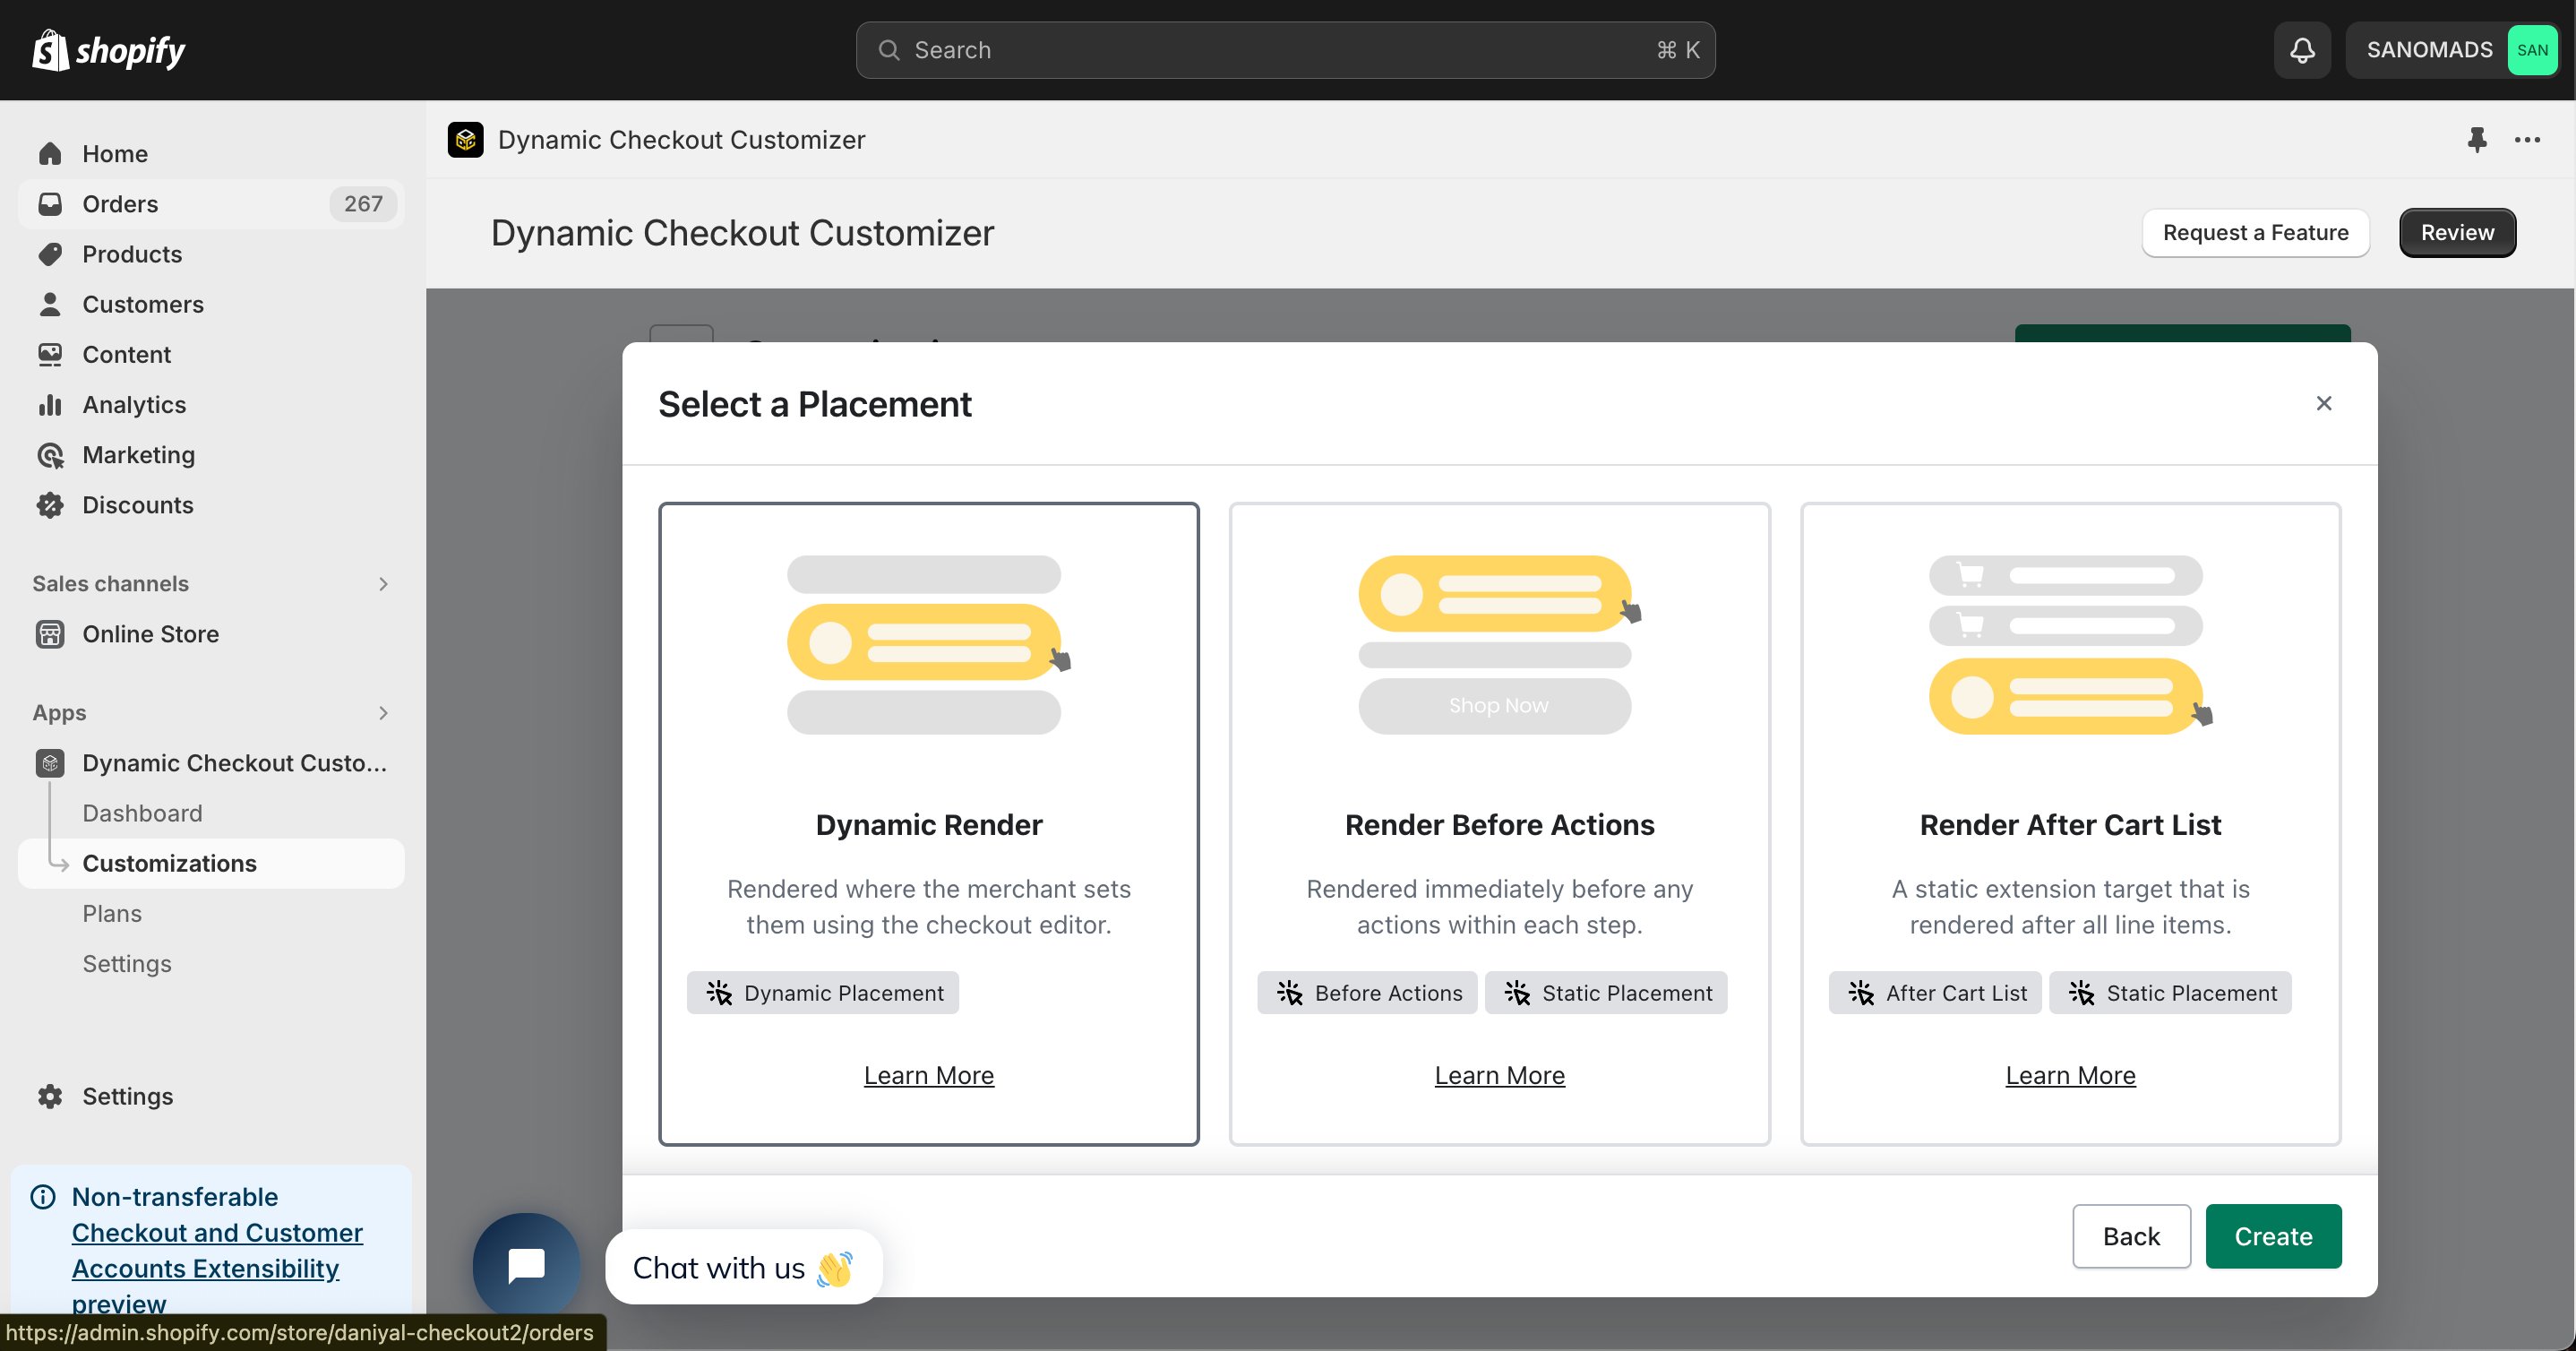
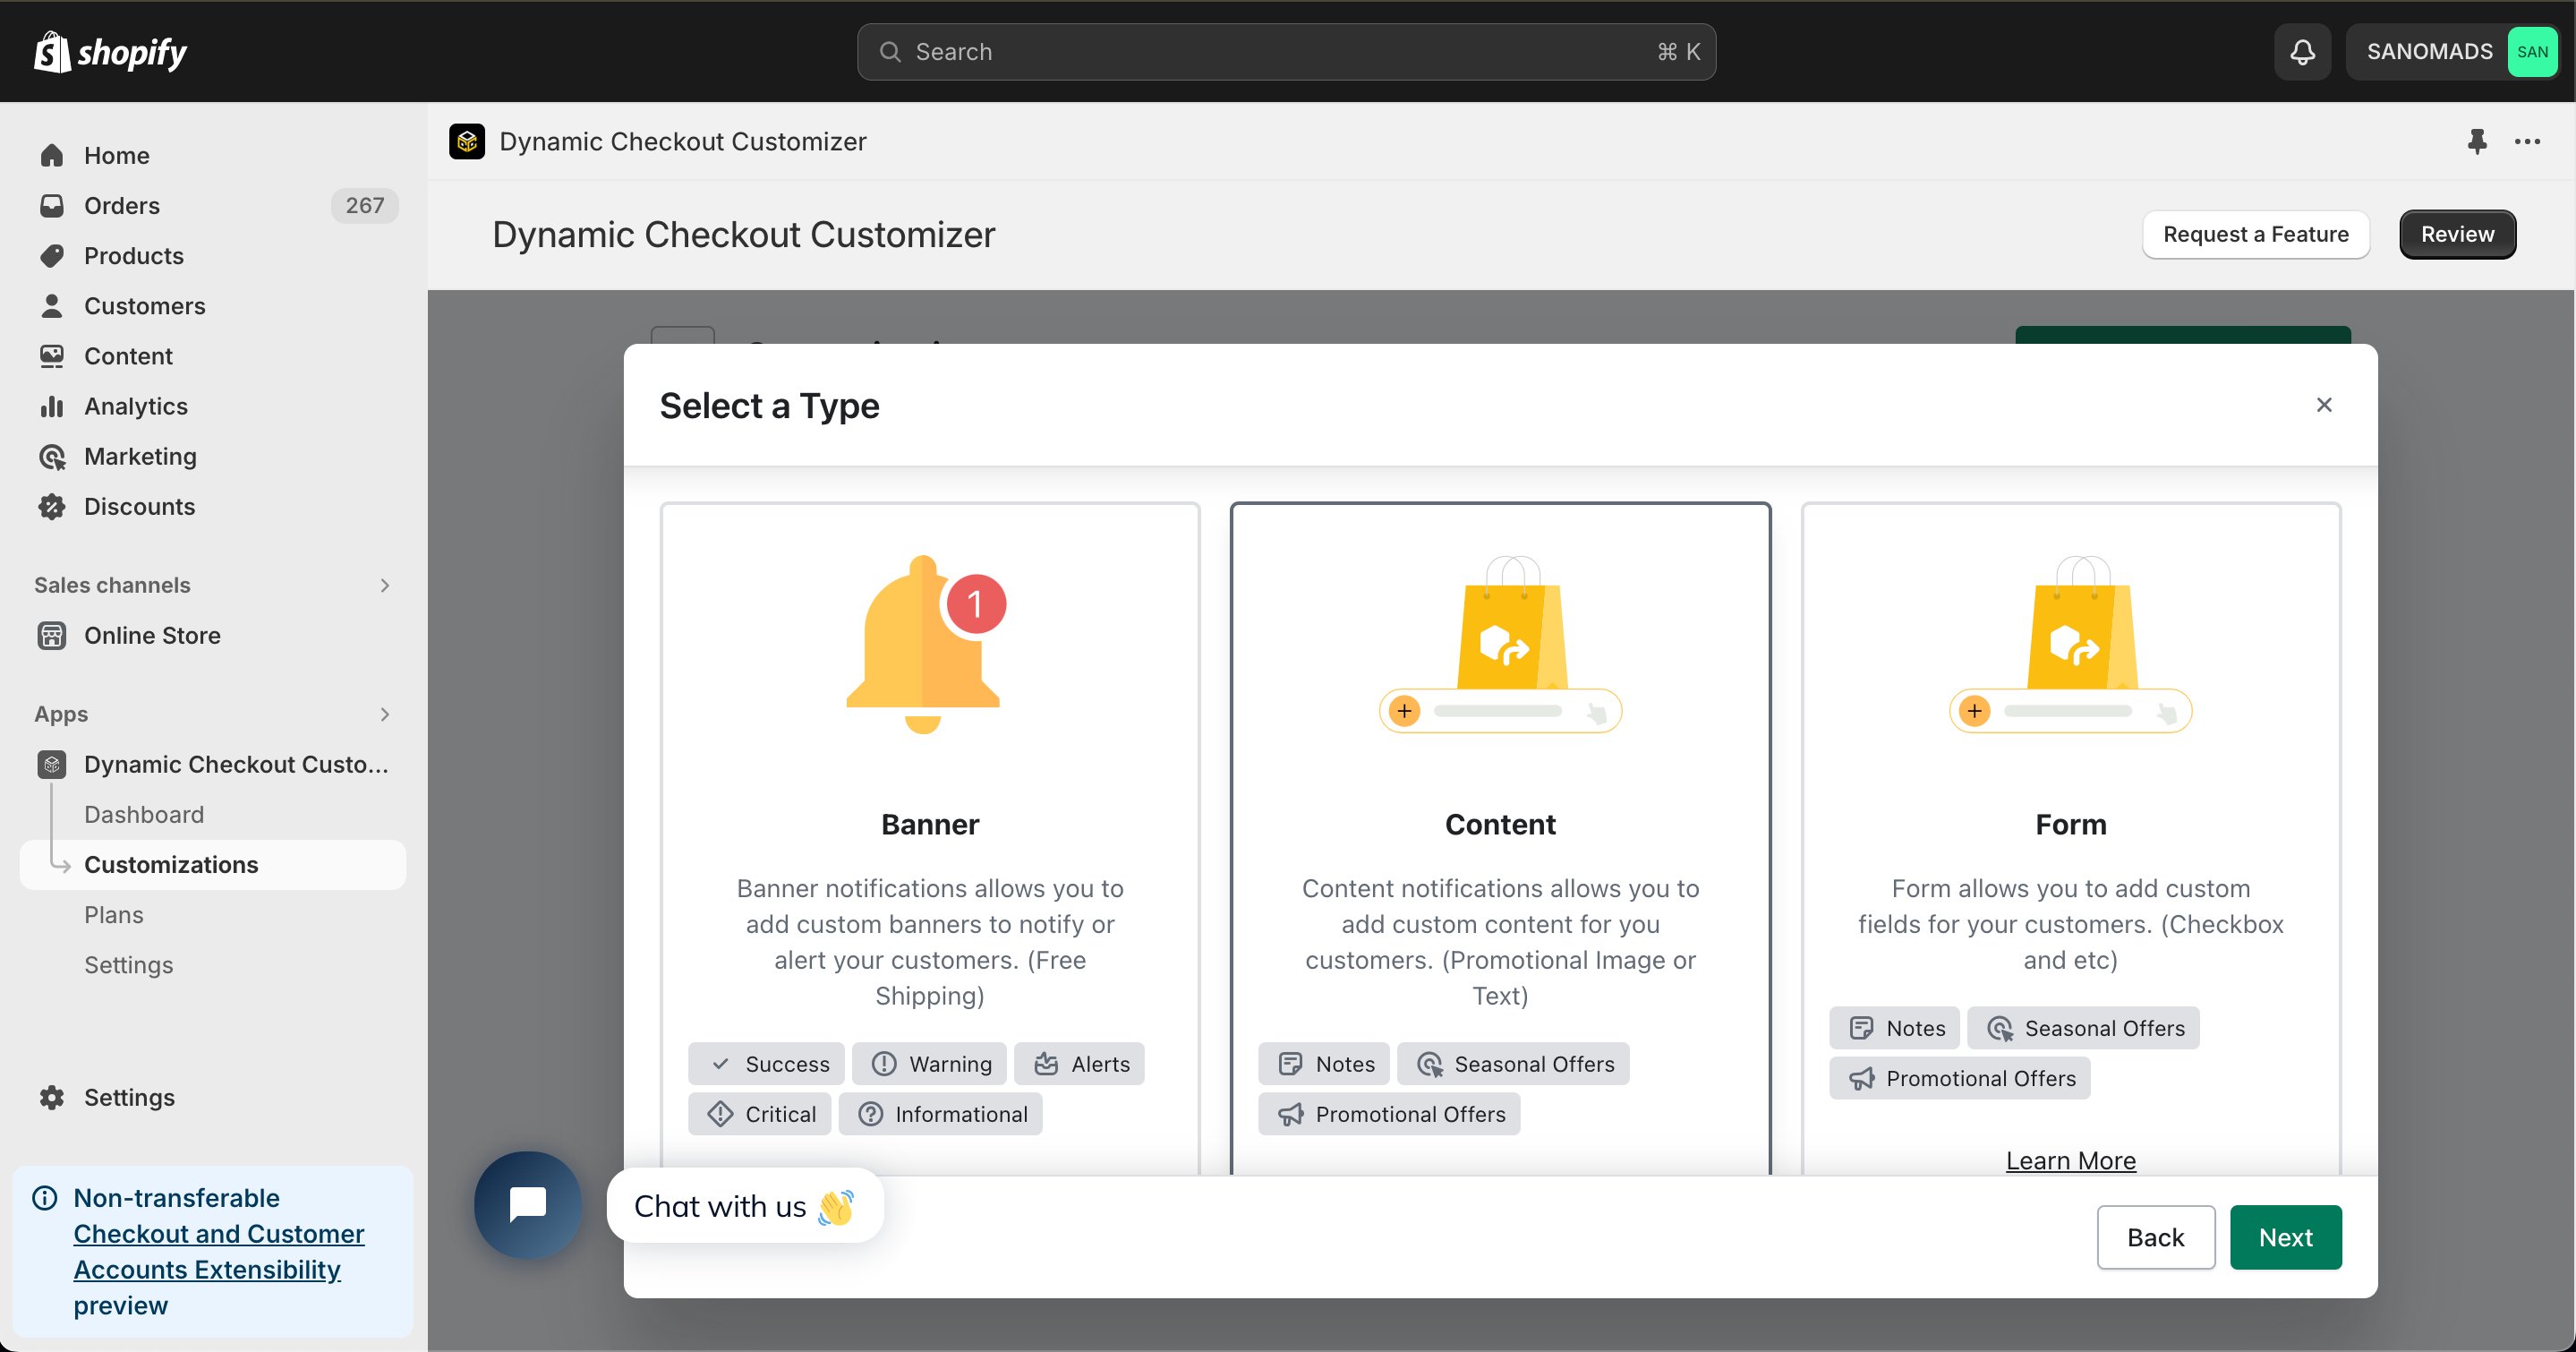 Select **Dynamic Render** from the available placement options.
 Add one or more **conditions** to control when the content appears during checkout.
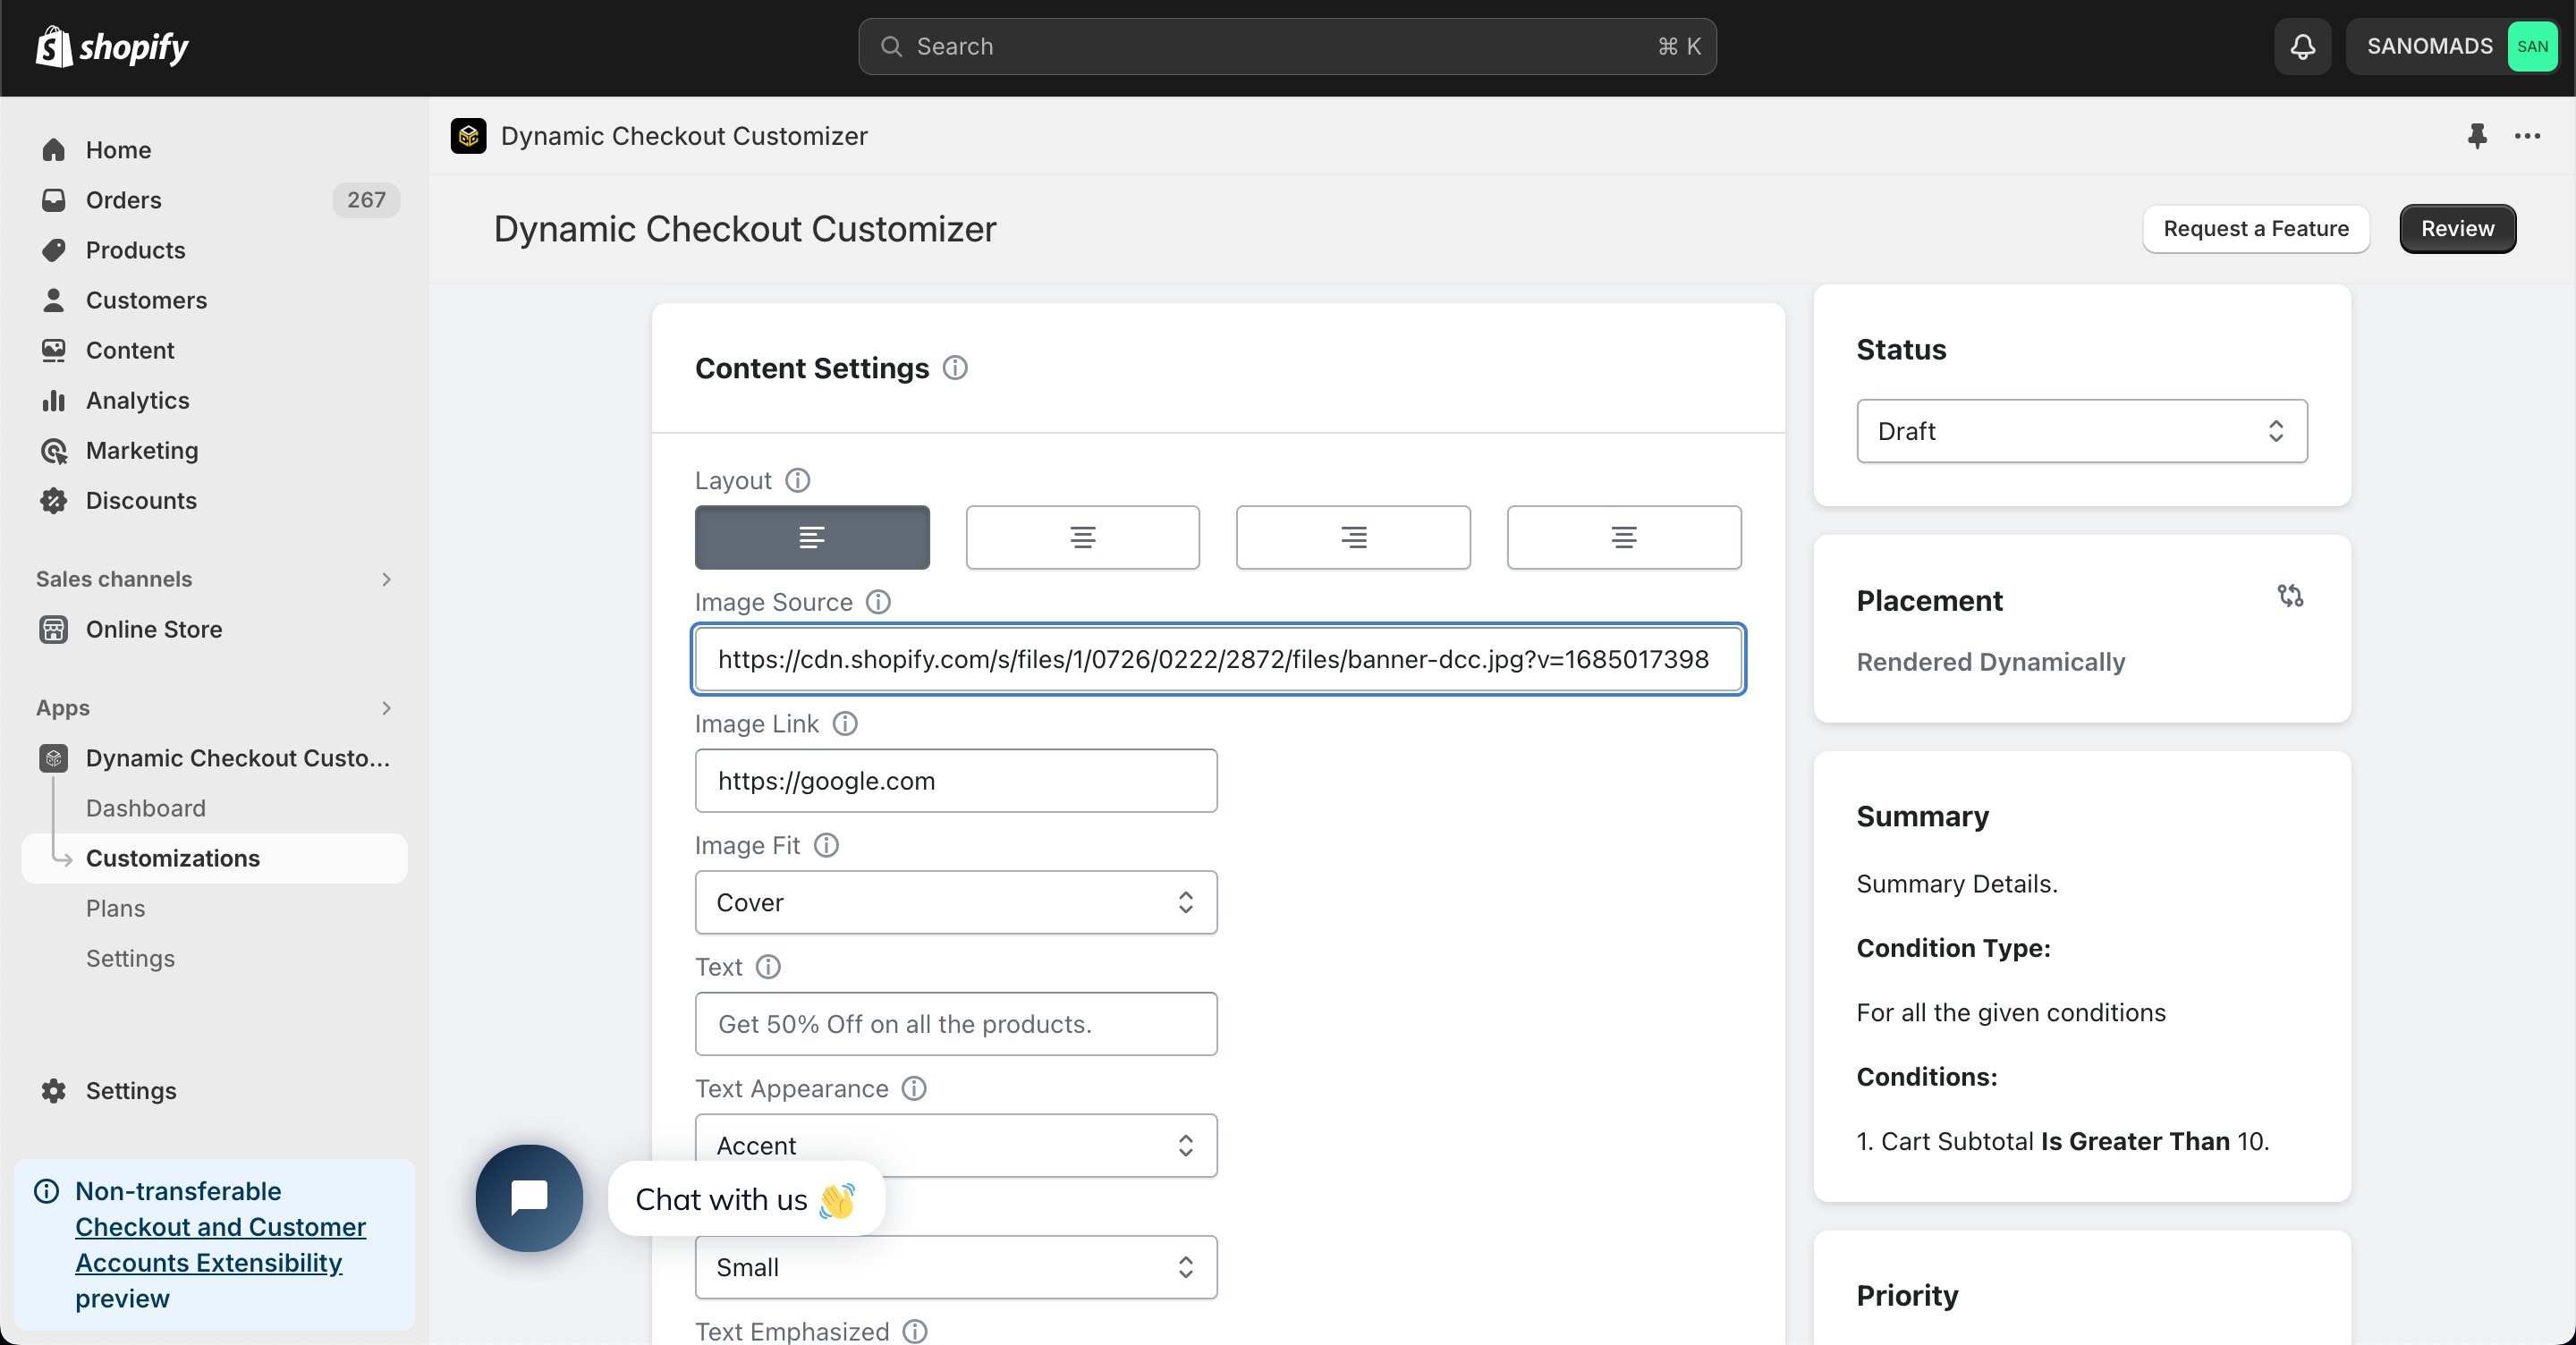
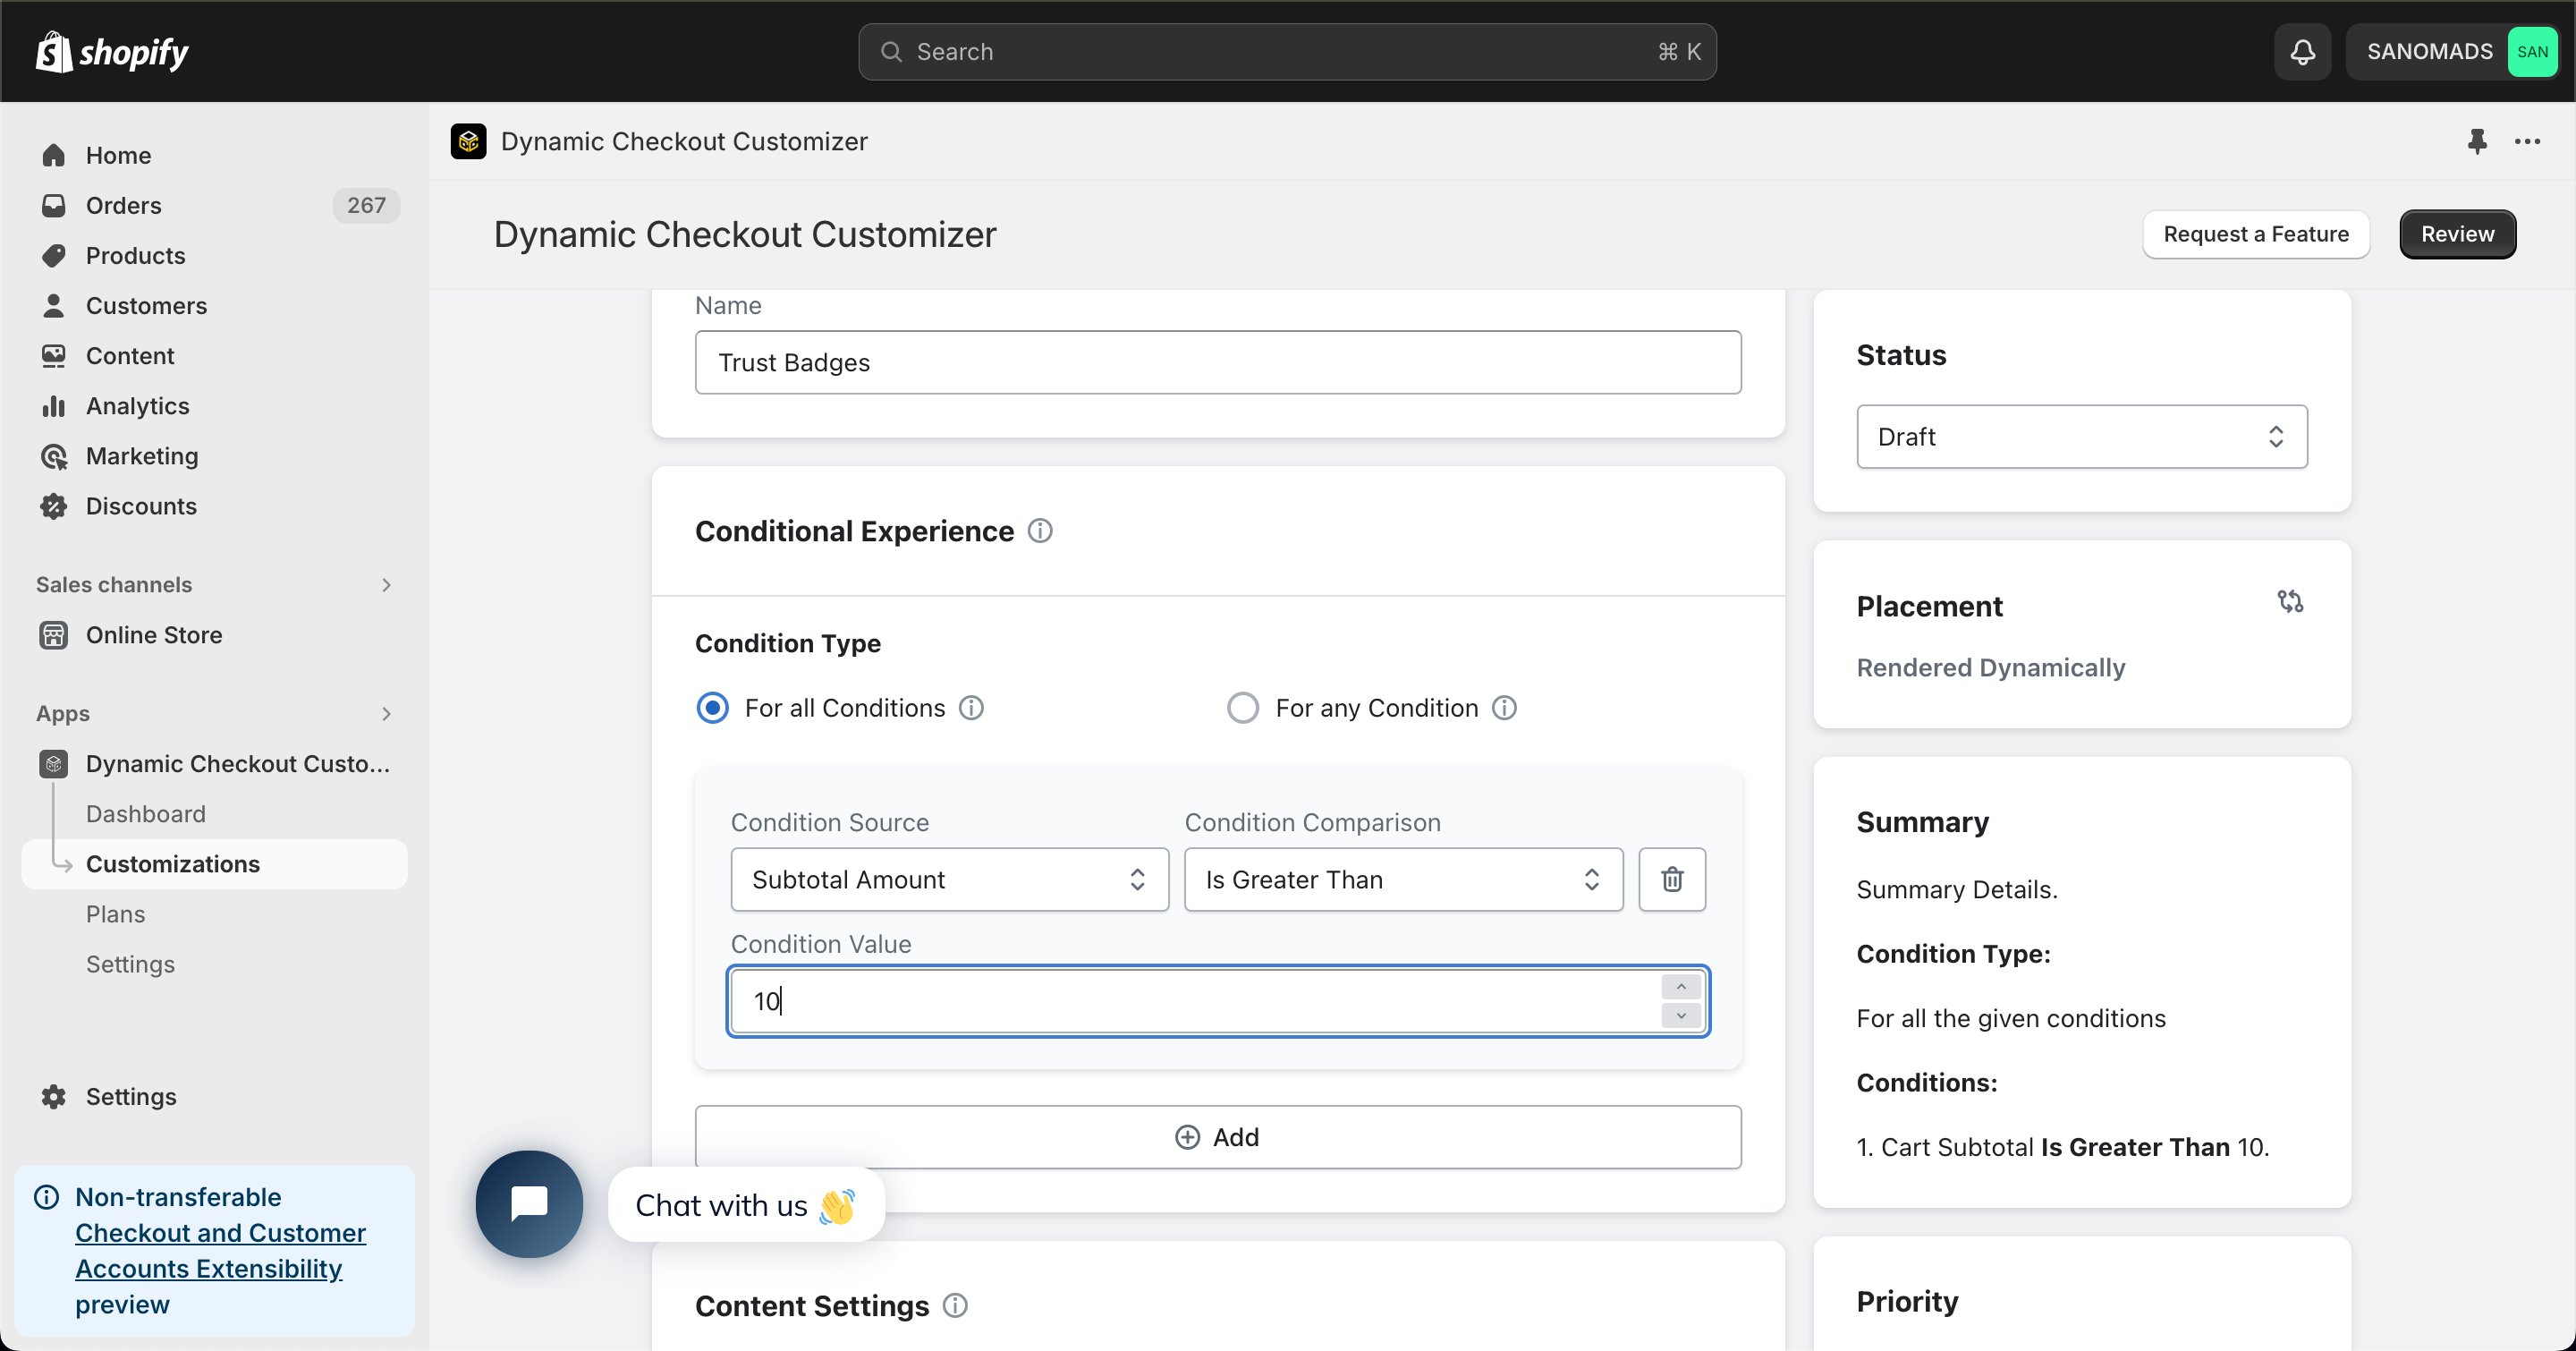 Configure the **Content Settings**, including the **Image Source URL** and **Redirect URL** for the trust badges or images you want to display.
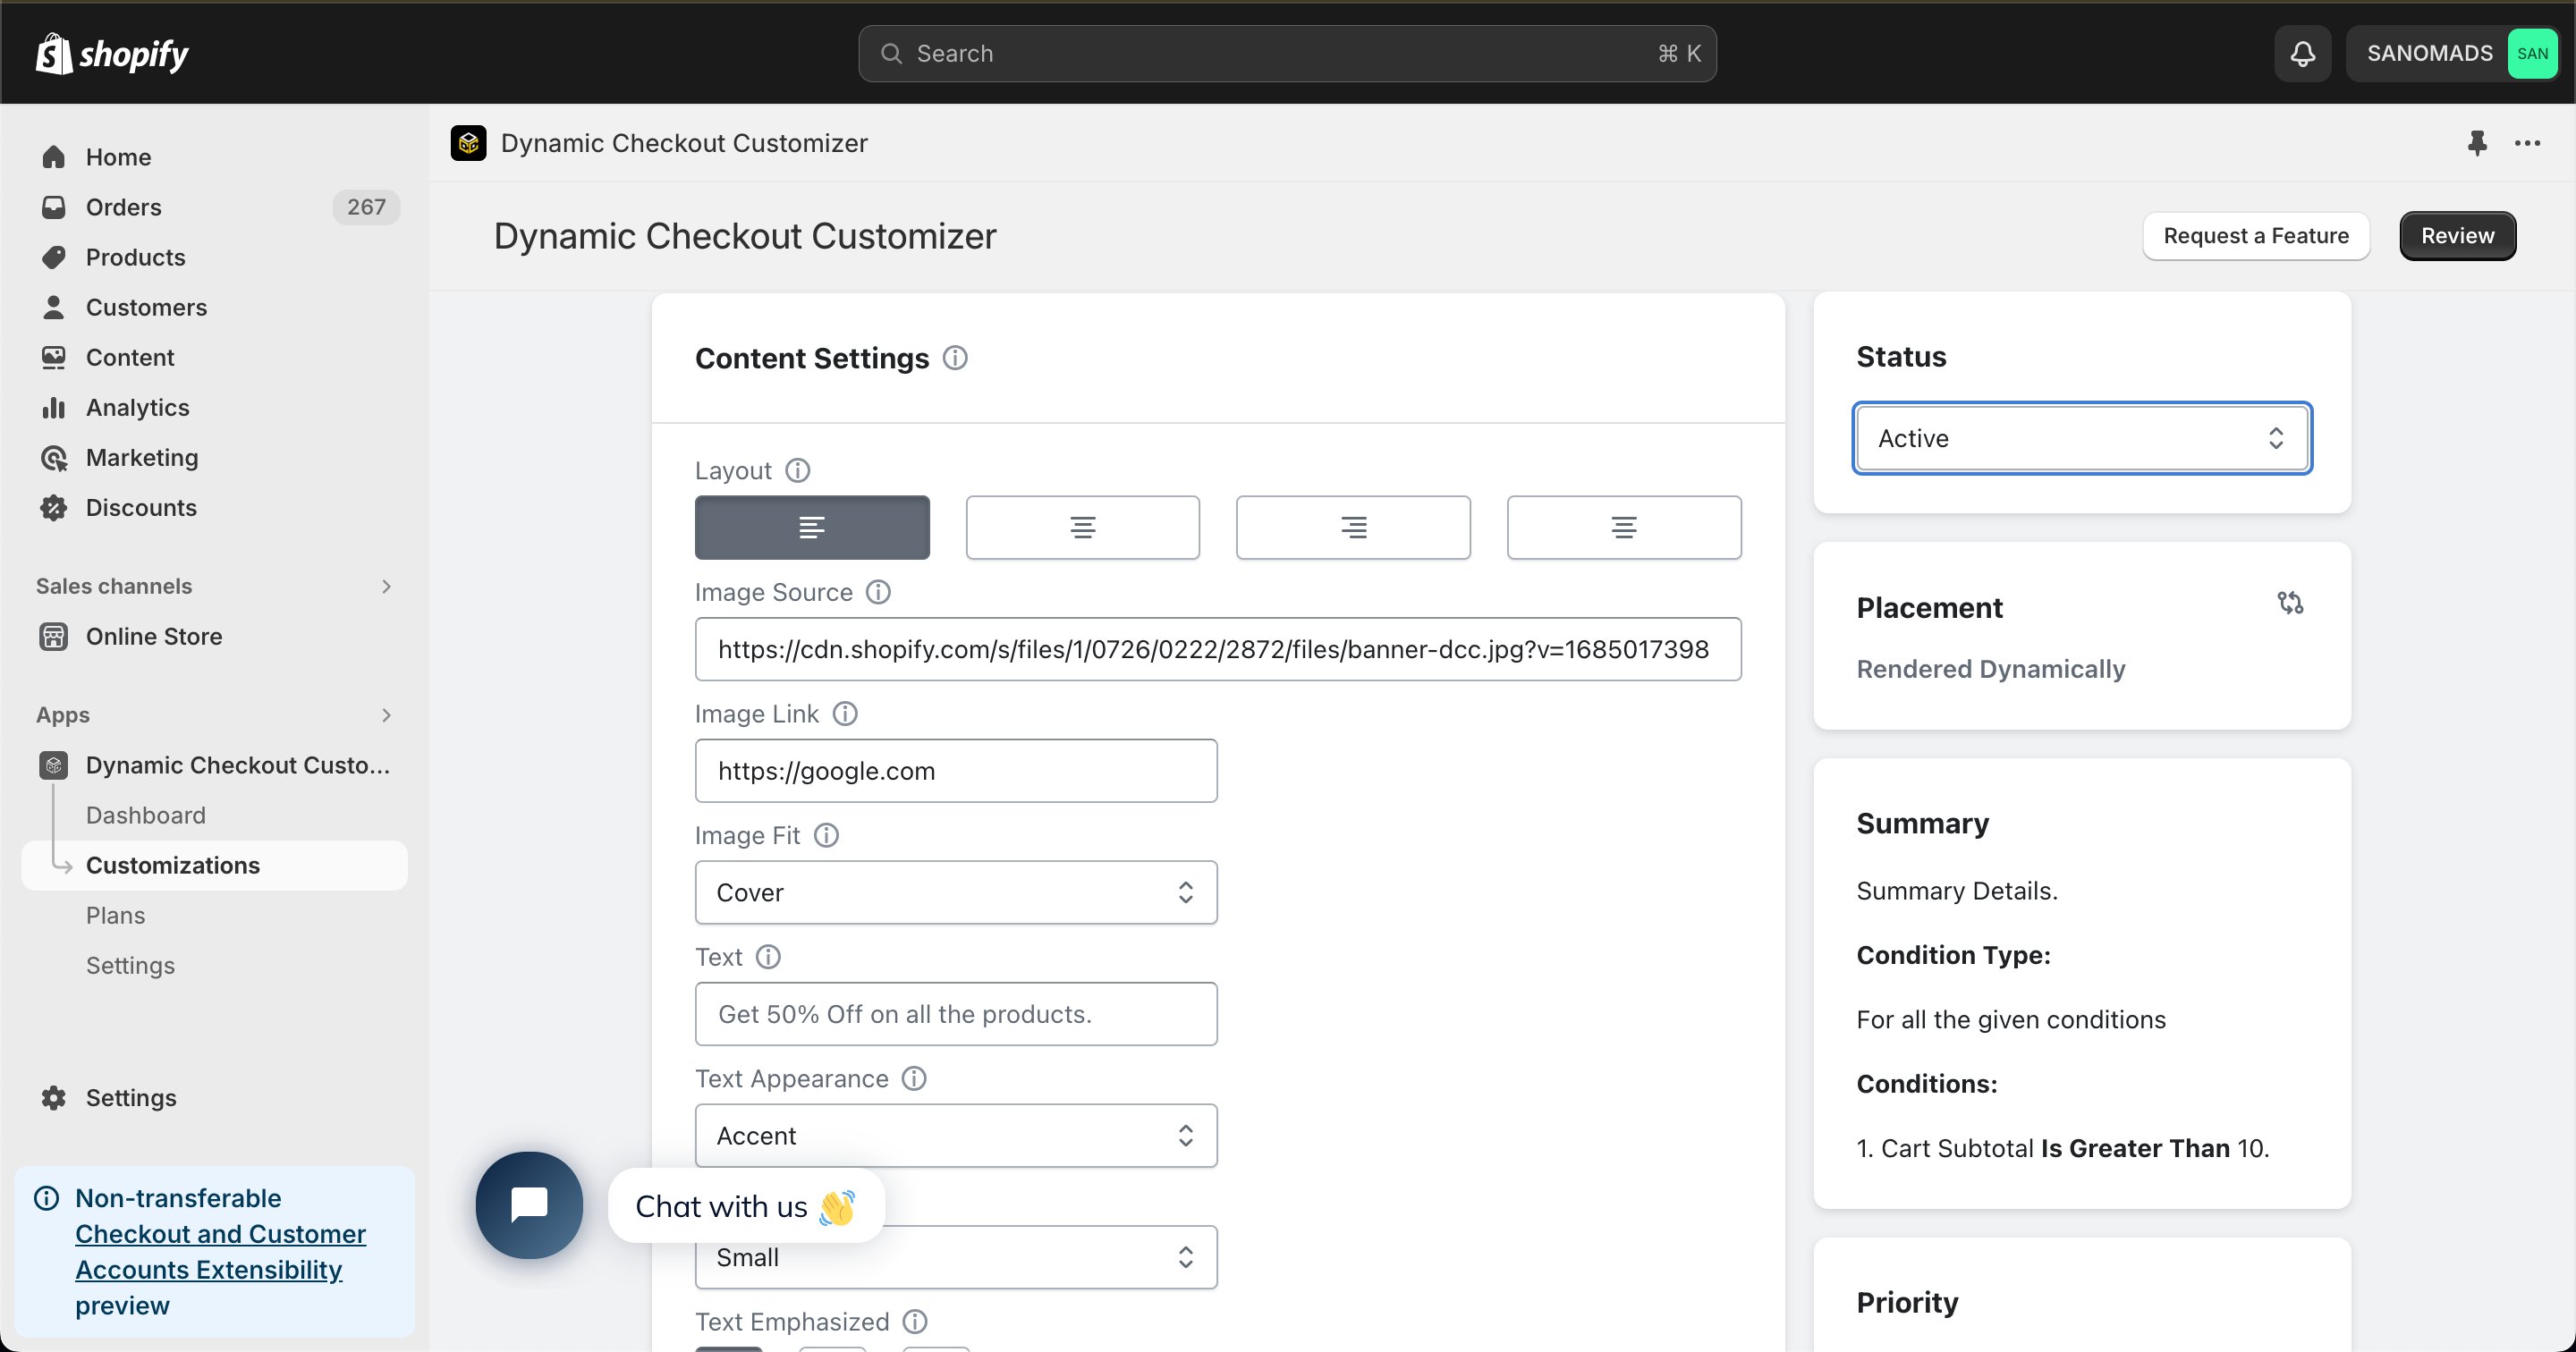
 Change the **Status** to **Active** to enable the customization.
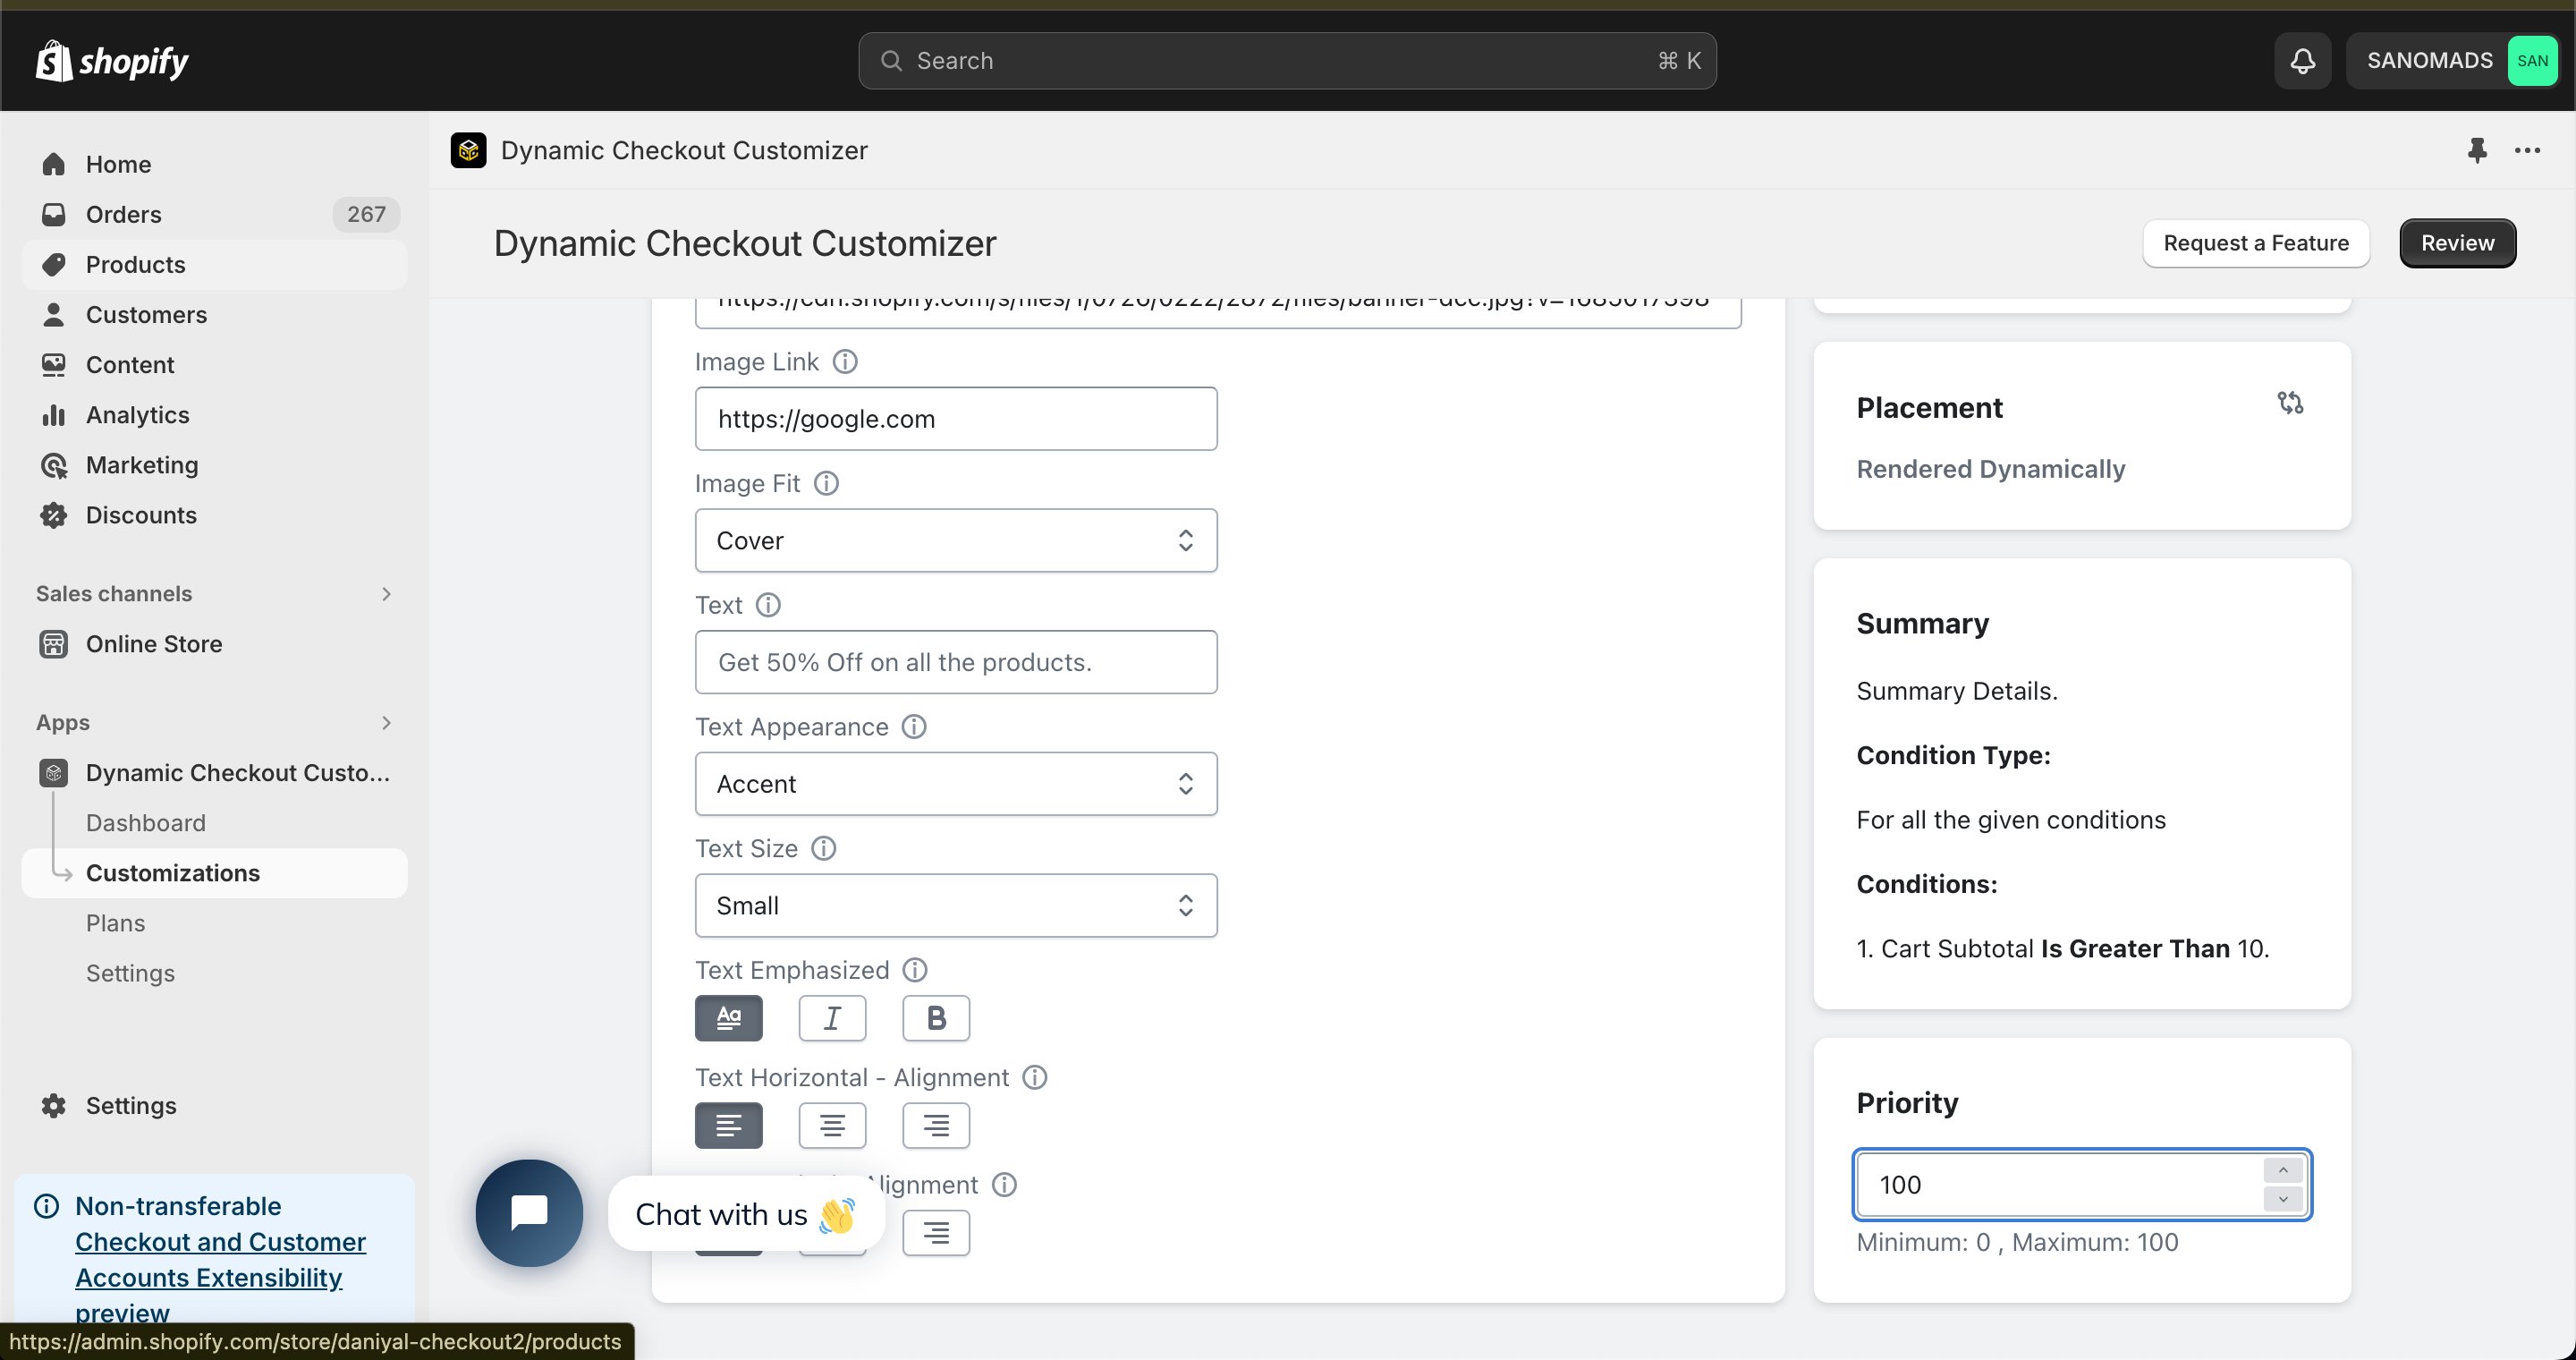
 Configure the **Priority** (0–100) to determine the execution order when multiple customizations are eligible.
 Open the **Placement** tab and copy the generated **Placement ID**. You'll use this in the Shopify Checkout Editor.
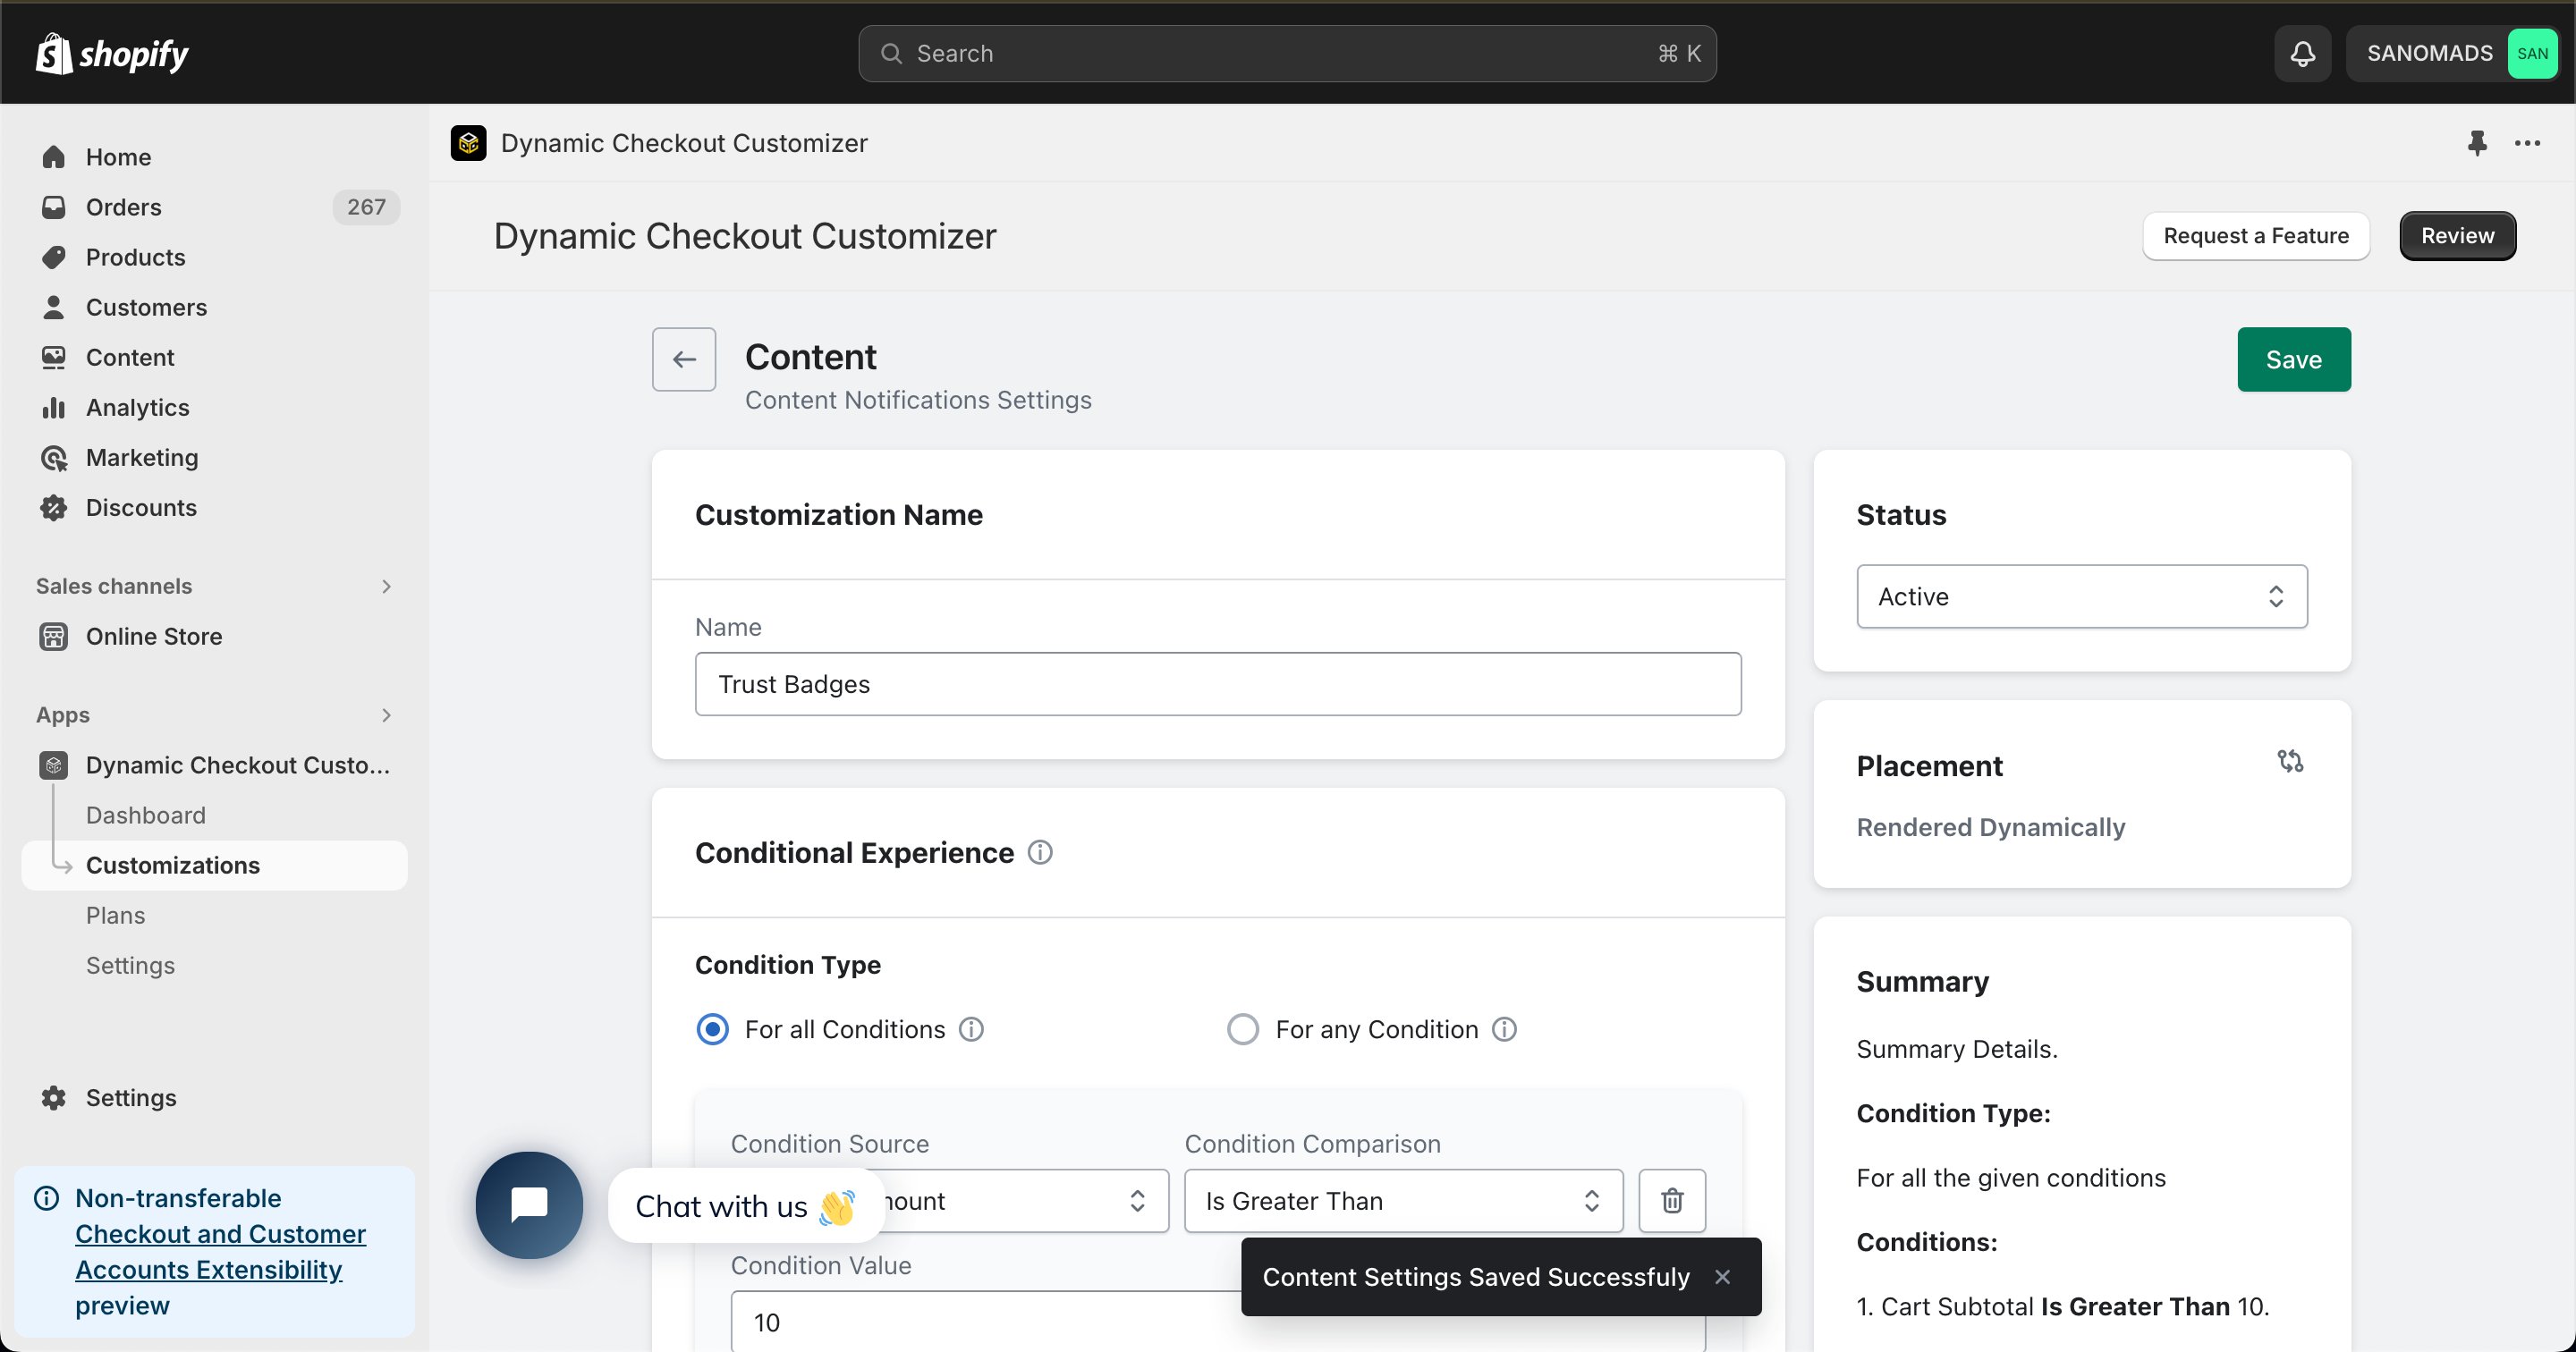
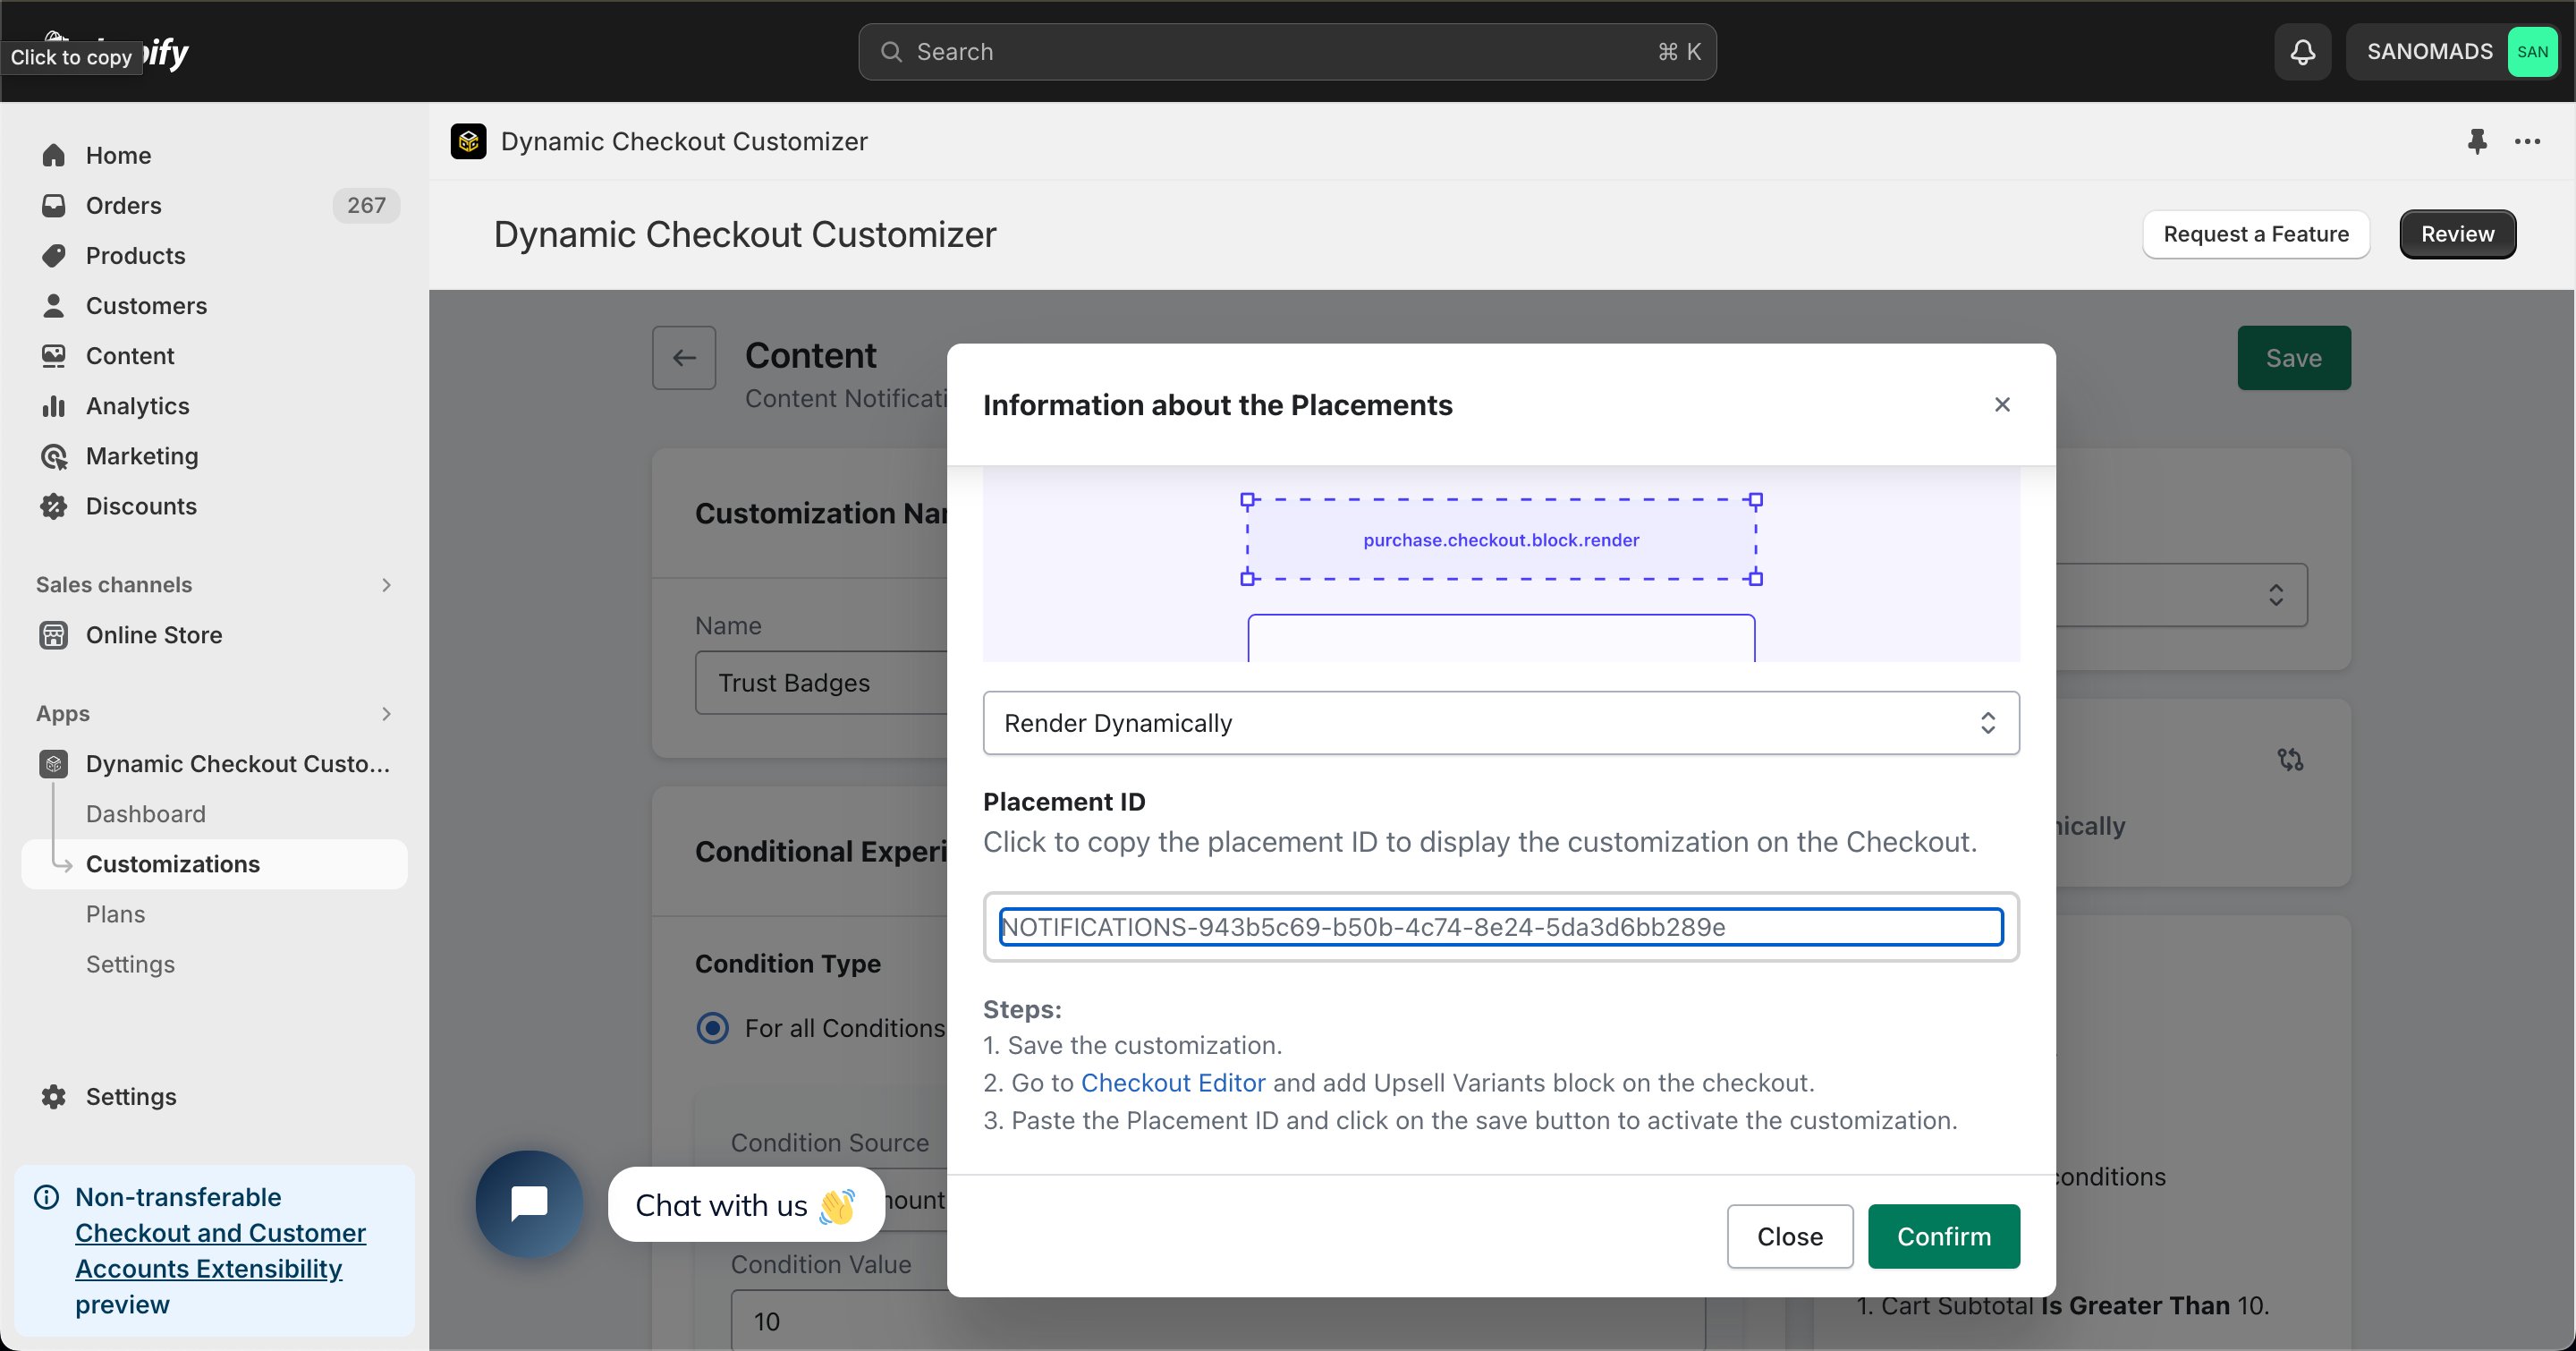 Click **Save** to store your configuration.
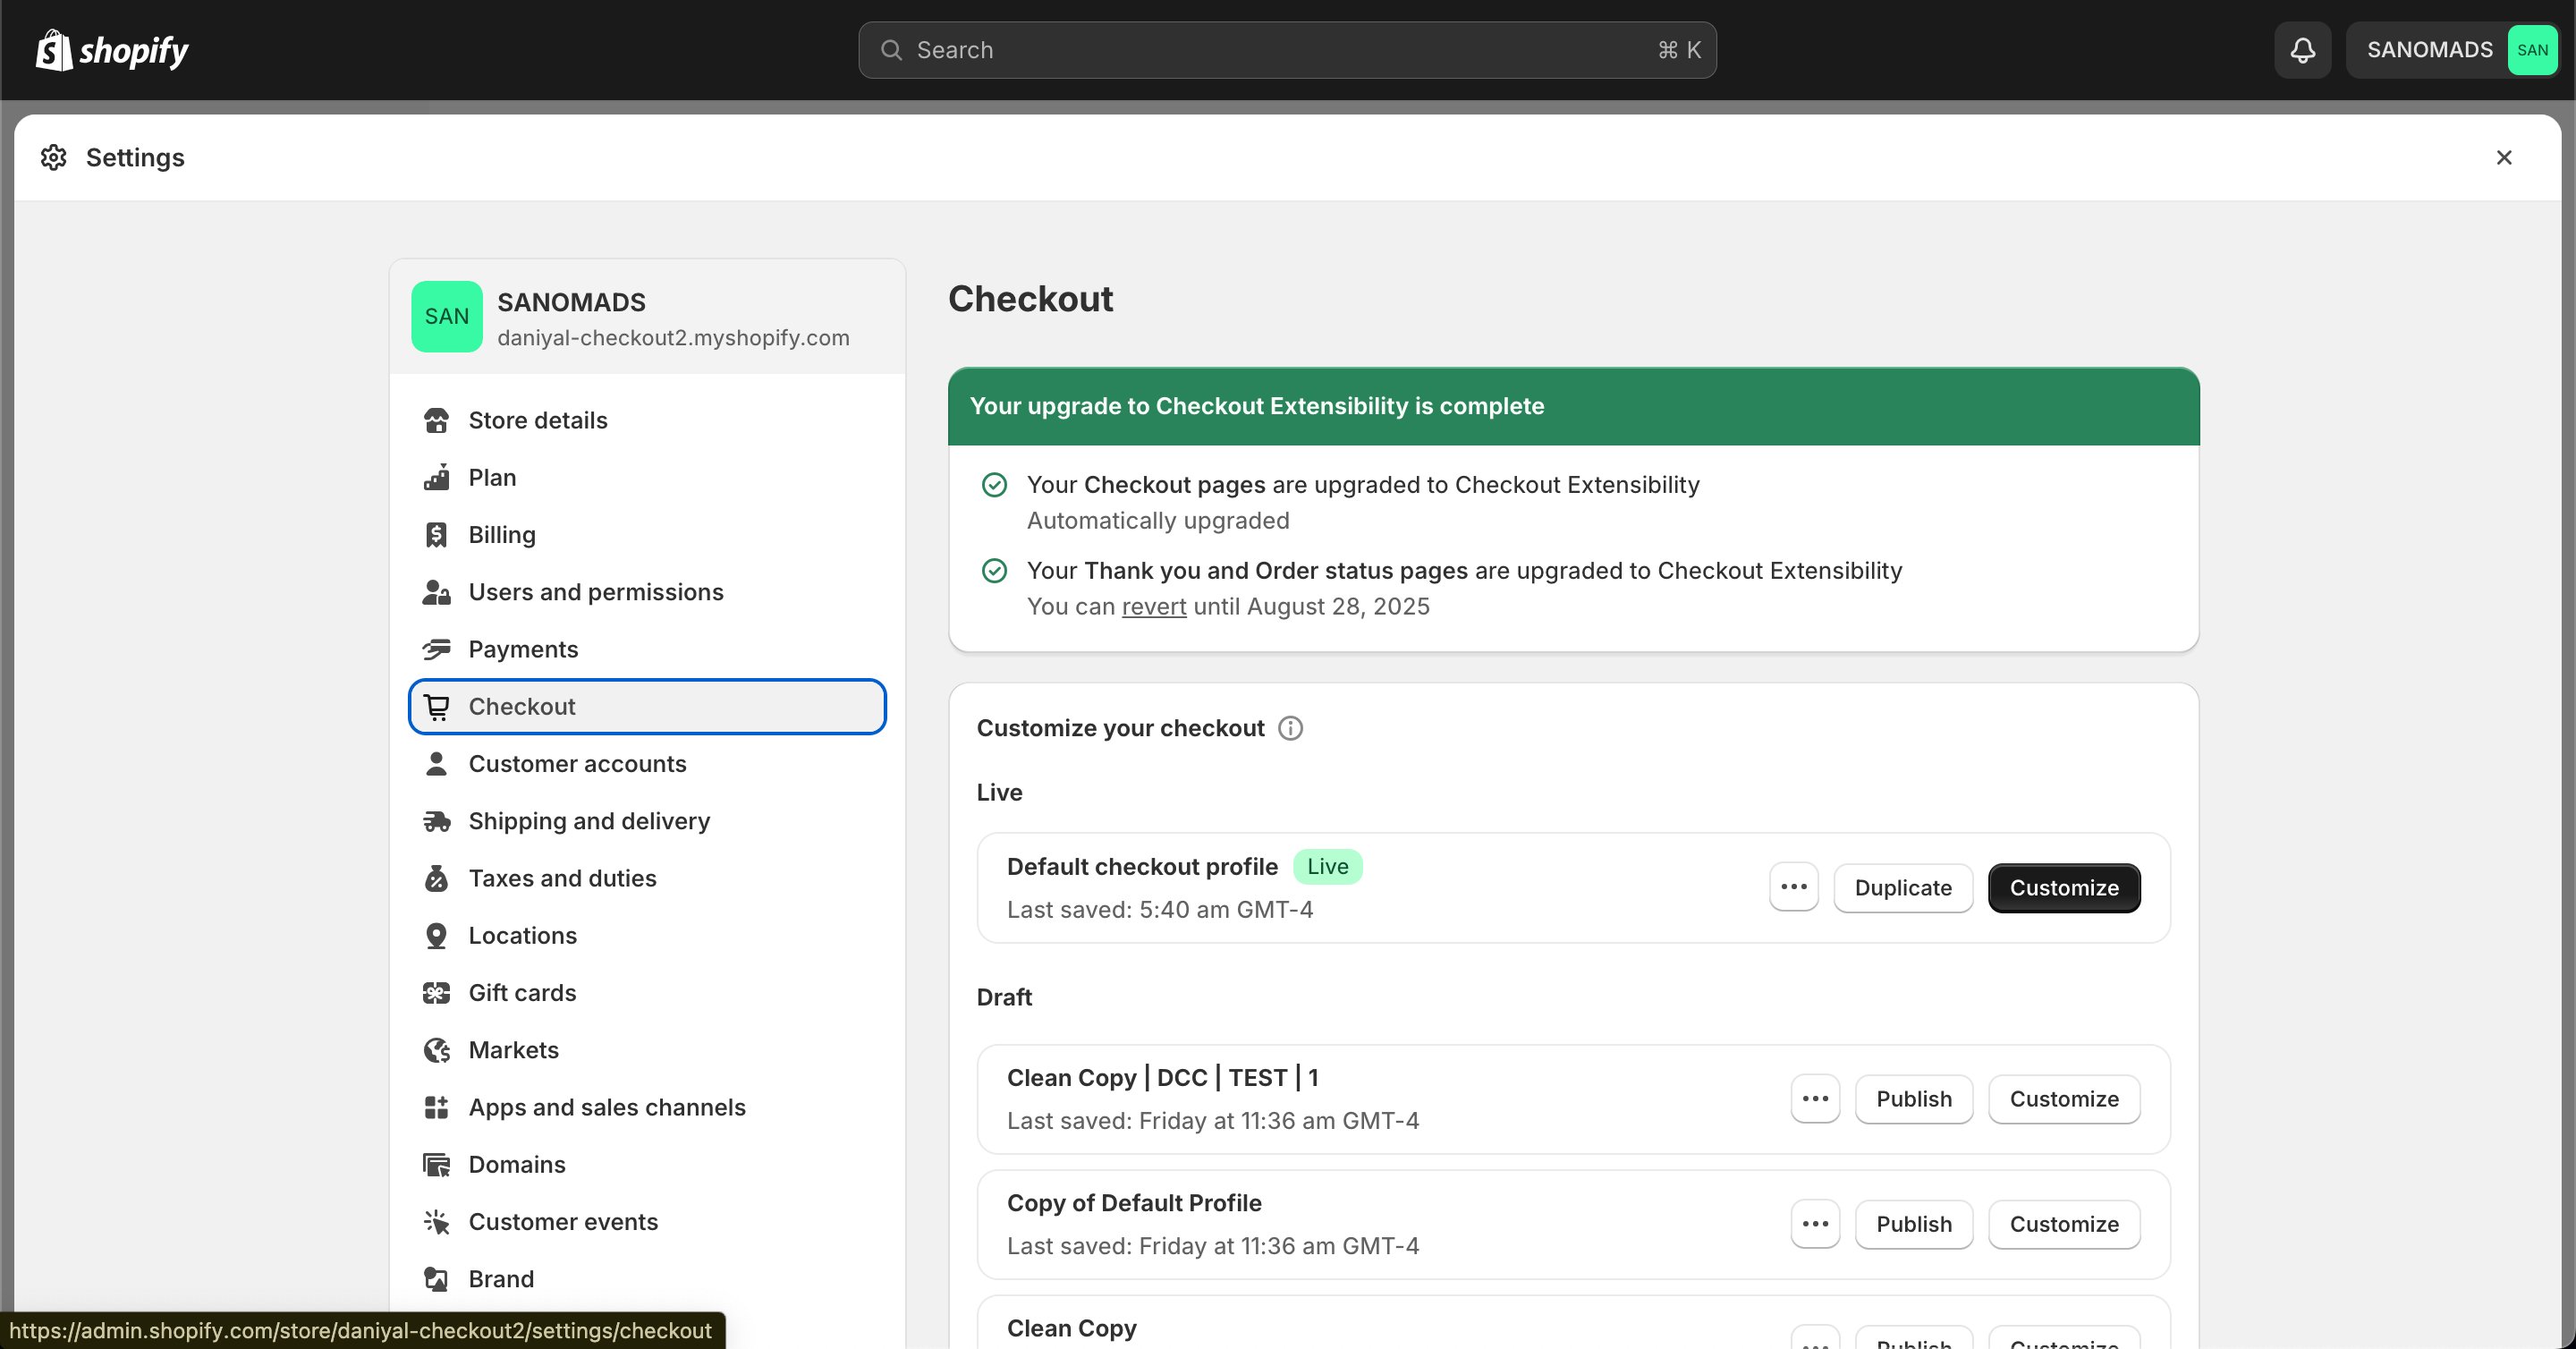
 Go to your Shopify [Settings](https://admin.shopify.com/settings) **→ Checkout**, select your checkout profile, and click **Customize**.
 In the [Checkout Editor](https://admin.shopify.com/settings/checkout/editor), click **Add app block**.
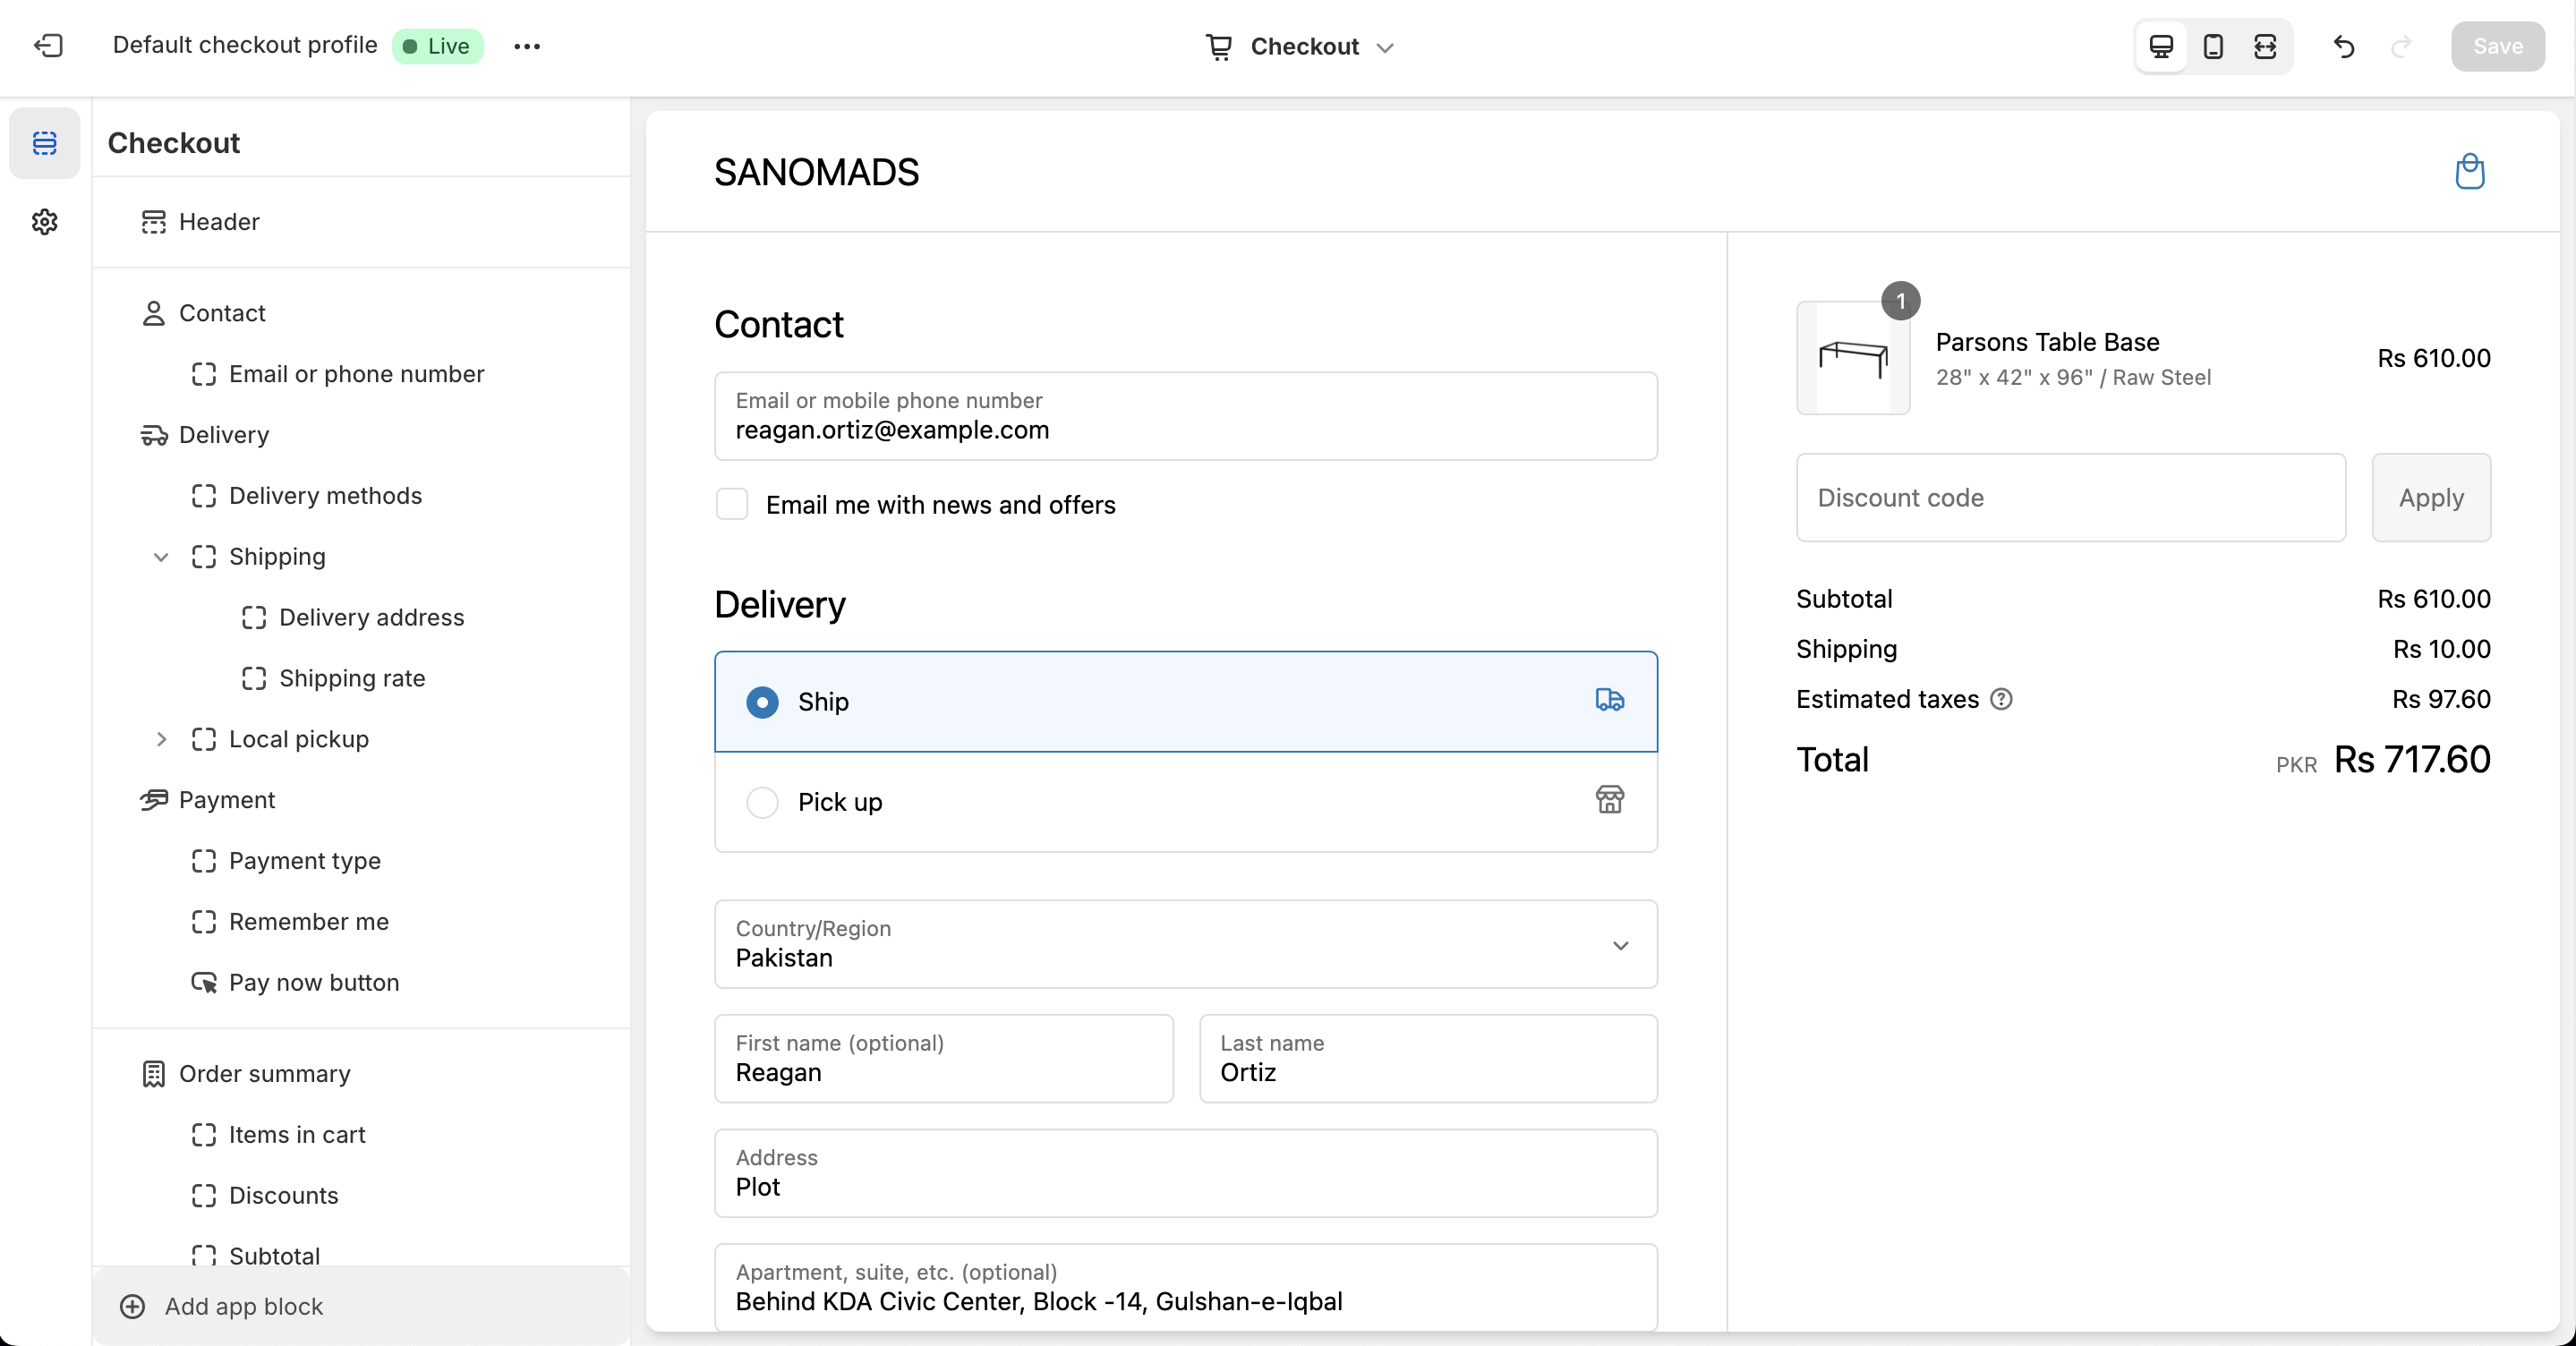 Make sure the app block is placed in the same checkout placement you selected in Dynamic Checkout Customizer.
Select the **Checkout – Image Content** app block, drag it to the desired location, and paste the copied **Placement ID**.
Make sure the app block is placed in the same checkout placement you selected in Dynamic Checkout Customizer.
Select the **Checkout – Image Content** app block, drag it to the desired location, and paste the copied **Placement ID**.
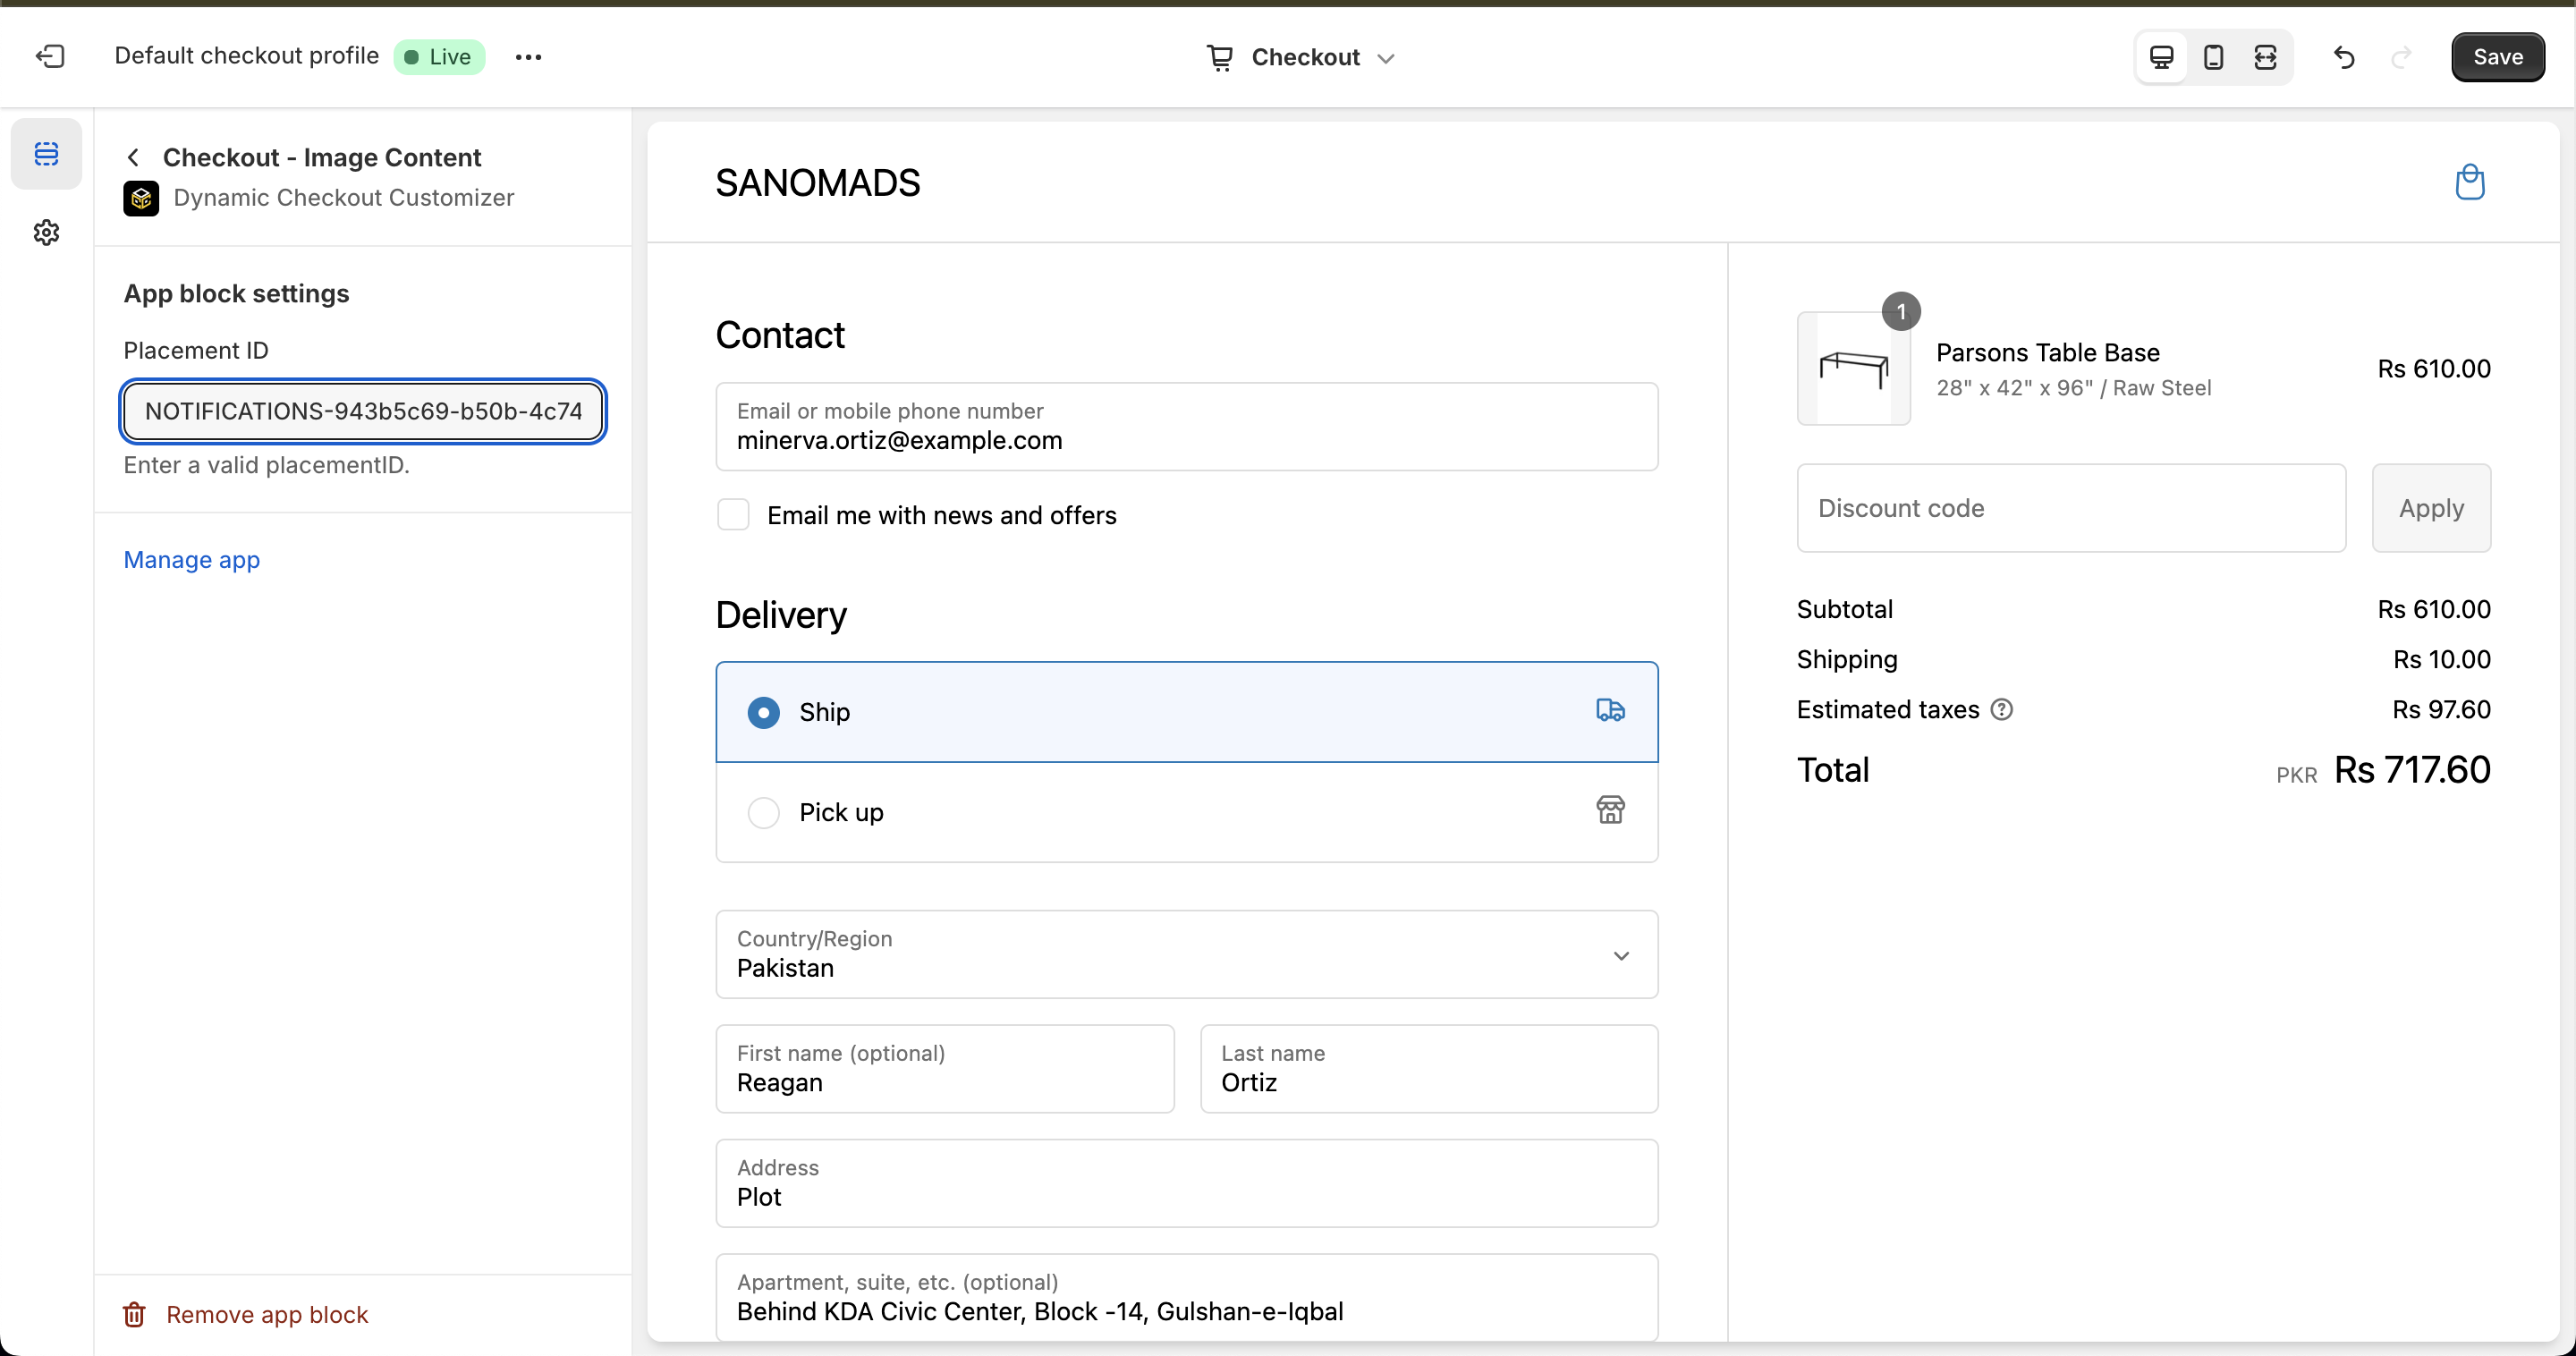 Click **Save** in the Checkout Editor to publish the customization.
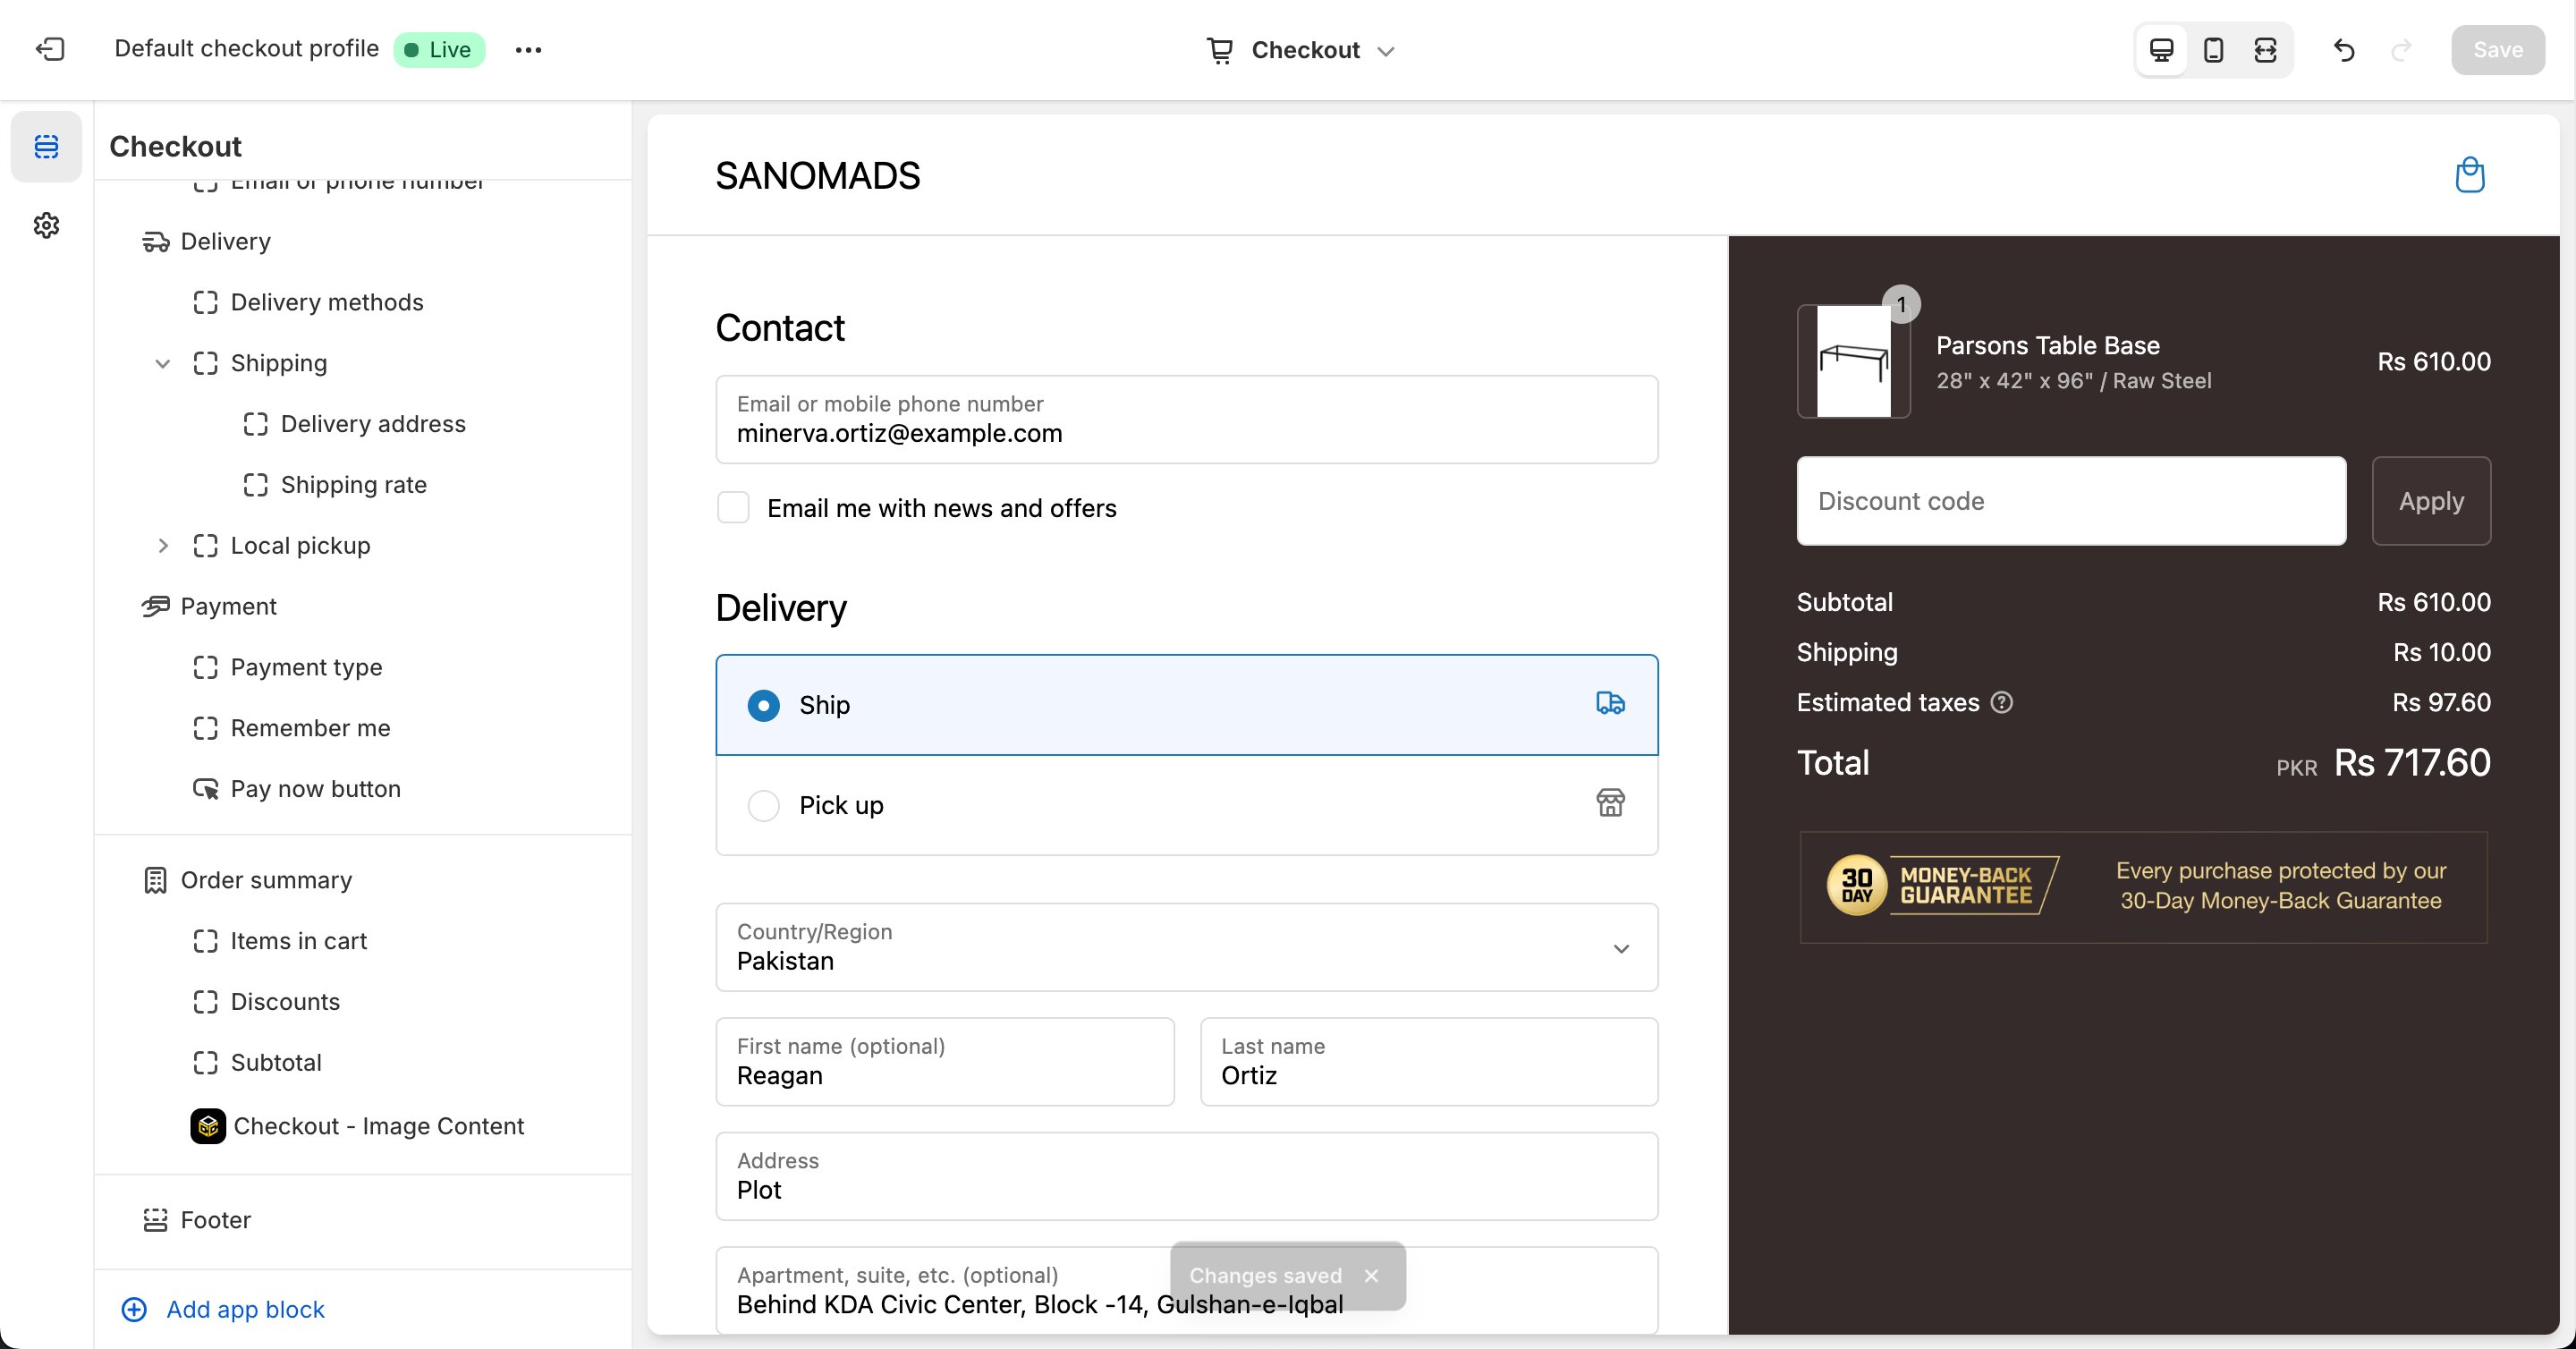 To display multiple trust badges or images, repeat the entire process for each additional **Content** customization you want to add.
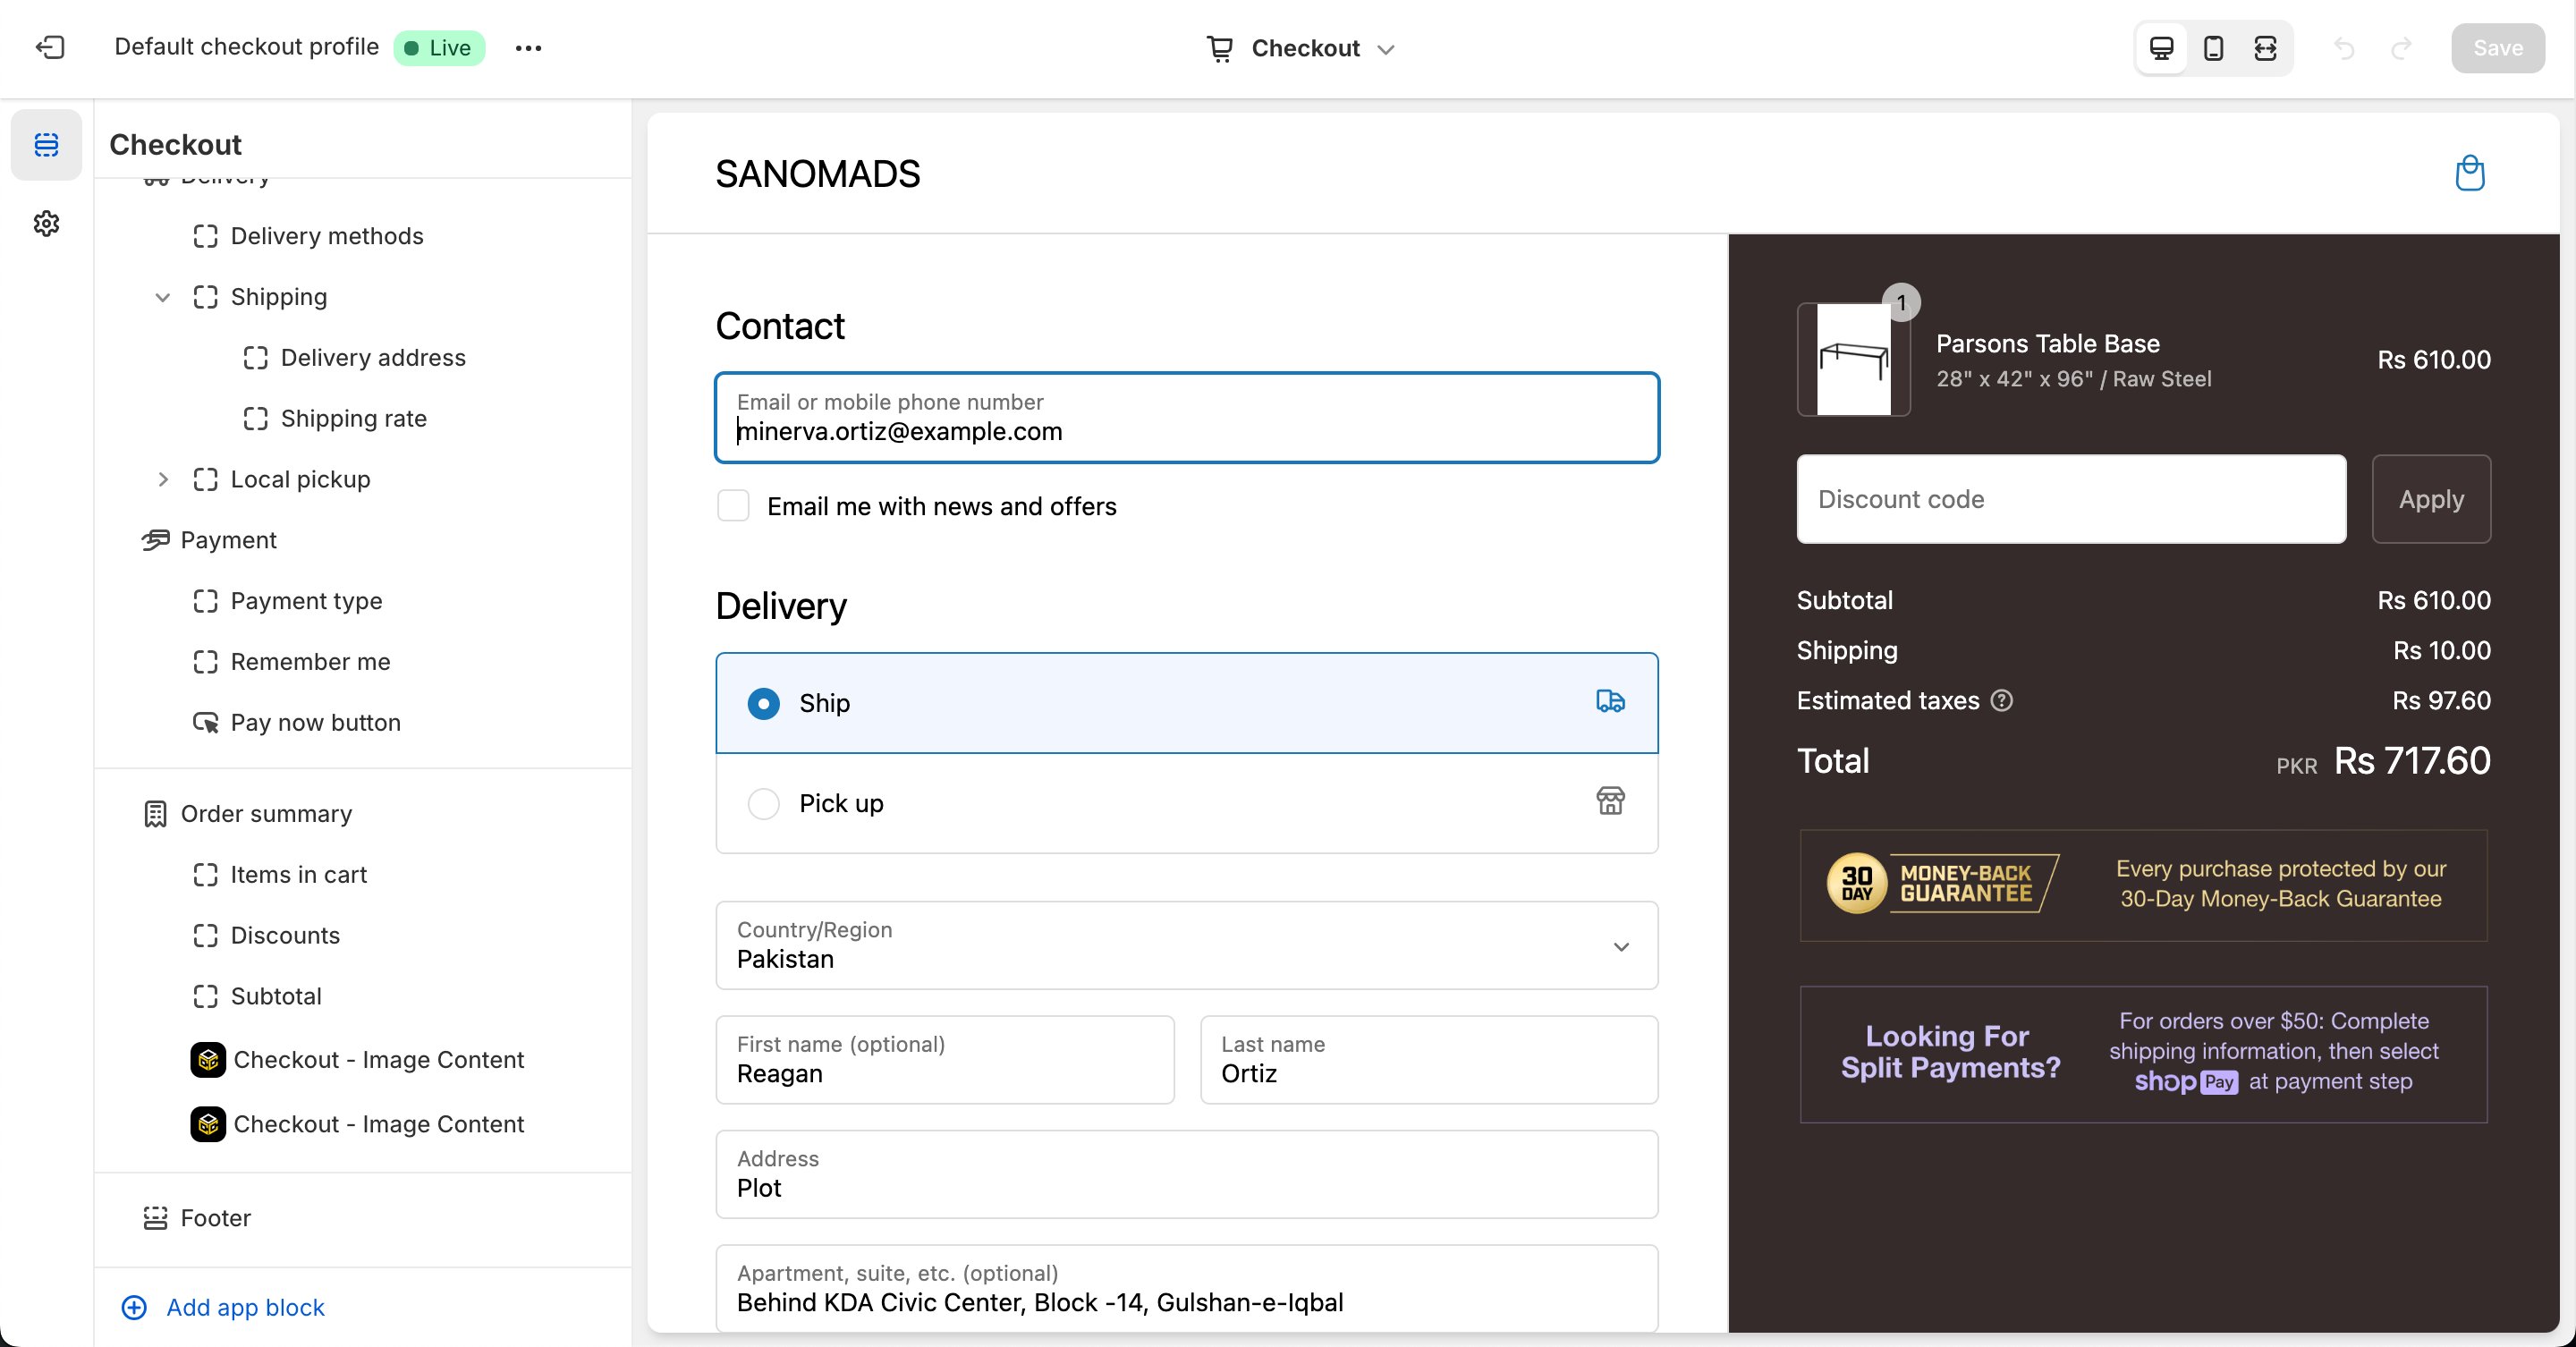 **Why does it matter?**
[AXIL](https://sportear.myshopify.com/) uses the **Notifications → Content** customization to display multiple trust badges throughout checkout, helping build customer confidence, strengthen brand reputation, and improve conversion rates.
**Why does it matter?**
[AXIL](https://sportear.myshopify.com/) uses the **Notifications → Content** customization to display multiple trust badges throughout checkout, helping build customer confidence, strengthen brand reputation, and improve conversion rates.