
Guide
1
Create a new customization
Create a new customization.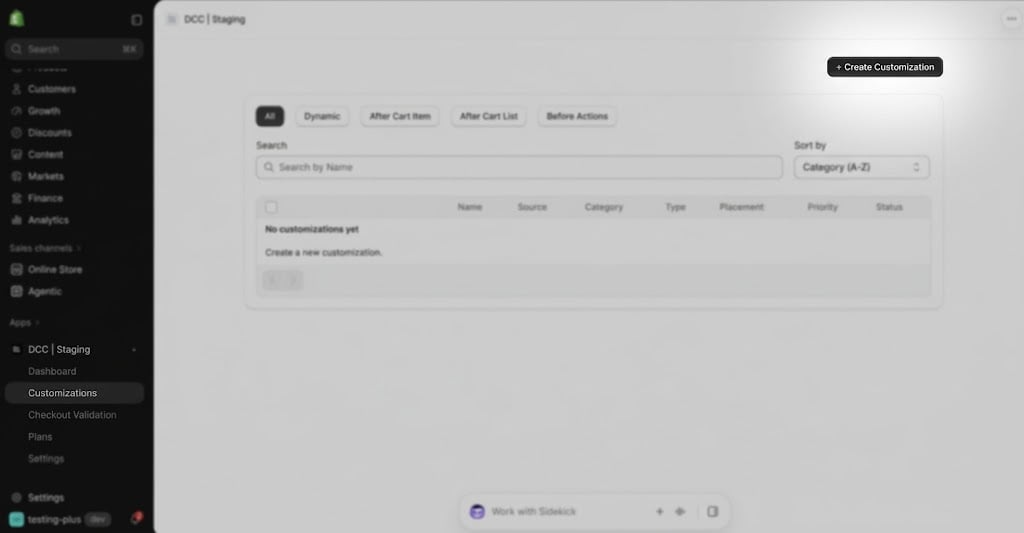
2
Choose the Form type
Select **Survey **from the available content types to display custom fields for survey during checkout.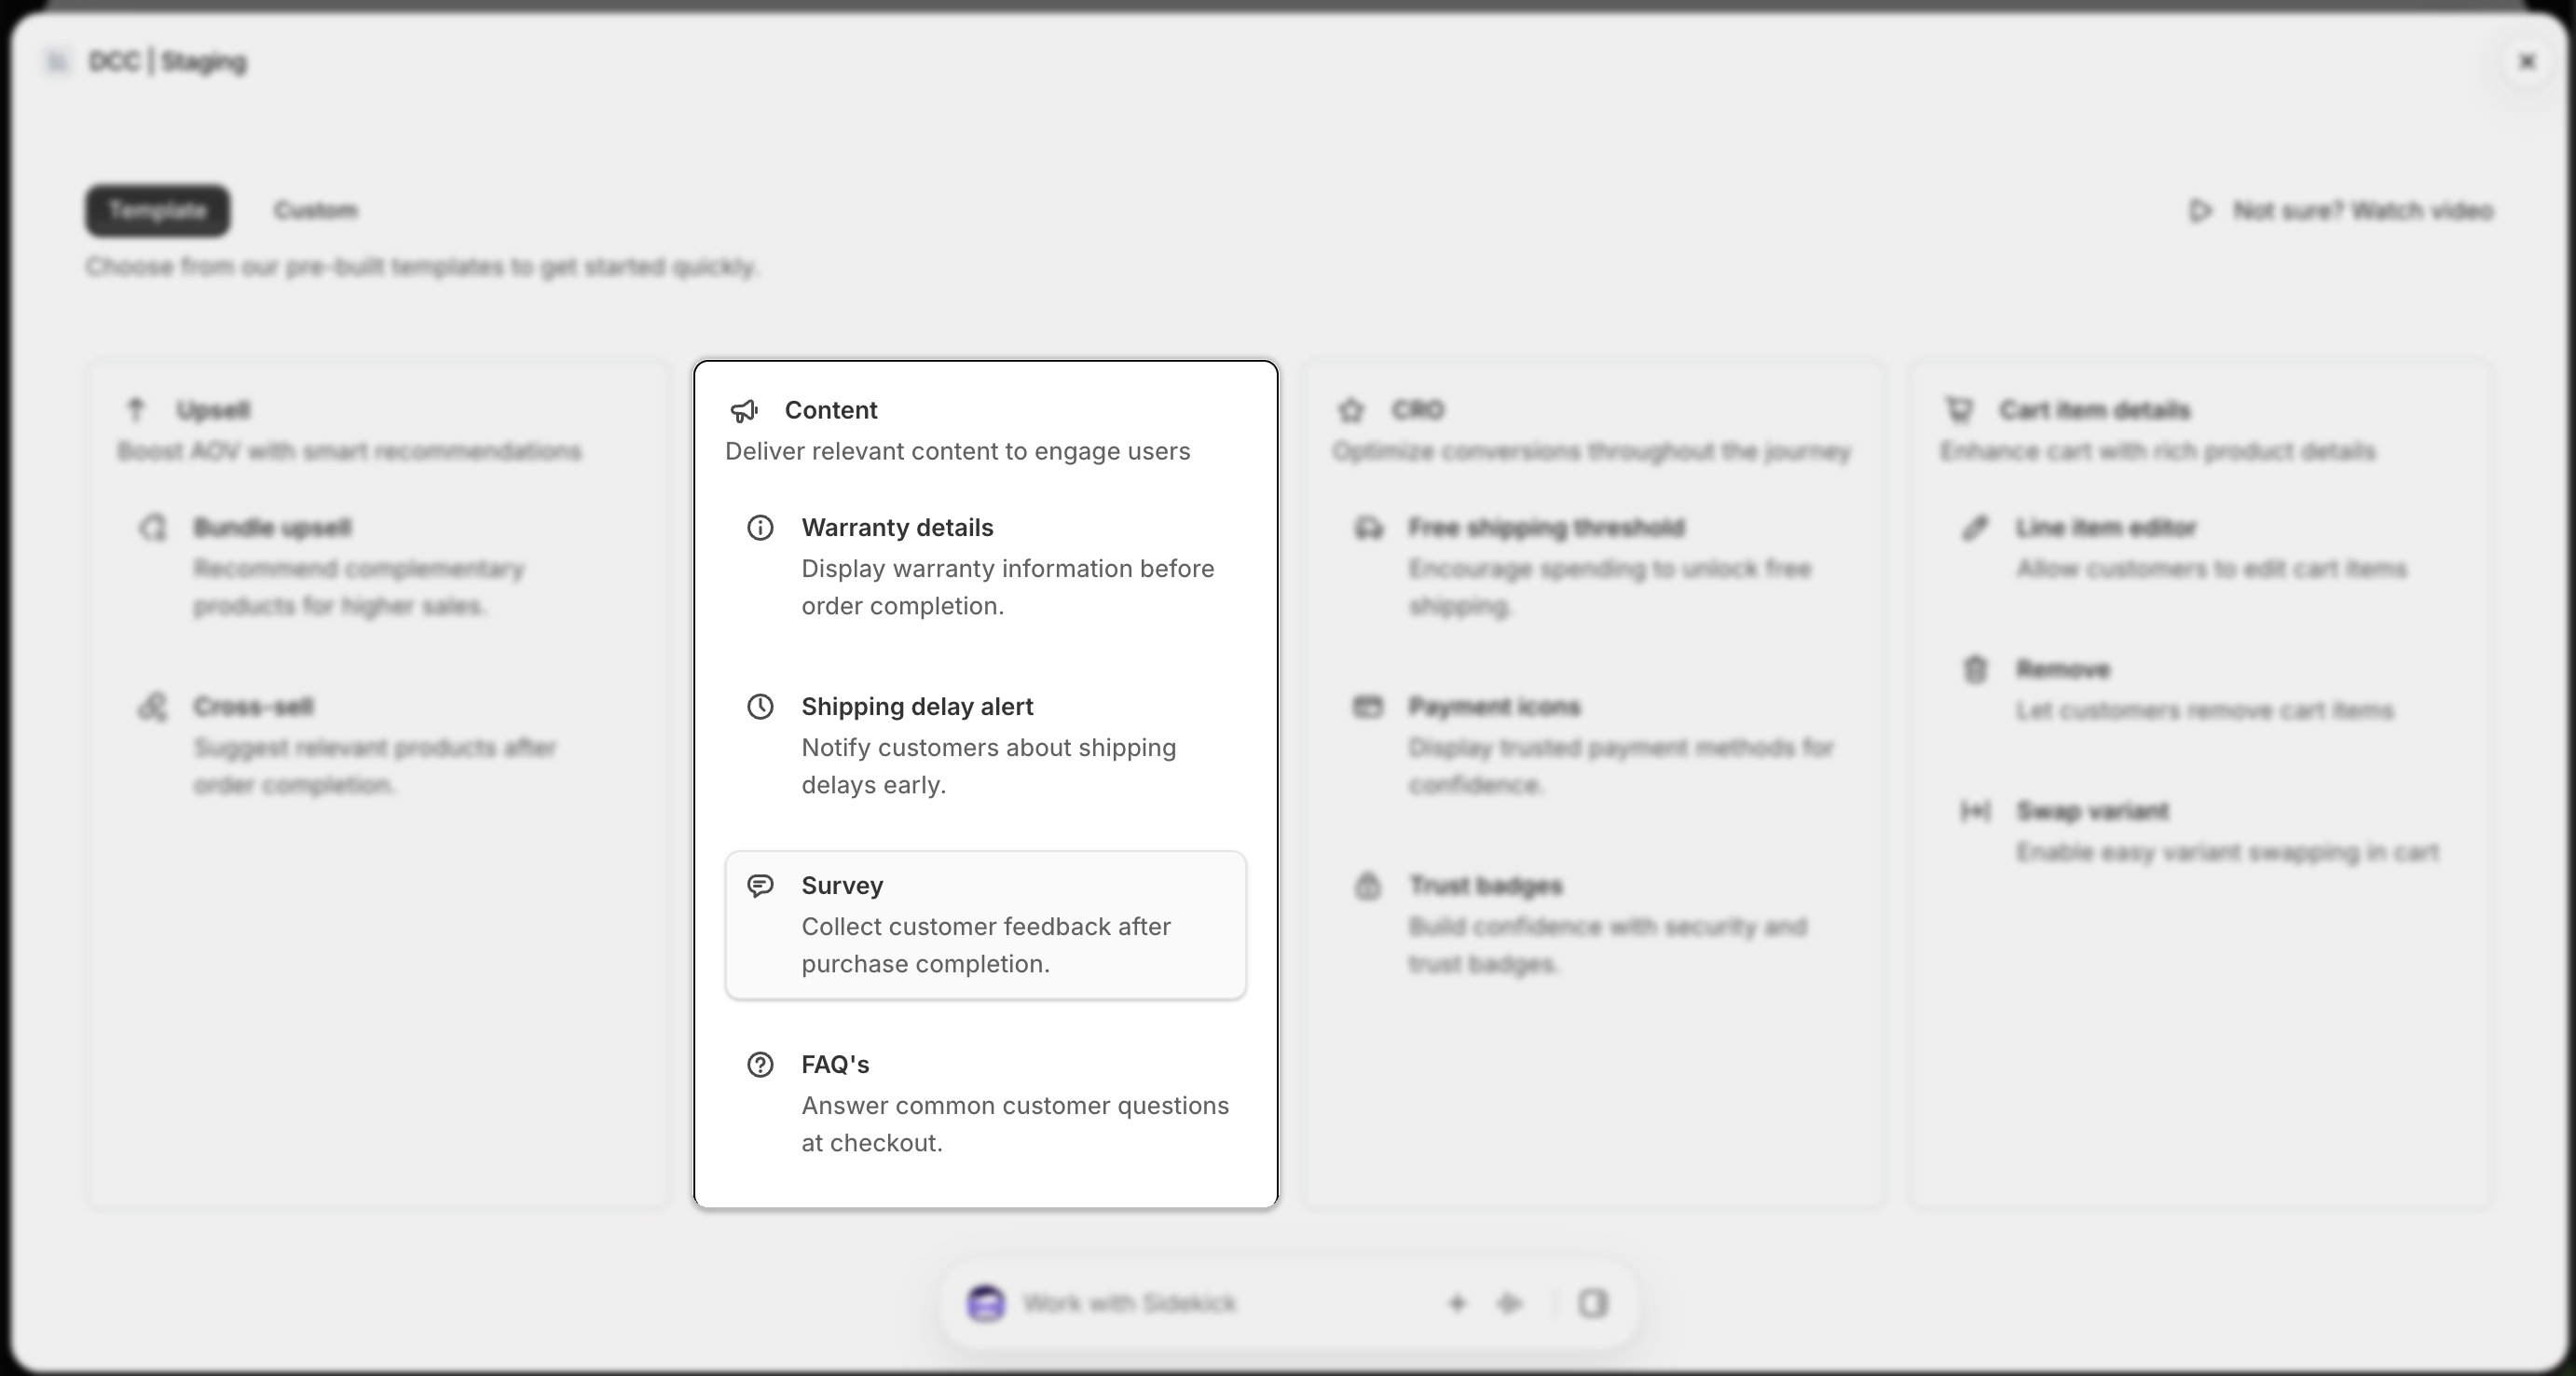
3
Configure display conditions
Add one or more conditions to control when the form is displayed during checkout.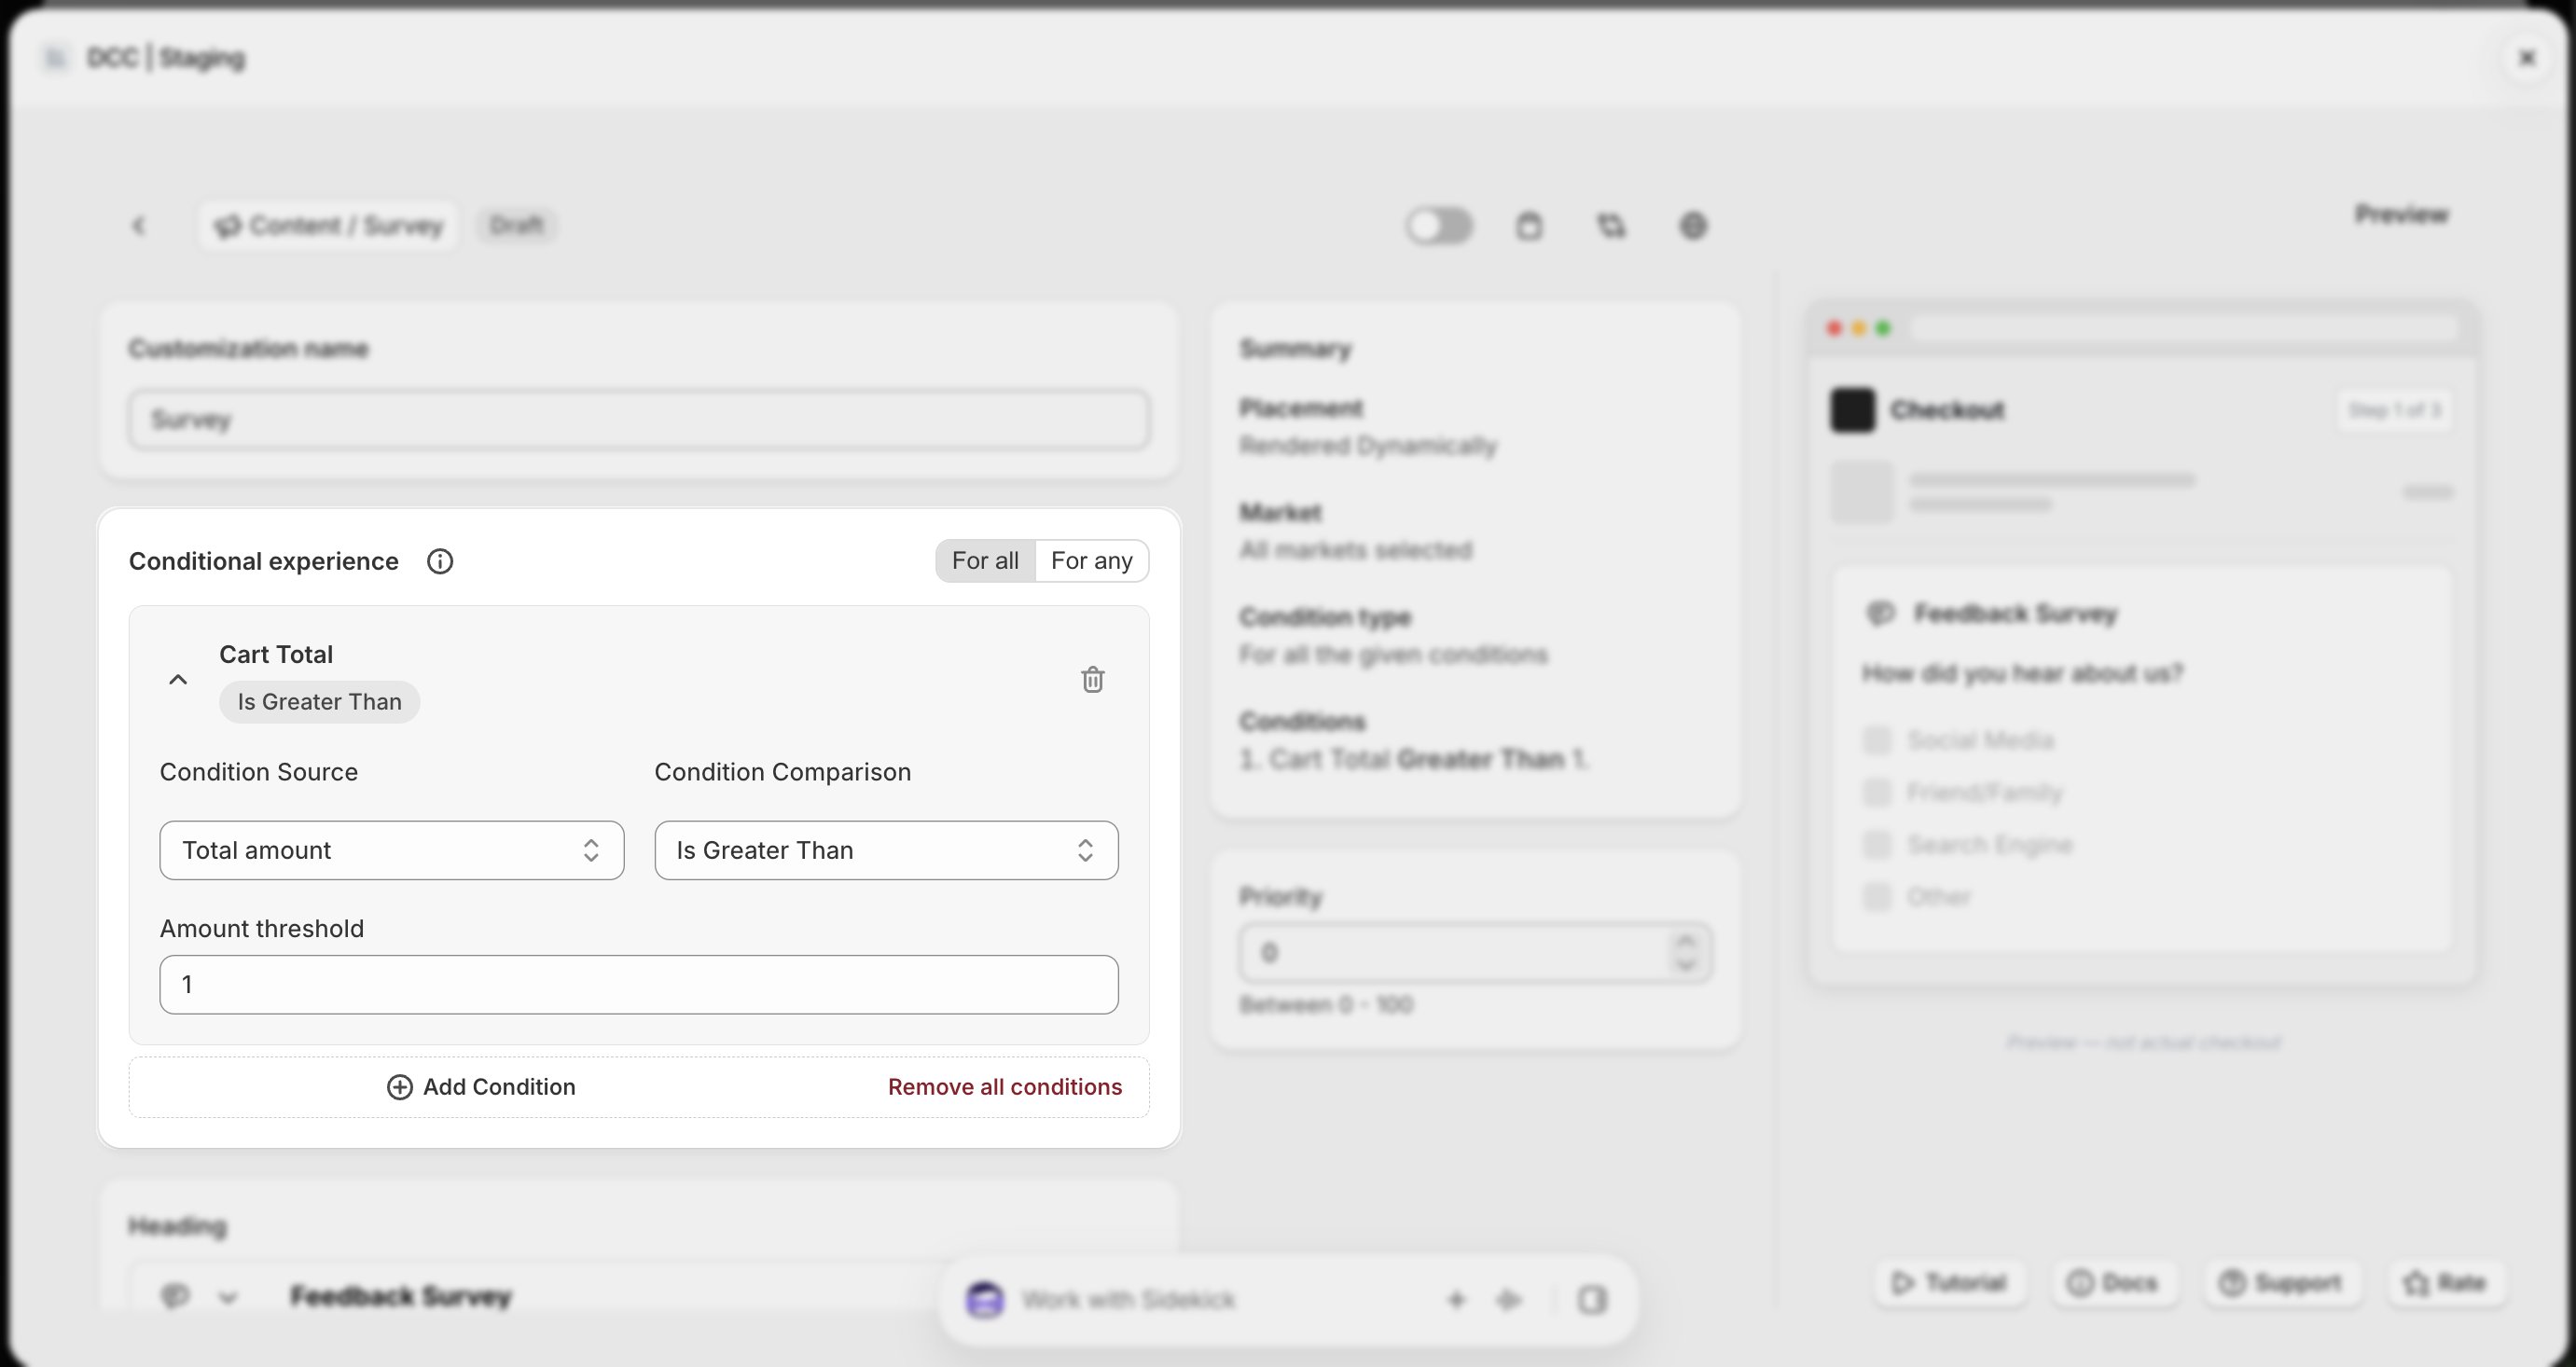
4
Configure form settings
Configure the Survey fields.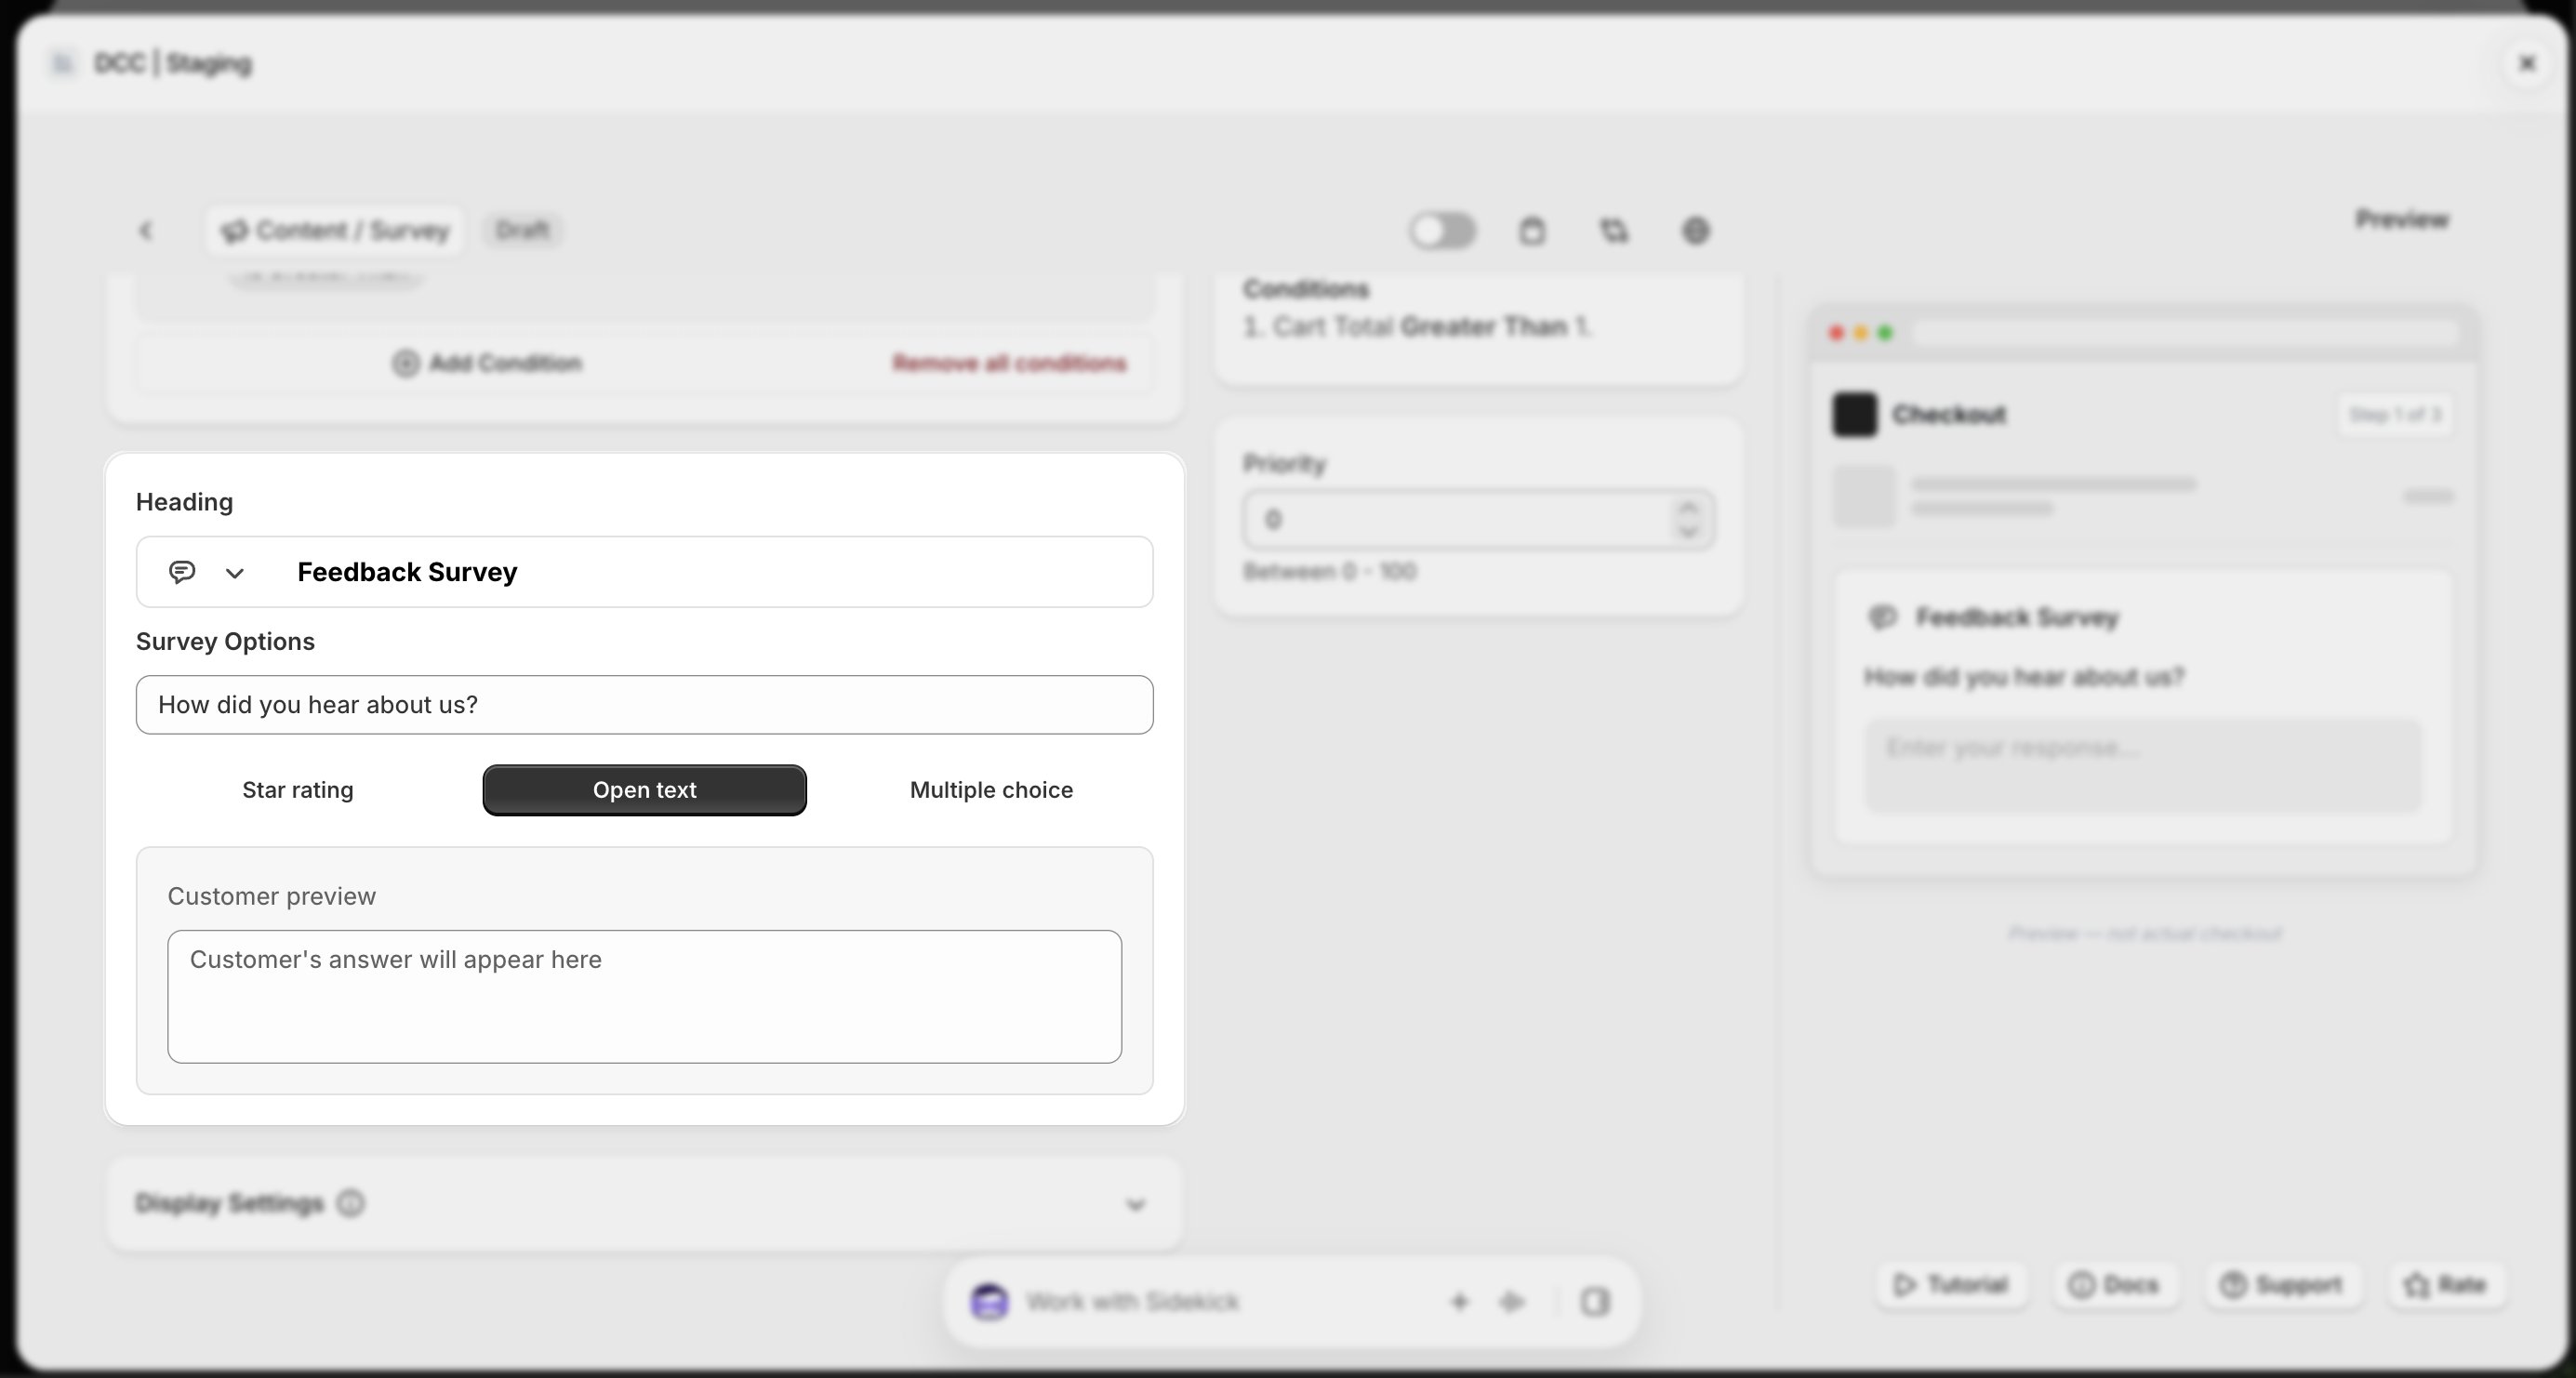
5
Customize the display
Configure the Display Settings to control how the survey fields will appear during checkout.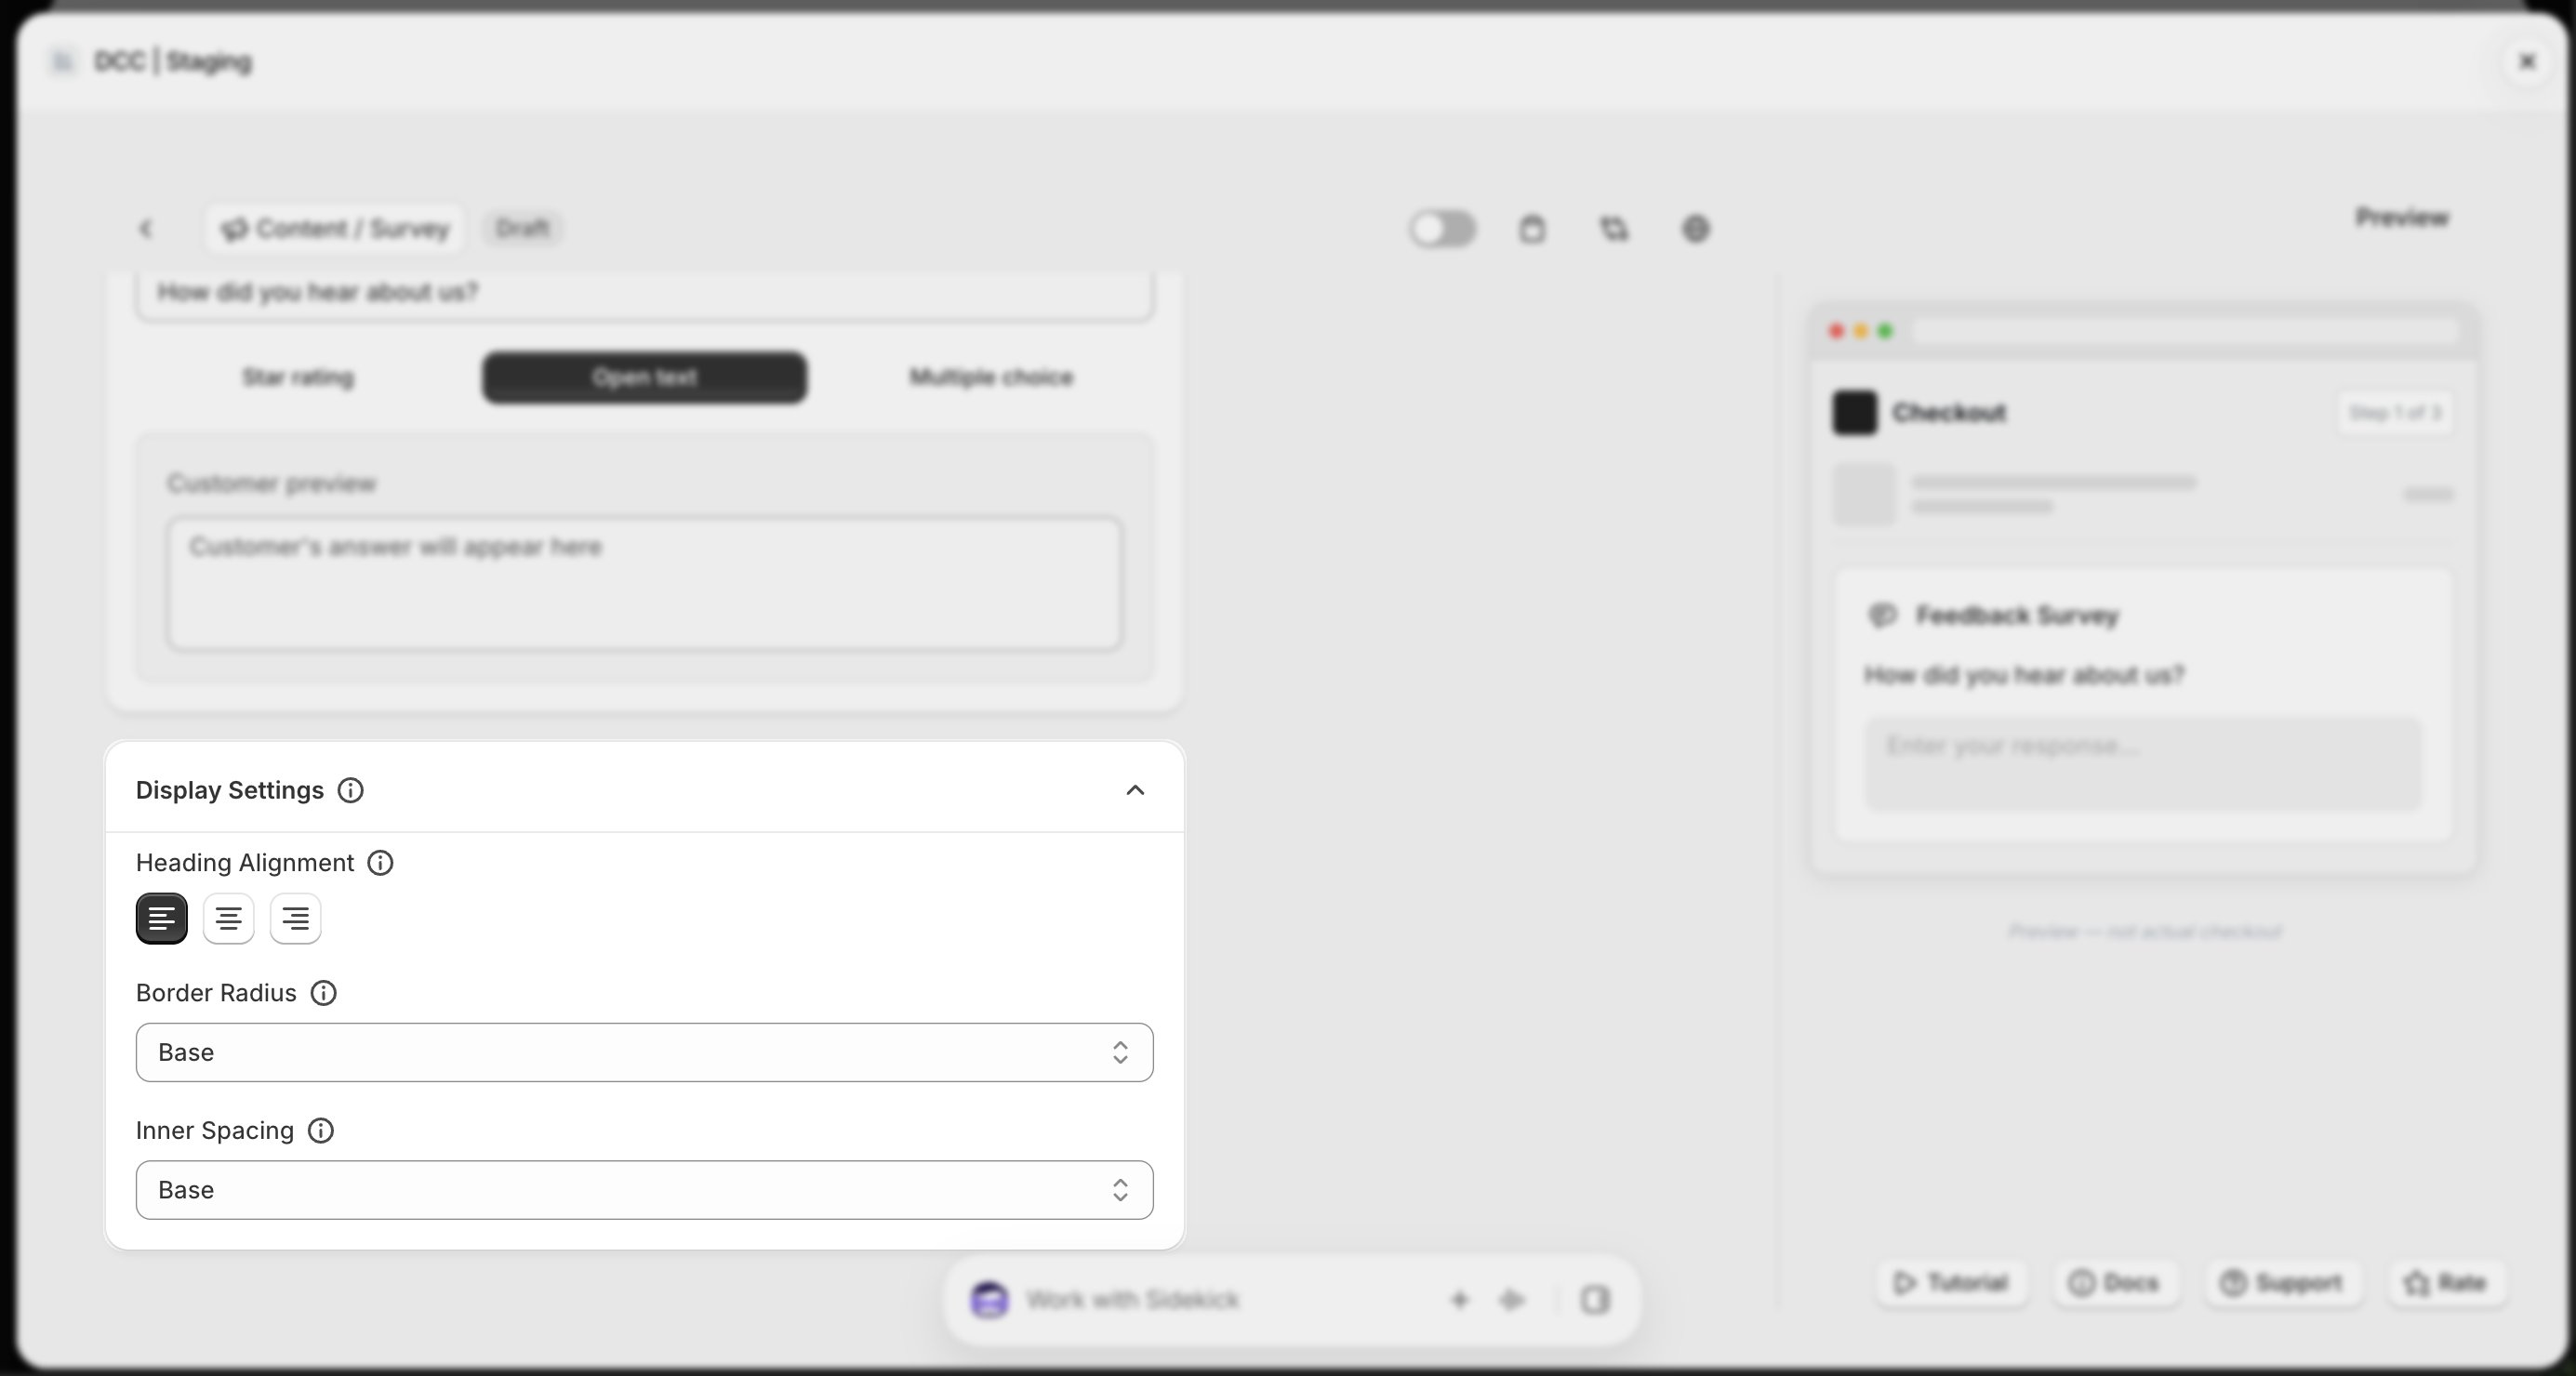
6
Activate the customization
Change the Status to Active using toggle button to enable the customization.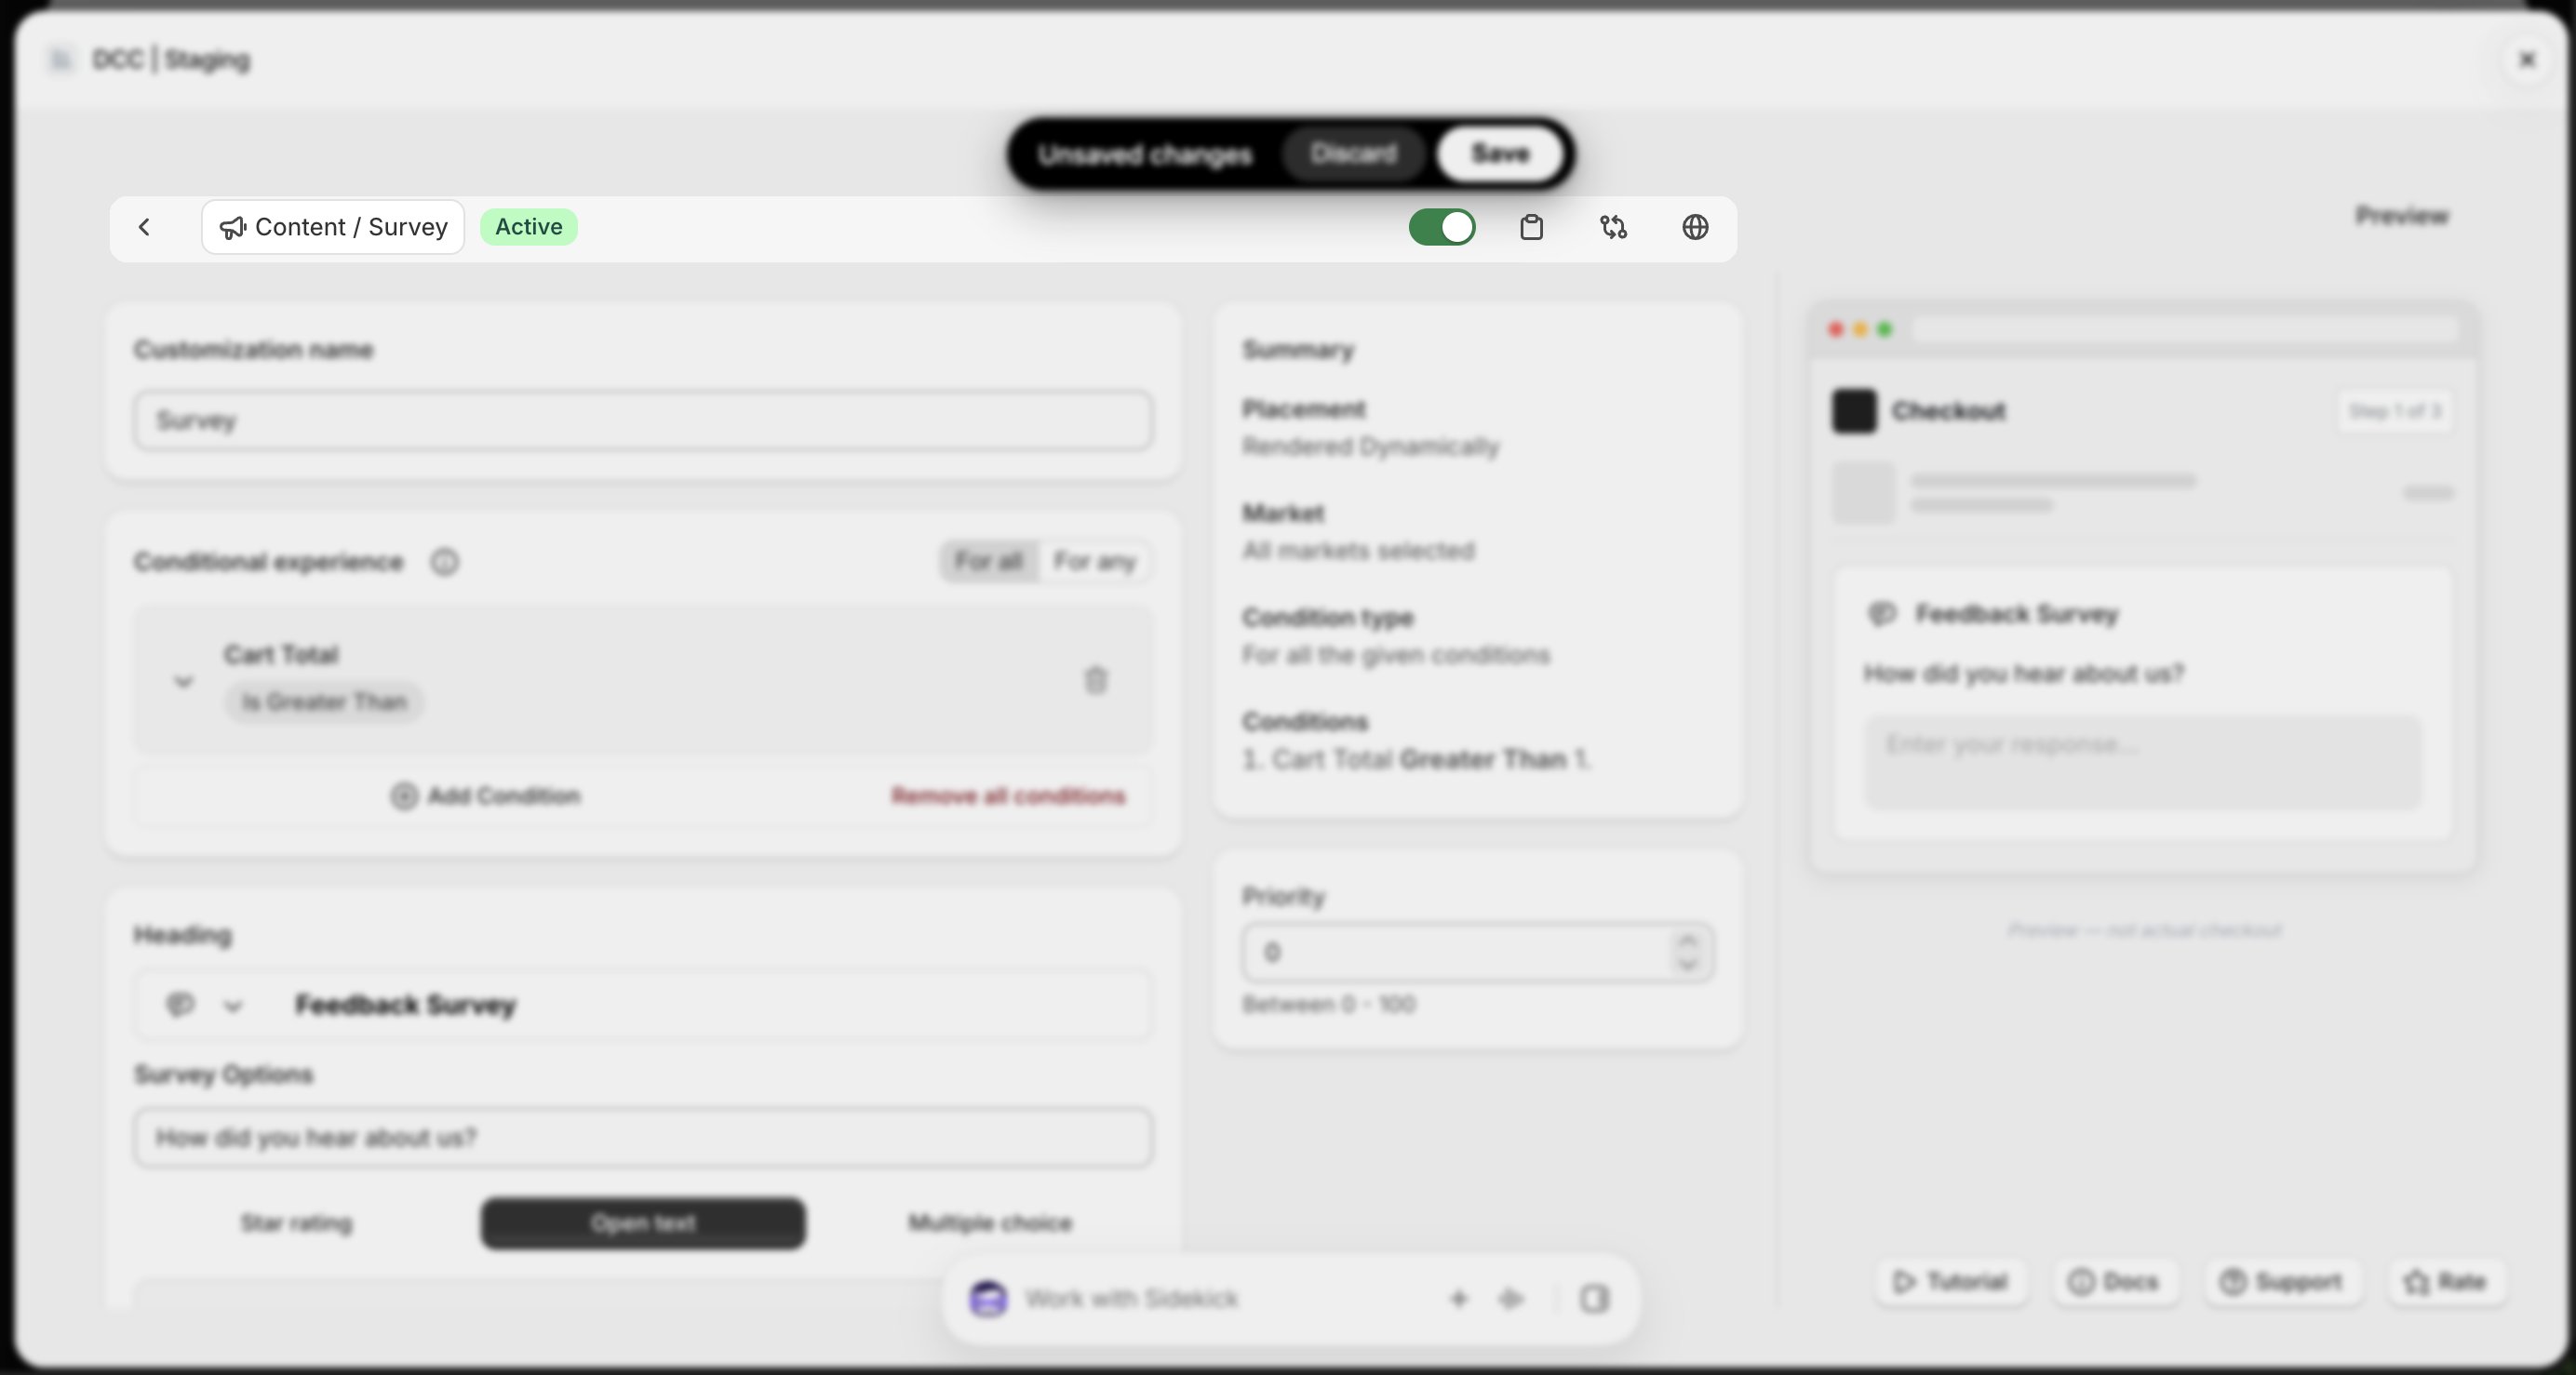
7
Set the priority
Configure the Priority (0–100) to determine the execution order when multiple customizations are eligible.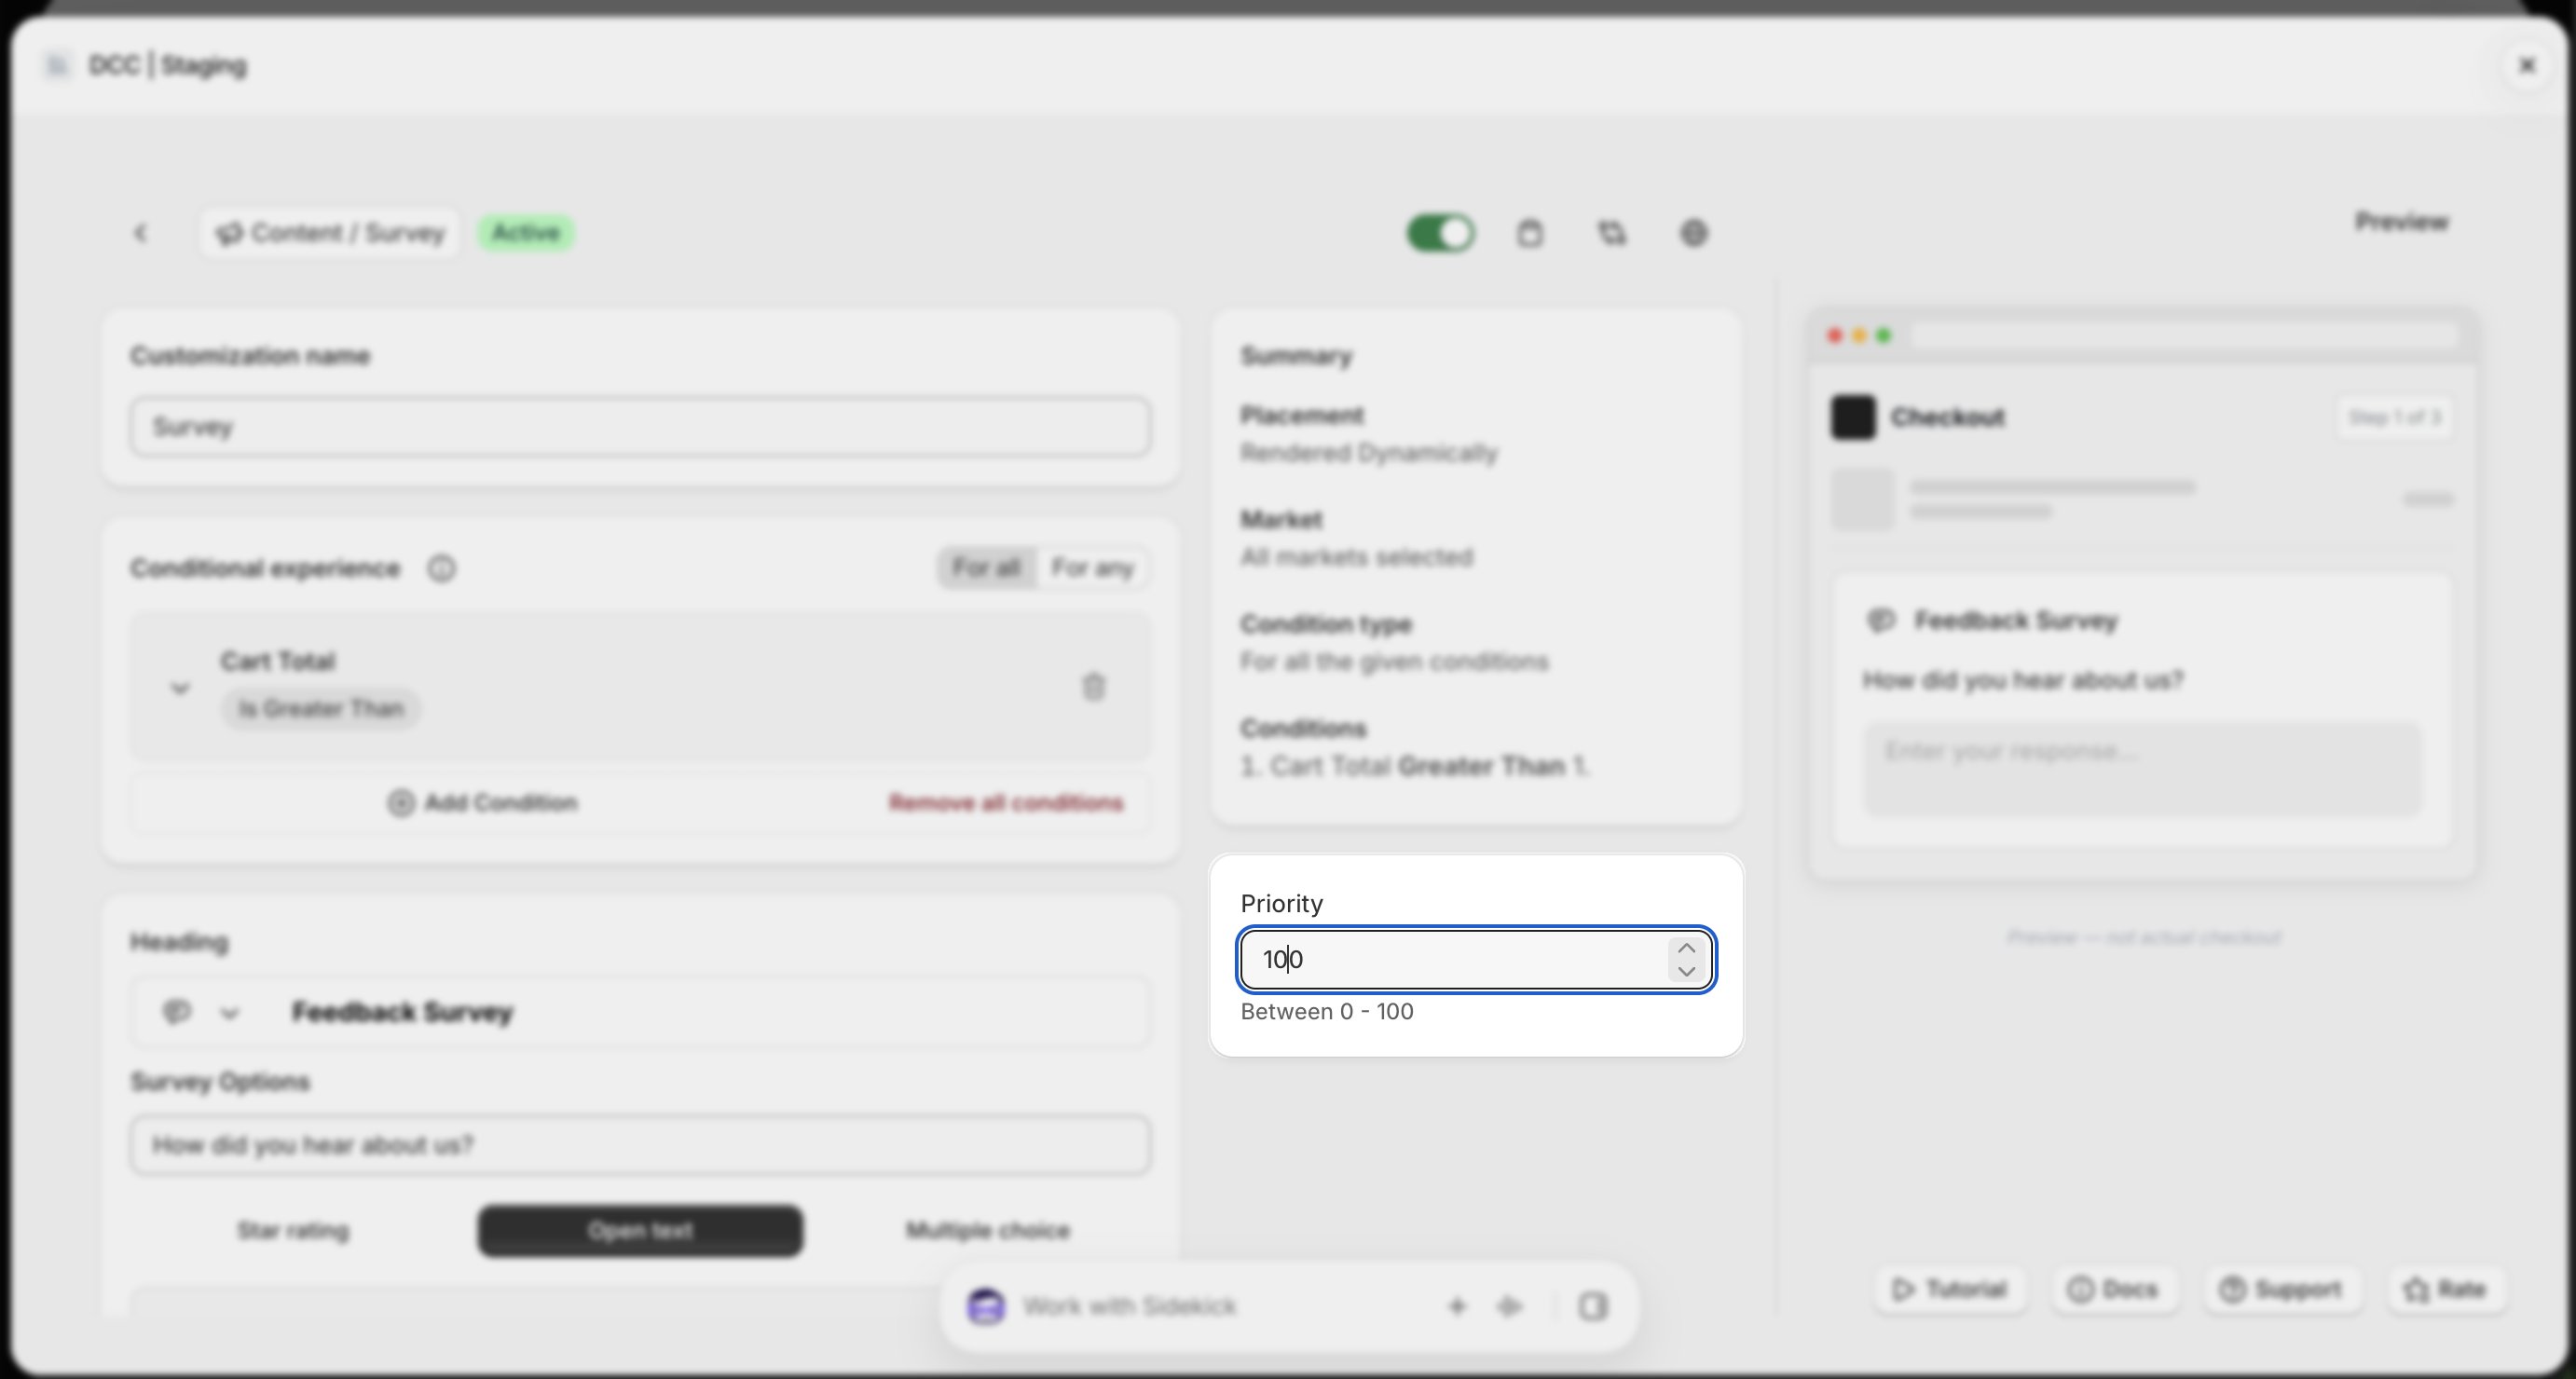
8
Copy the Placement ID
Copy the generated Placement ID from clipboard icon. You’ll use this in the Shopify Checkout Editor.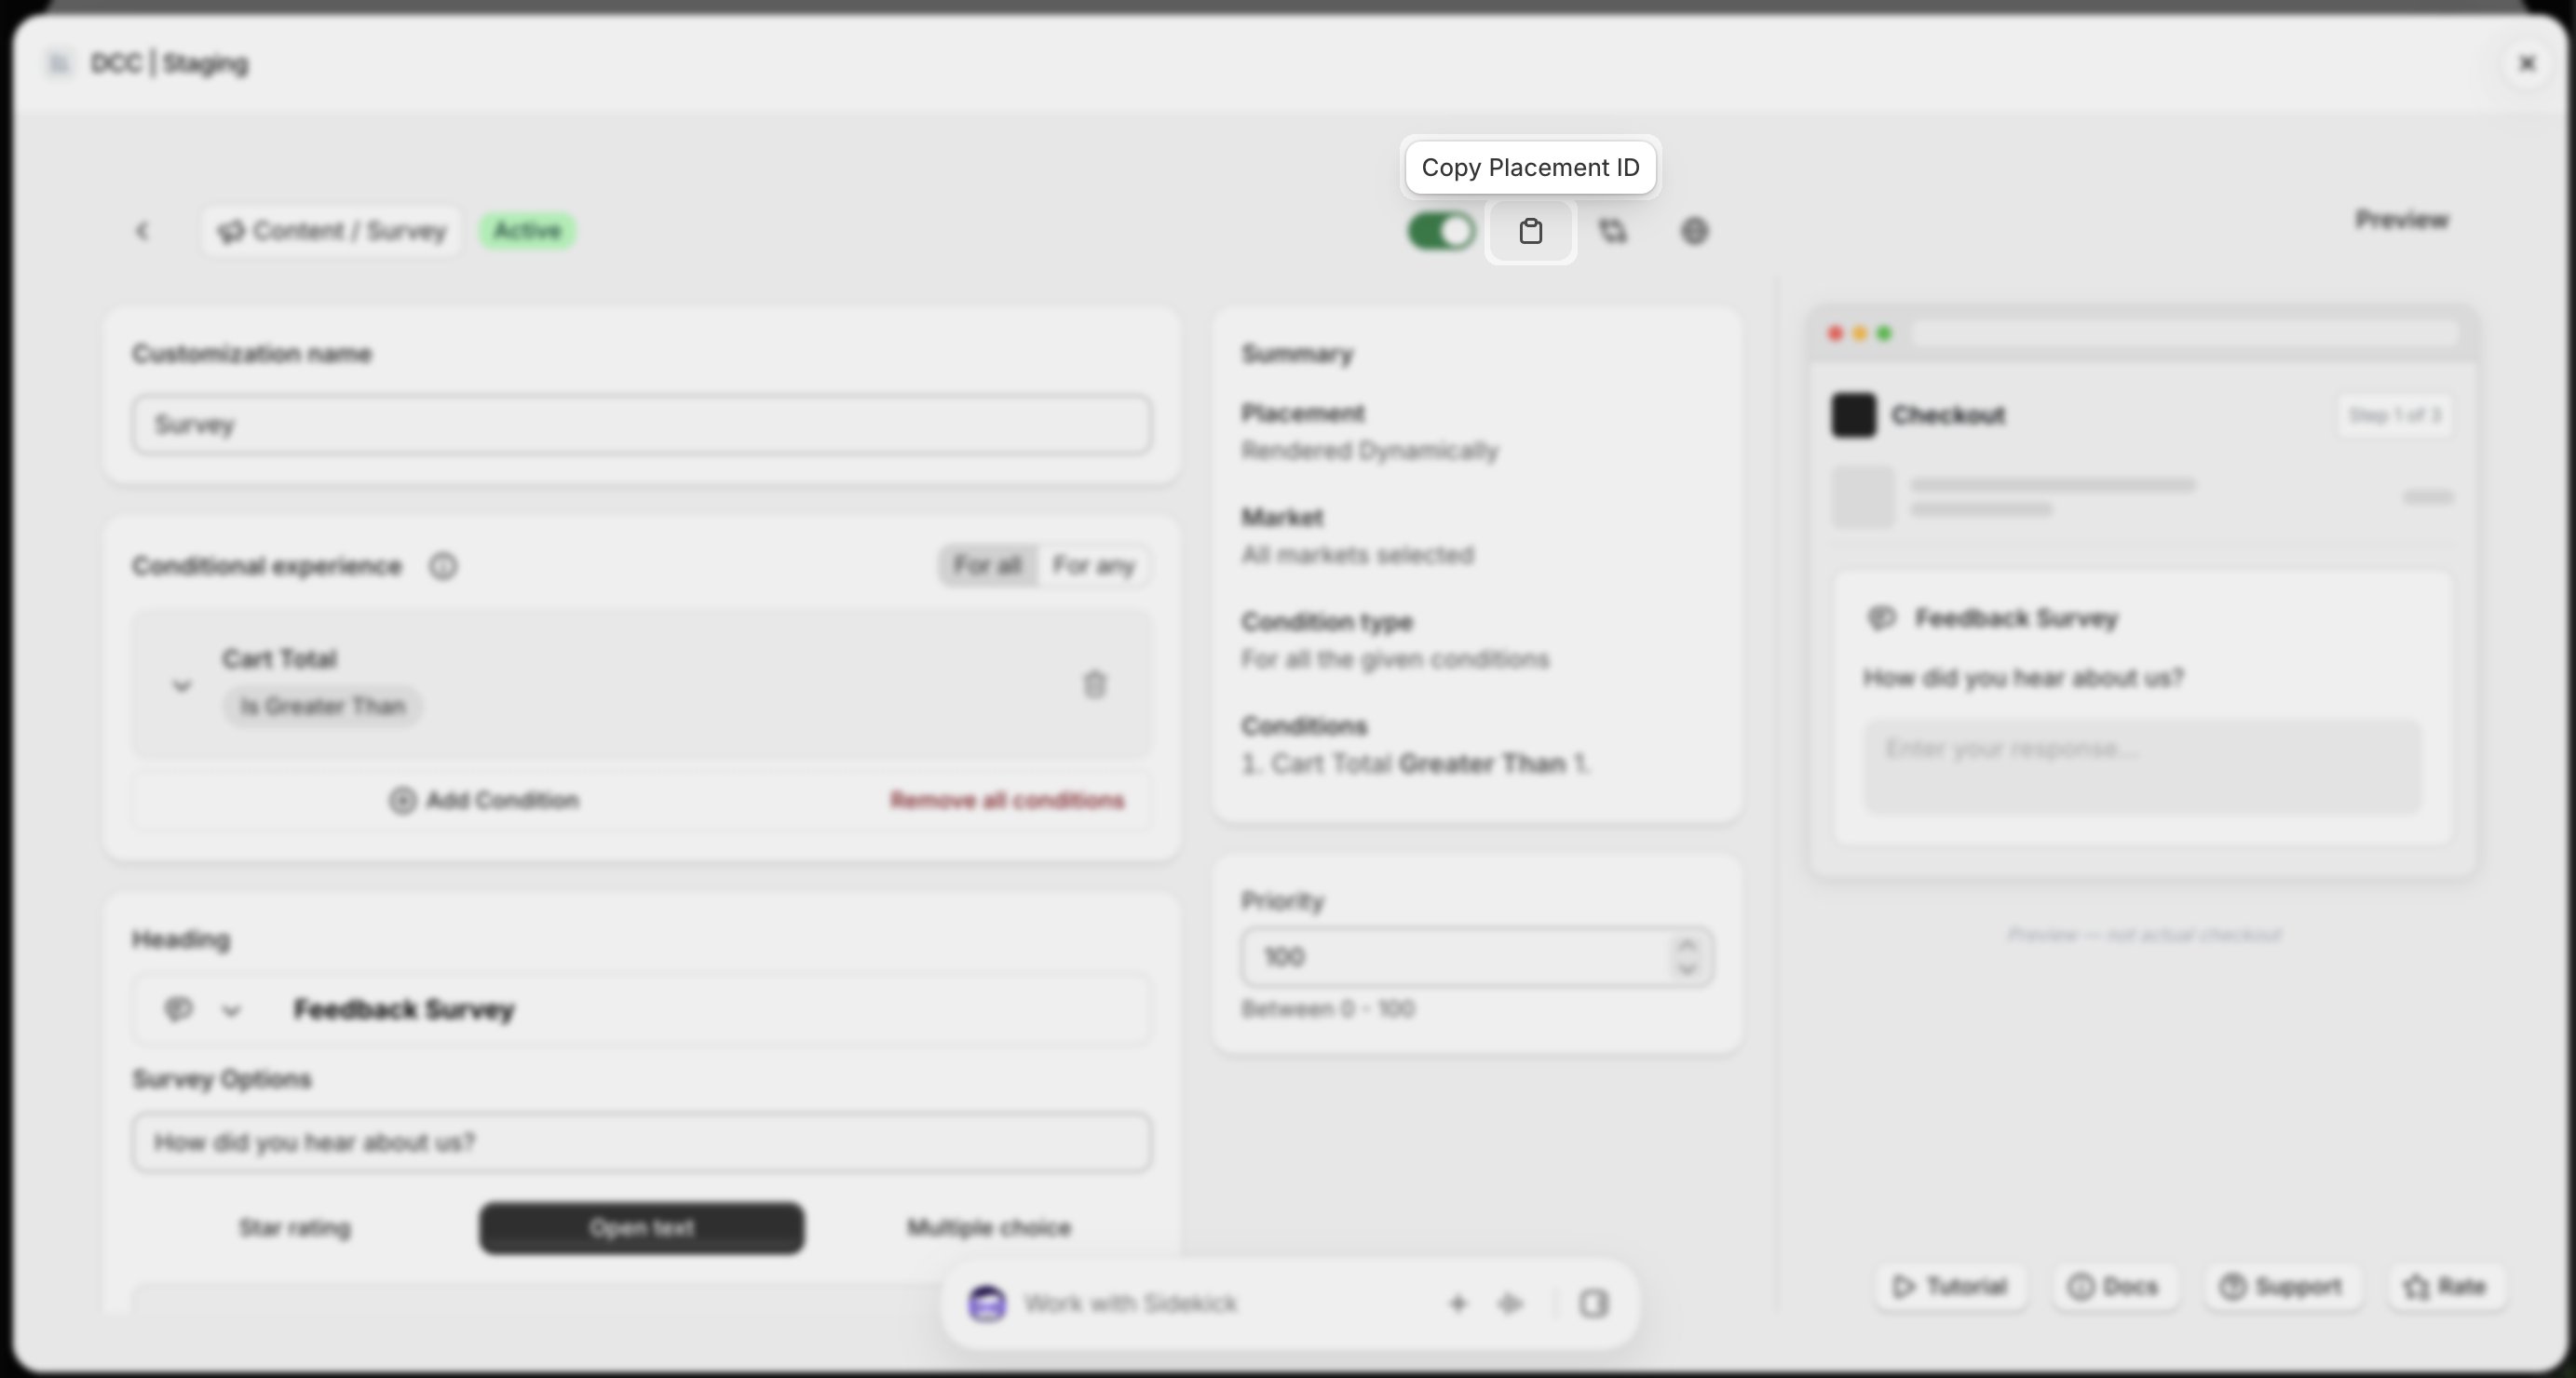
9
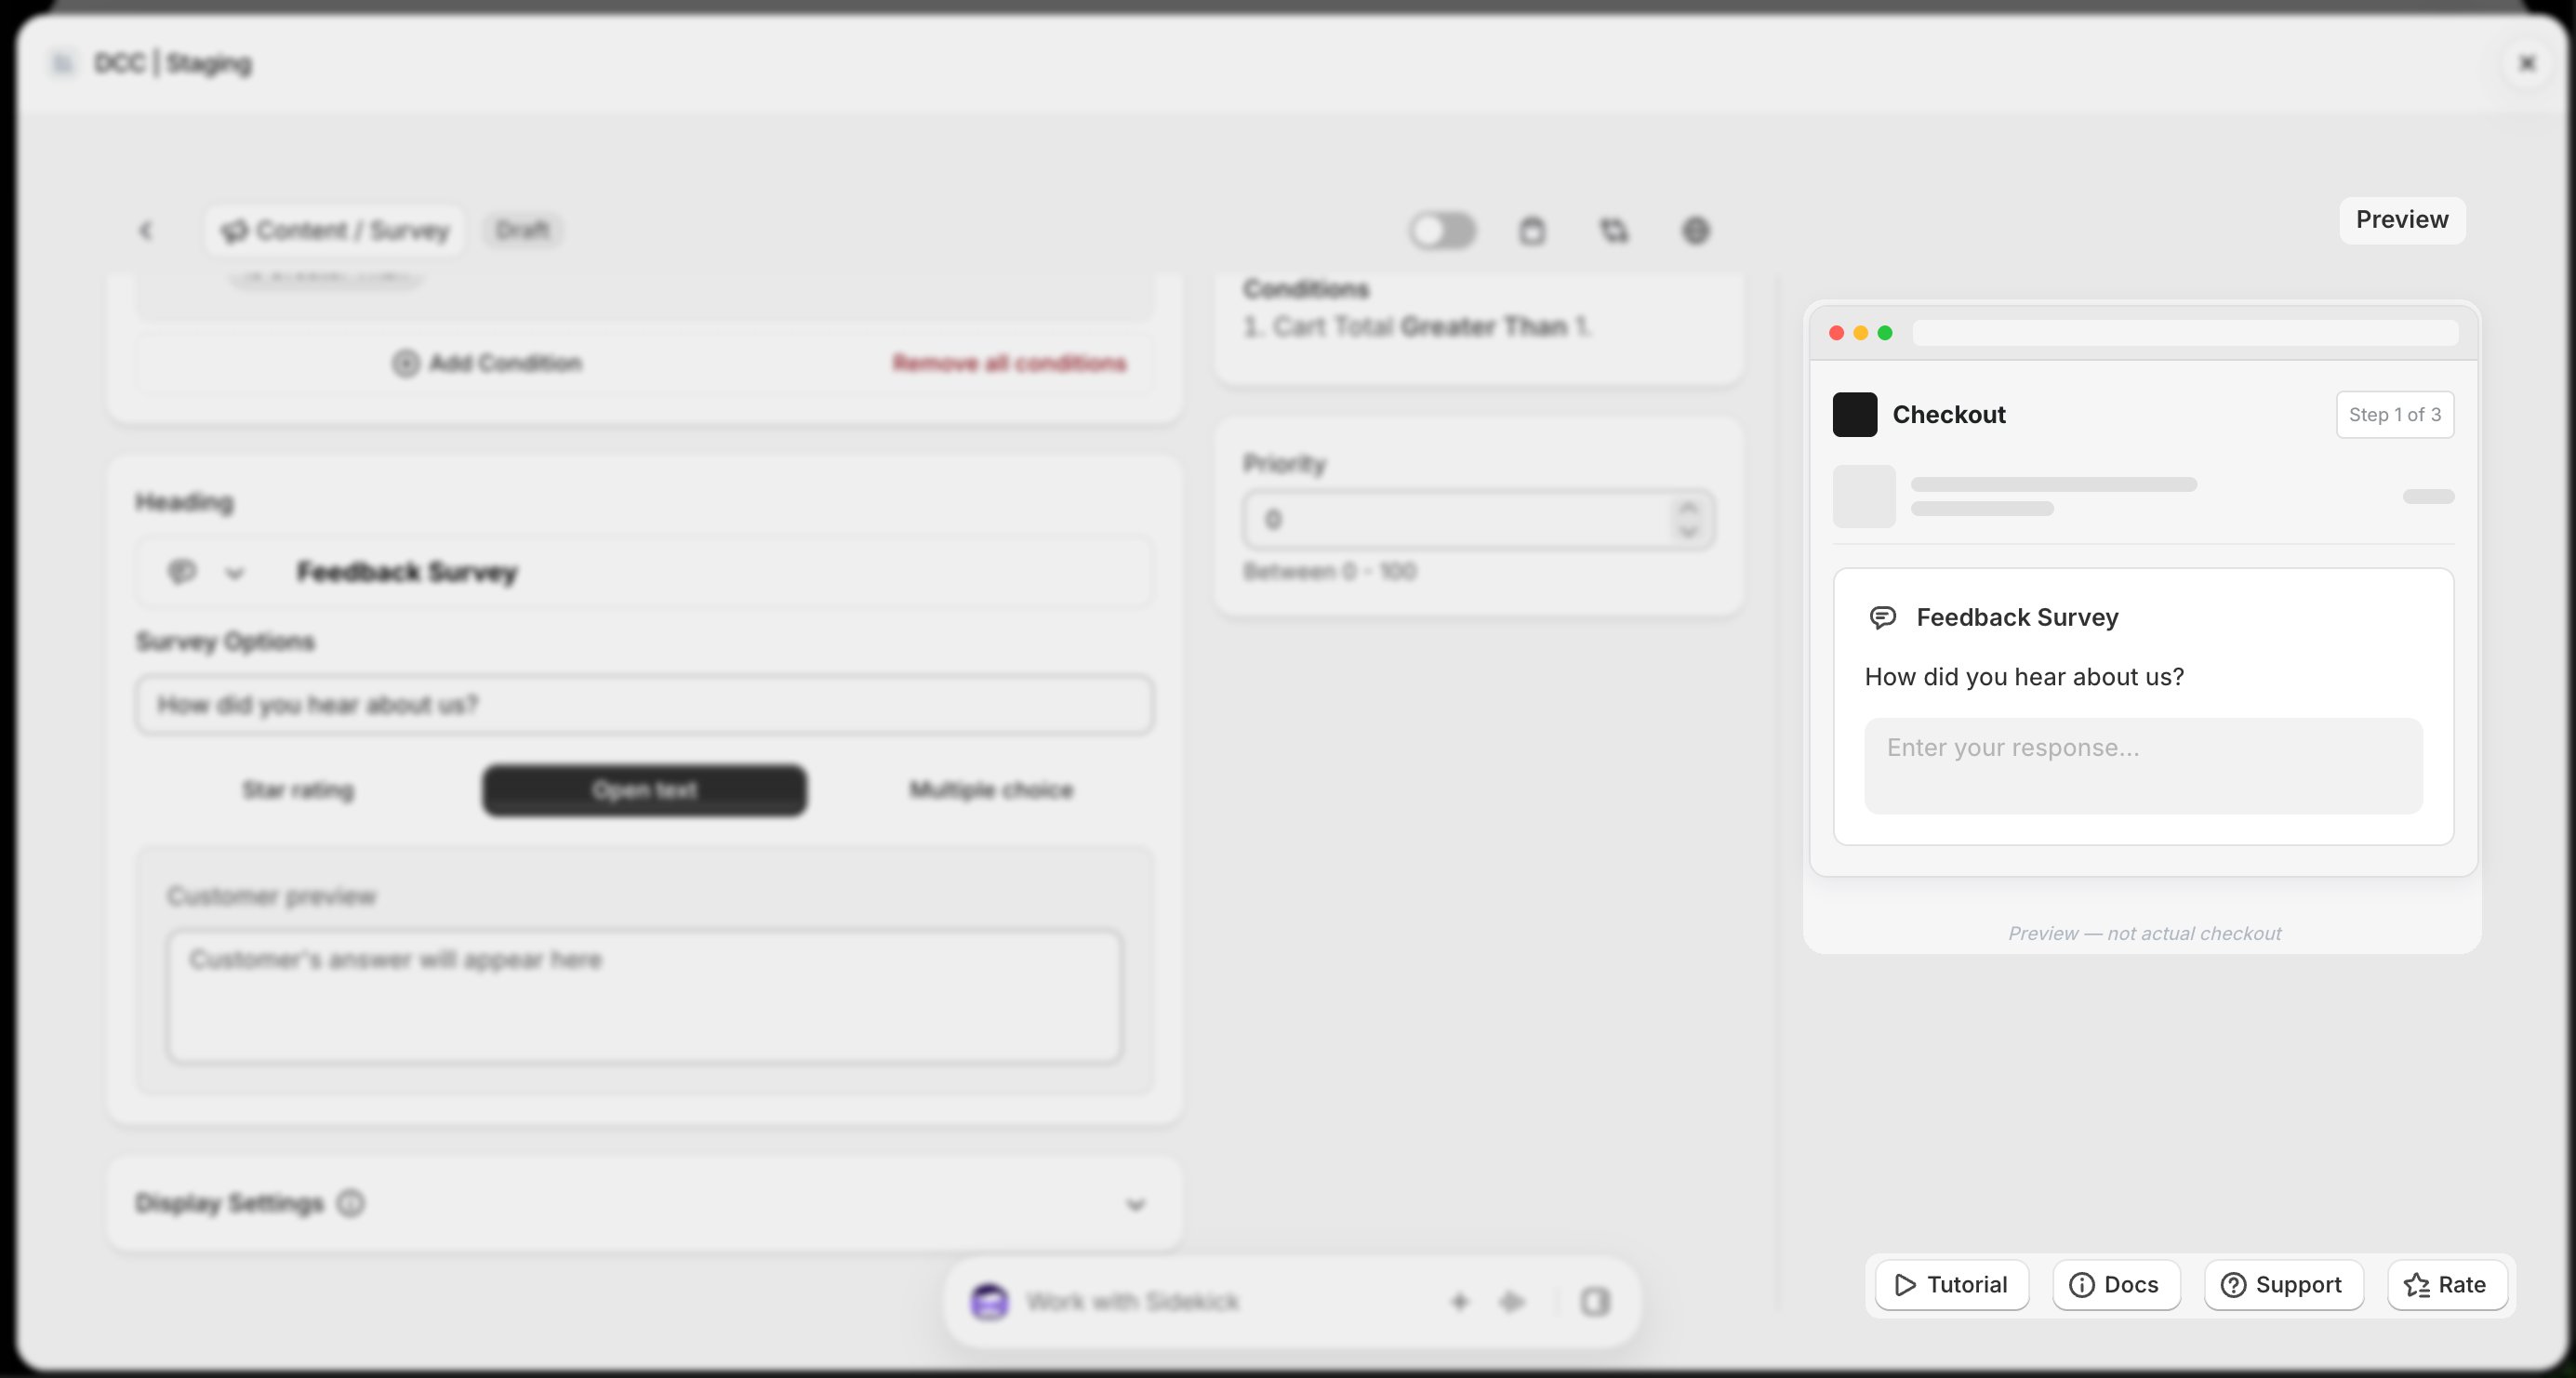
Preview
Preview shows , How this block looks like at CheckOut.
10
Save the customization
Click Save to store your configuration.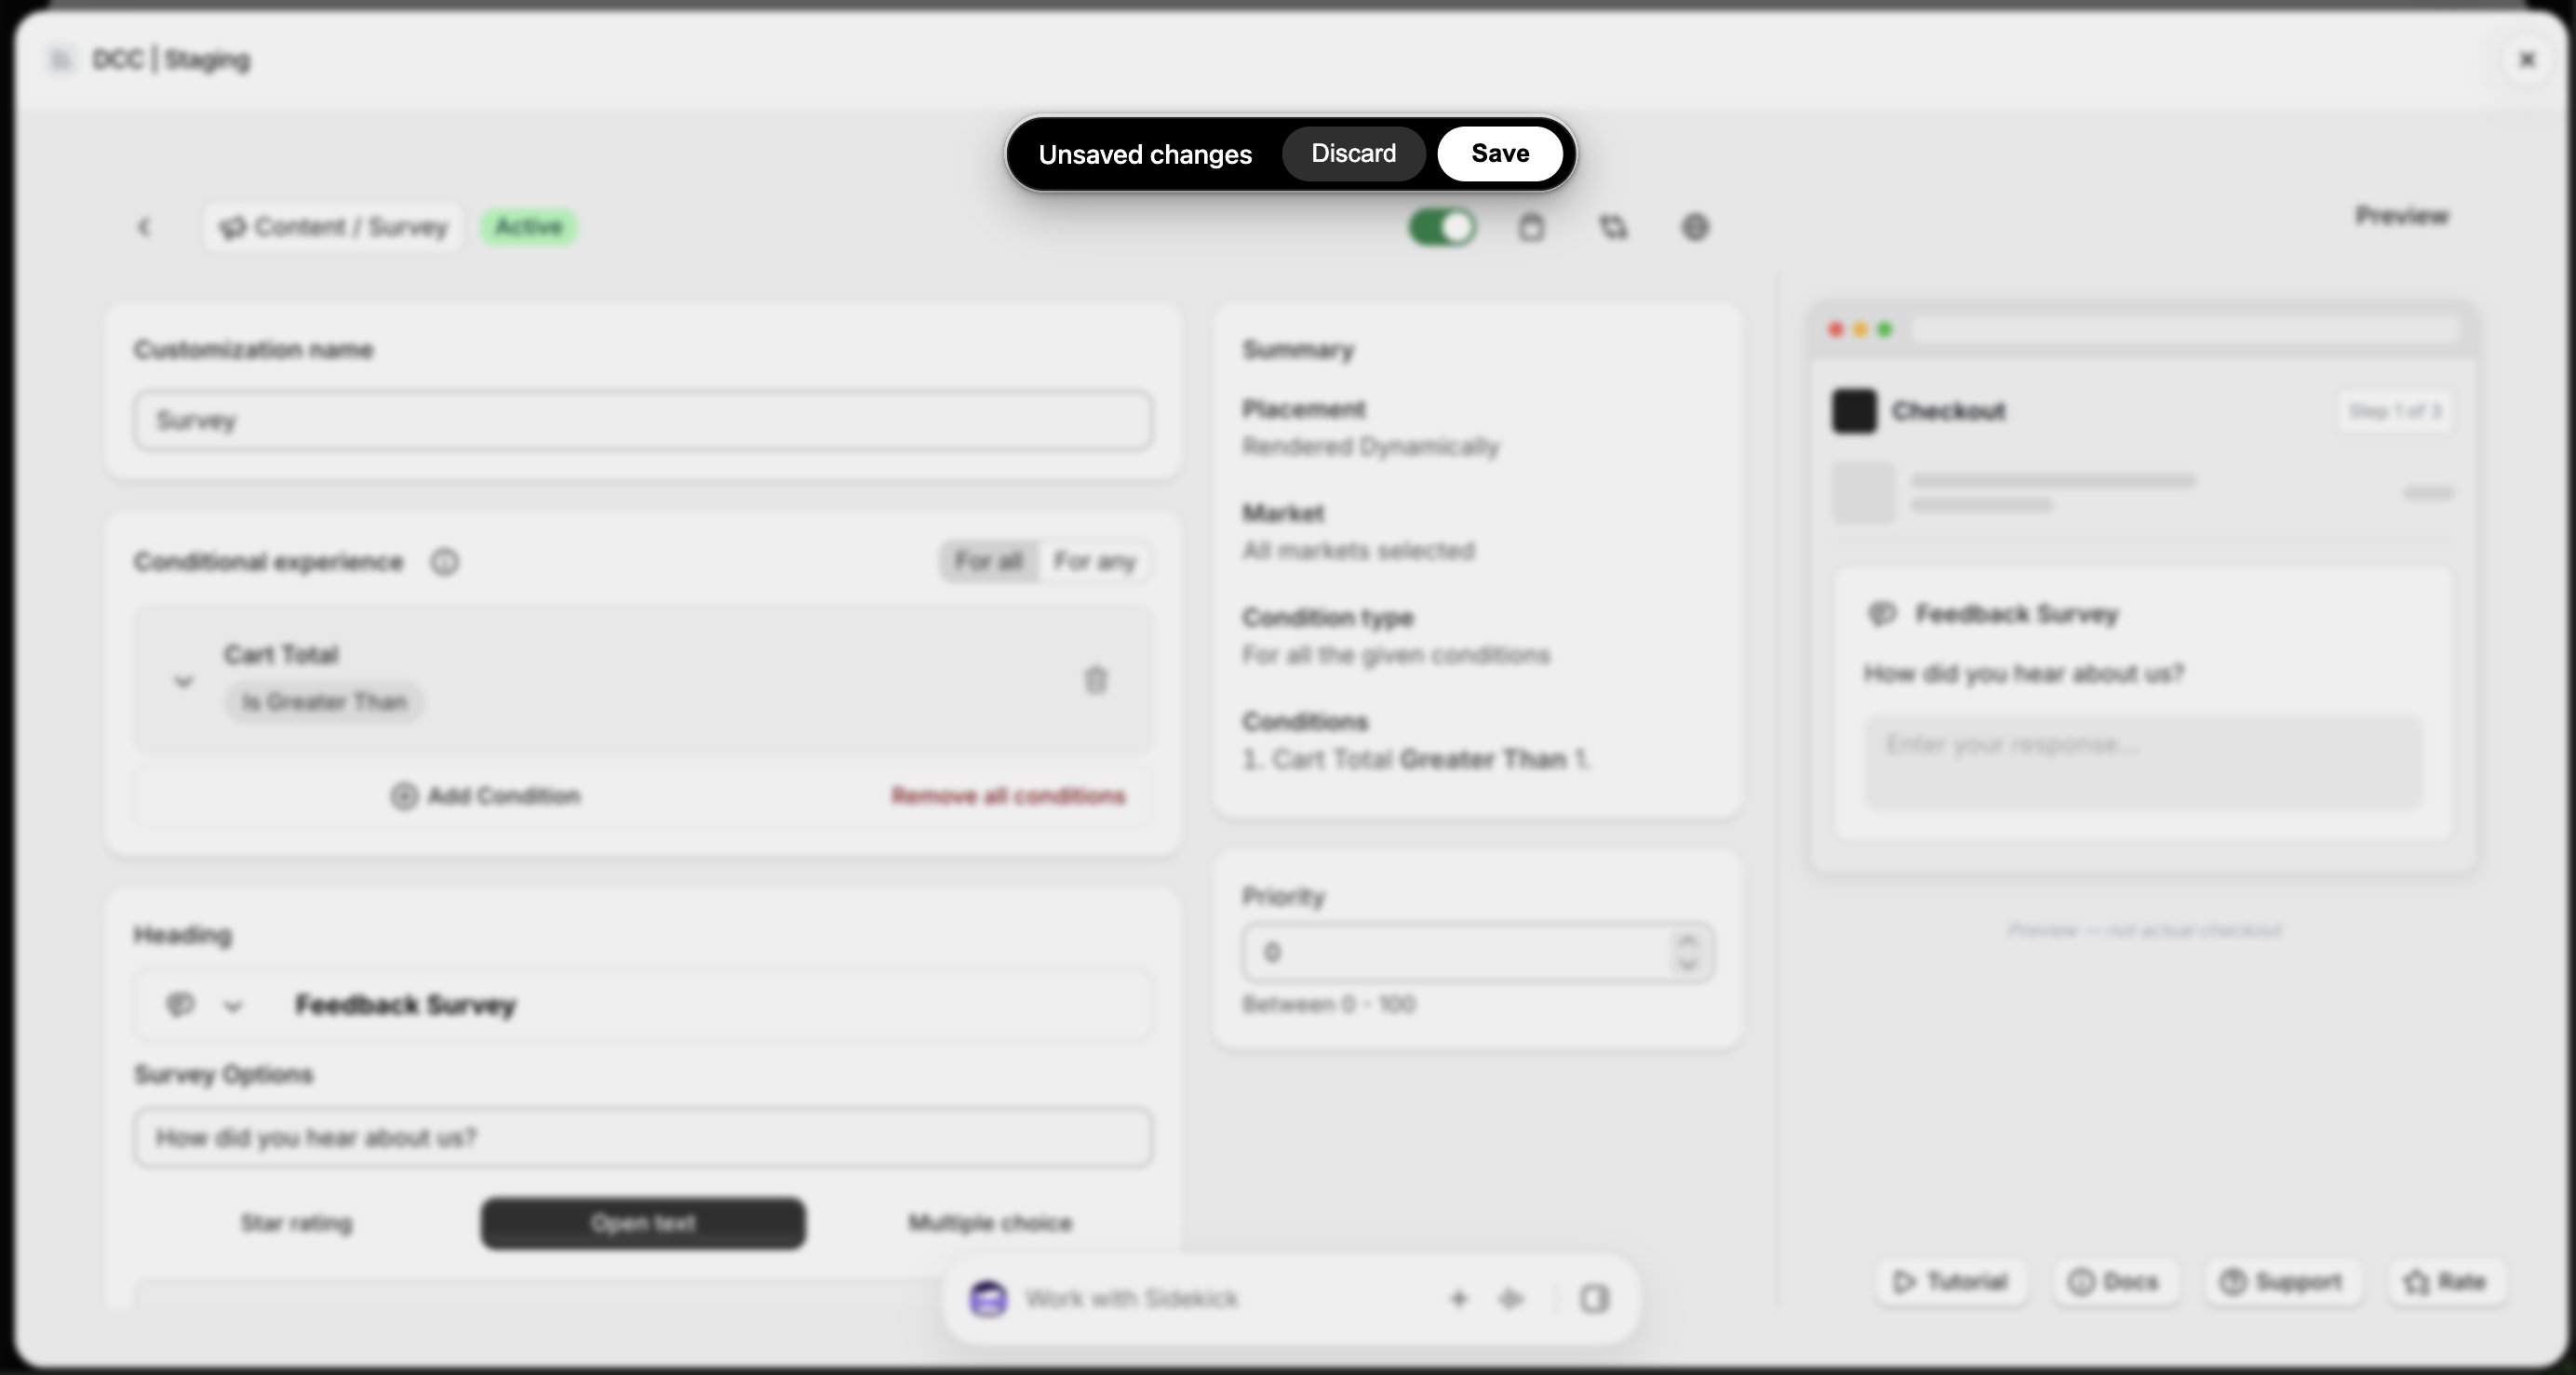
11
Open the Checkout Editor
Go to your Shopify Settings → Checkout, select your checkout profile, and click Edit.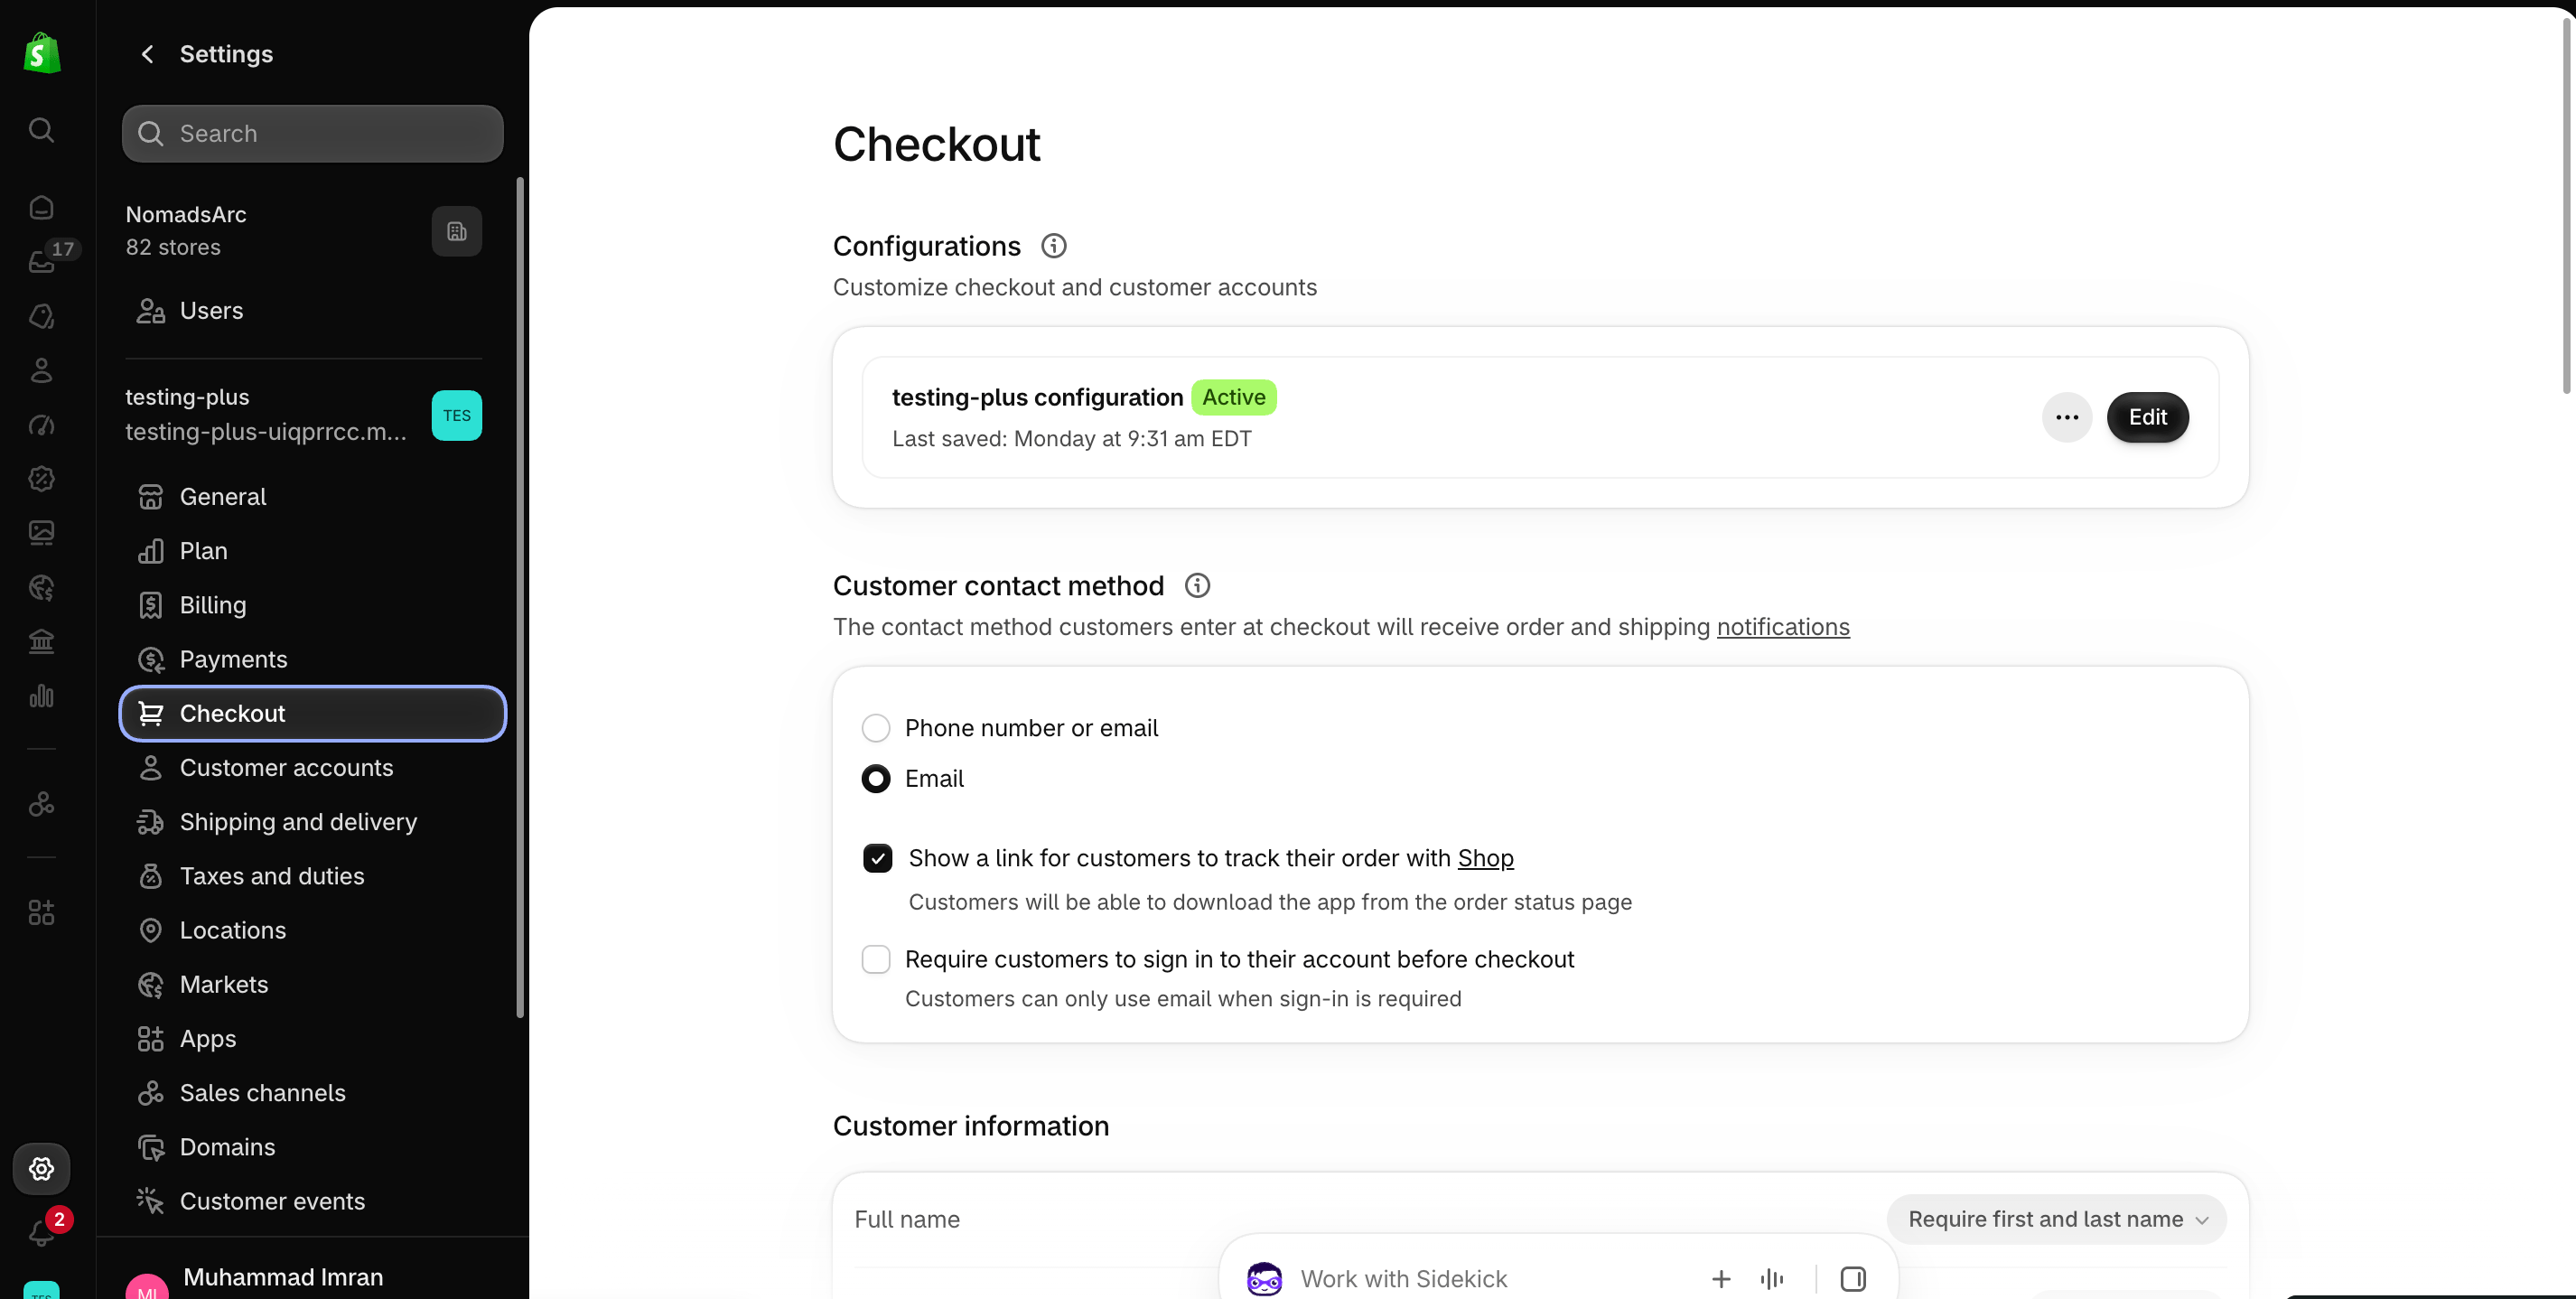
12
Add the app block
In the Checkout Editor, click Add app block.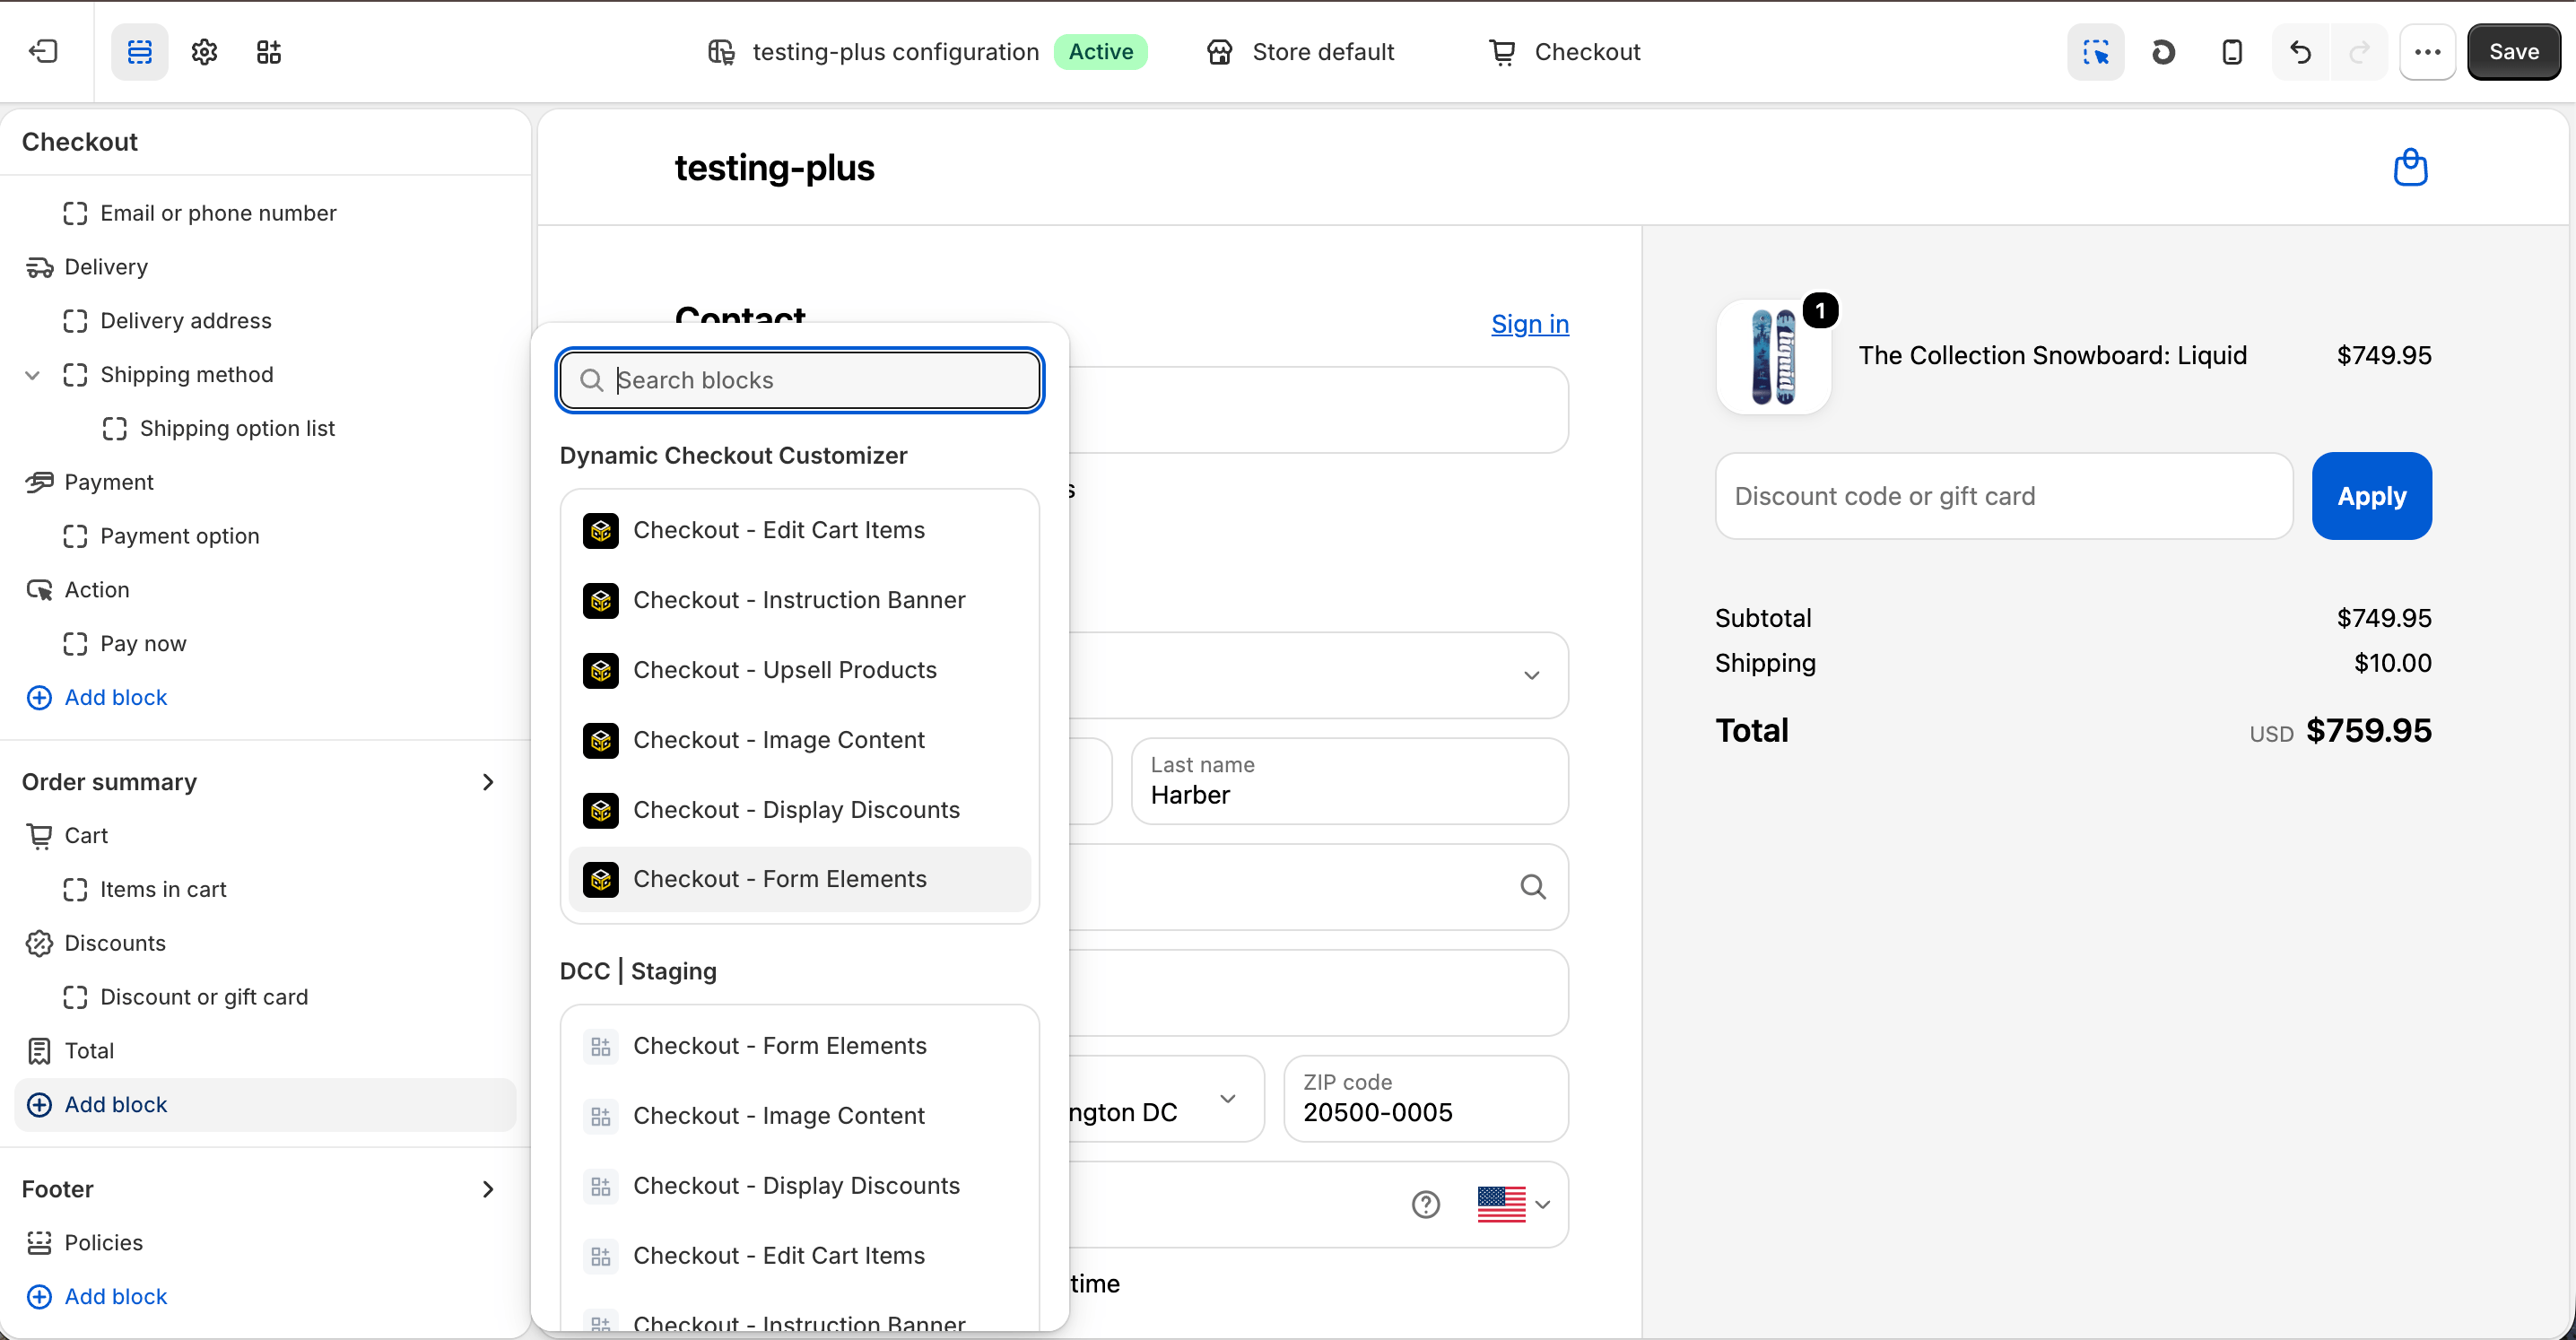
Make sure the app block is placed in the same checkout placement you selected in Dynamic Checkout Customizer.
13
Configure the app block
Select the Checkout – Form Elements app block, and paste the copied Placement ID.-1.png?fit=max&auto=format&n=QsvrCOFqqSzeMcaO&q=85&s=c2b5e217a5f78413e29f4861bac821c6)
14
Publish your changes
Click Save in the Checkout Editor to publish the customization.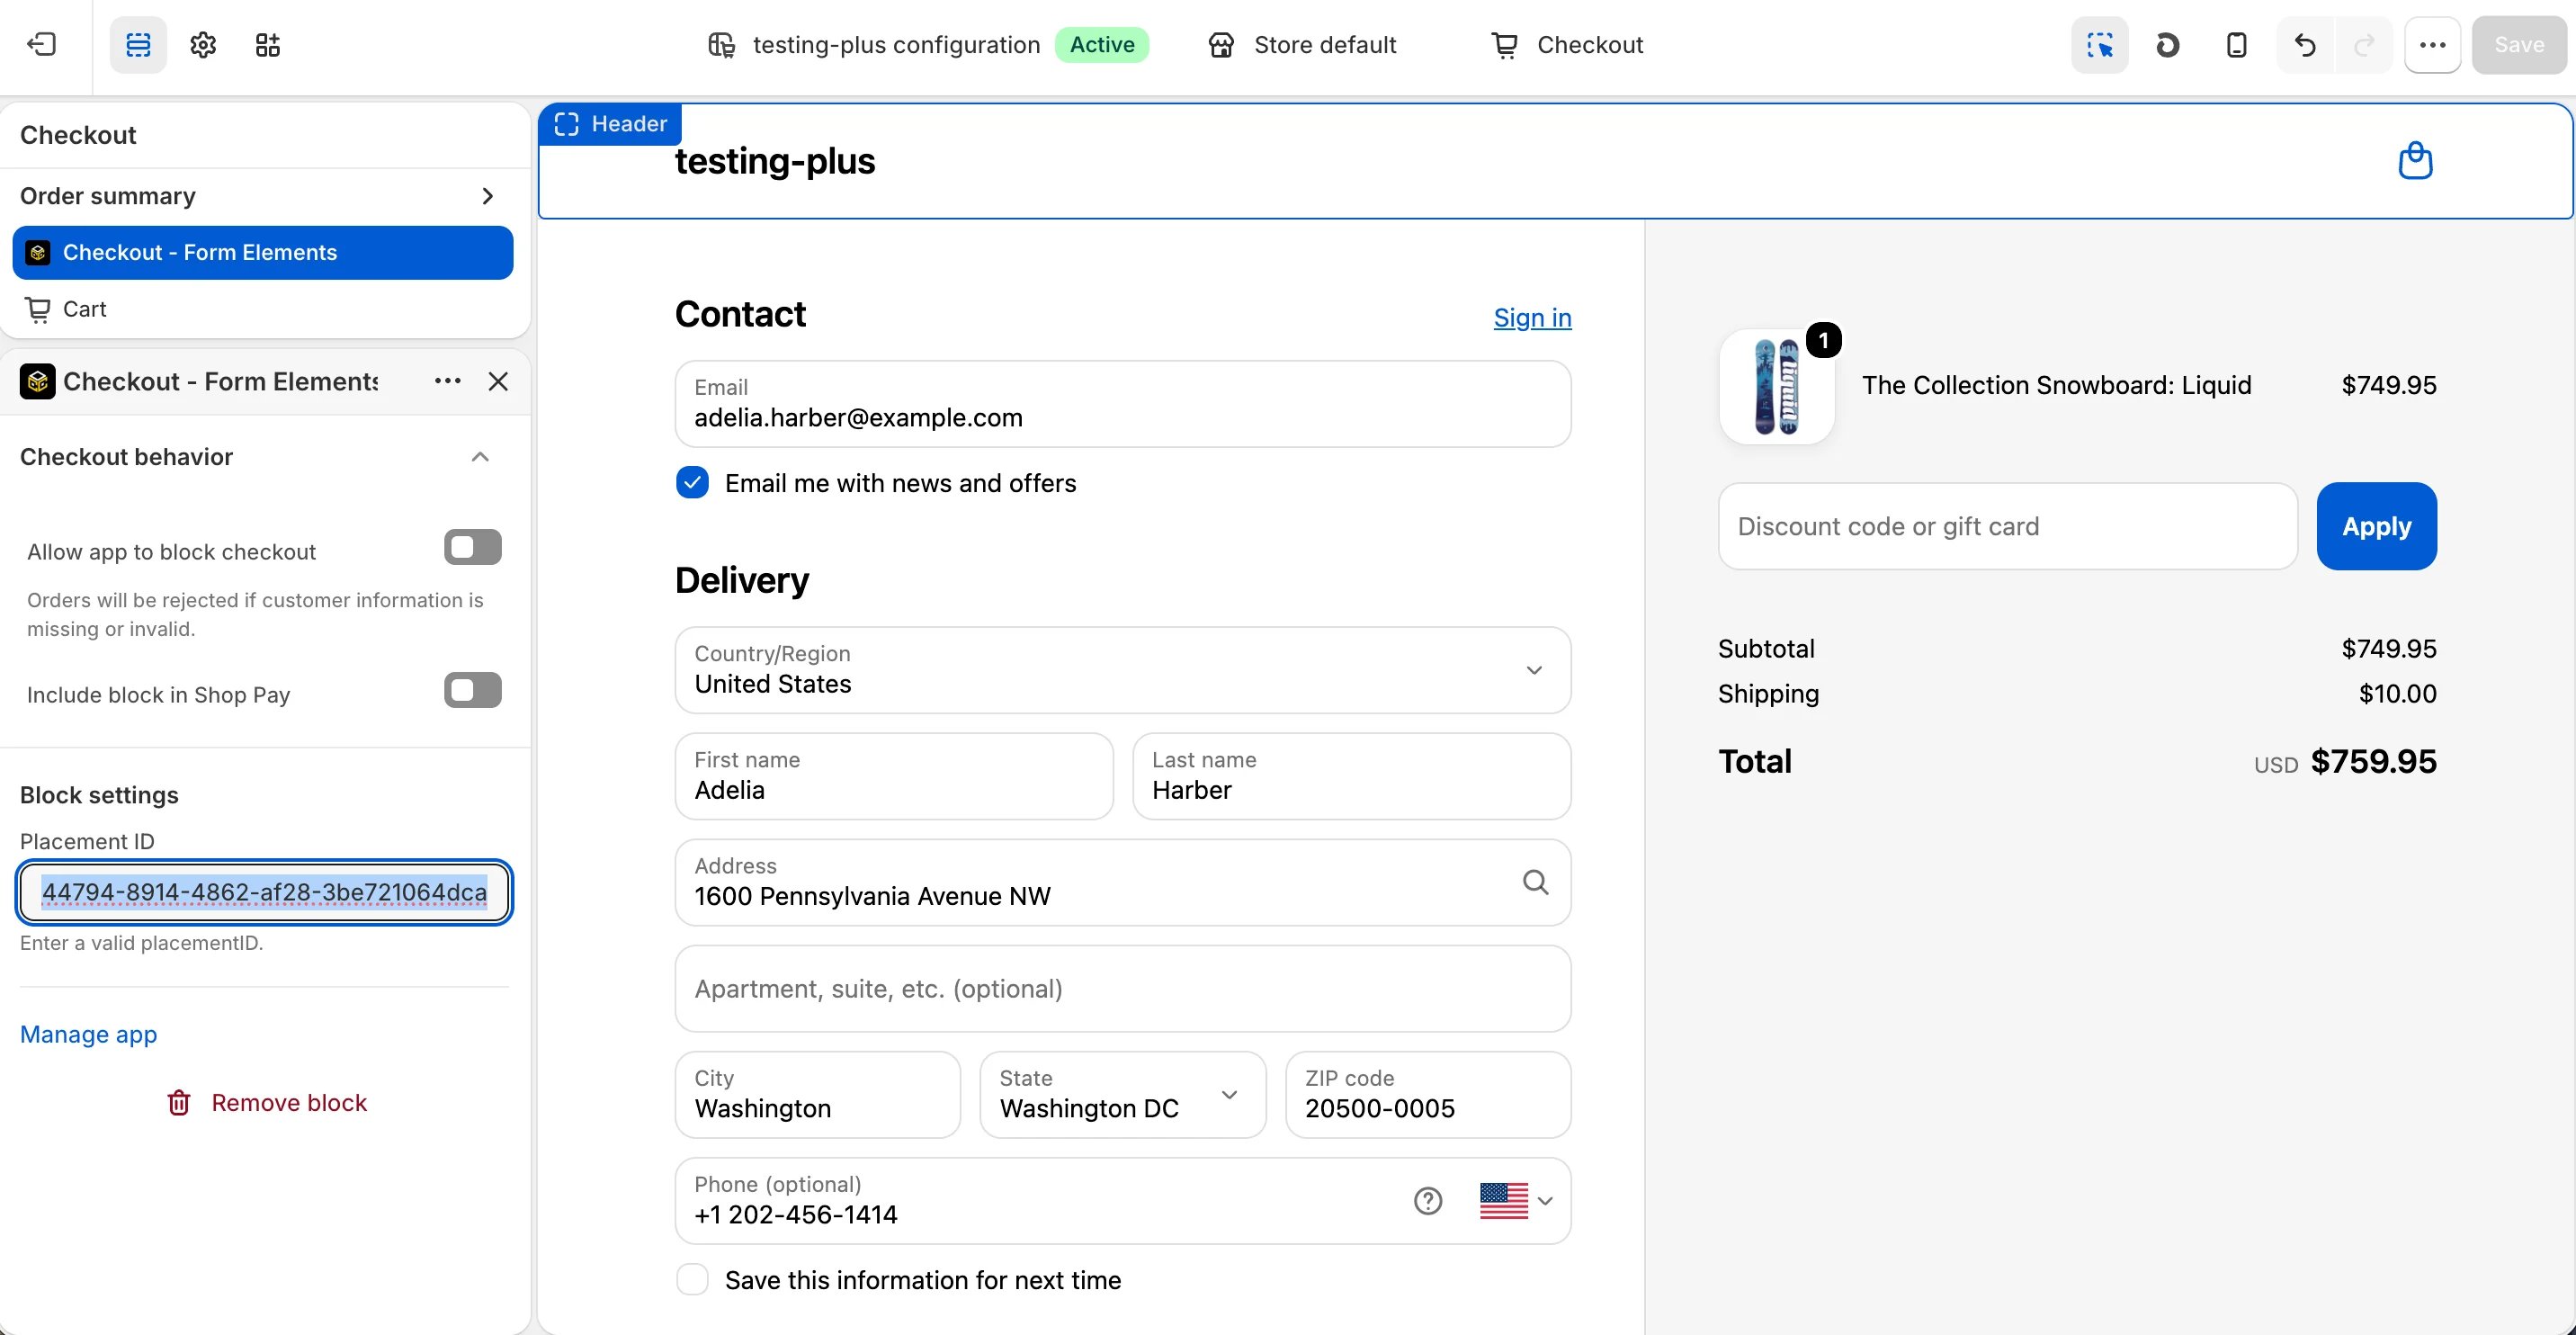
Why does it matter?Sunco uses the Notifications → Form customization to display custom survey forms during checkout, allowing the business to collect valuable customer feedback while improving customer engagement and strengthening brand reputation.